
Project Pie: Traditional Blueberry Pie
/
Project Pie: I'll be baking 24 pies before Pi Day 2016 to get over my fear of baking pies. And to eat delicious things. You can join me by posting about your pies in the comments or tagging your twitter, instagram, or facebook posts with #projectpie. Make something scrumptious and gooey!
I wasn't really into cooking until I started experimenting with all sorts of wacky ingredients for my wife - the challenge is what hooked me. And while we eat a lot more "regular" things these days, I still don't have that knowledge base about many recipes - especially baking. I've made dozens of biscuits, but never with real butter and all purpose flour. The same goes for cookies. And pies.
Since I began Project Pie, I've been keenly aware of my lack of knowledge. What is your pie crust supposed to look like? Feel like? Is it supposed to stretch? If it's crumbly, why? If it's tough, why? I've eaten pie before, so I know what a good flaky crust tastes like, but I had no idea why it got that way. And I had no idea what I might do to make my whole wheat, dairy-free versions mimic some of the most delicious (and coveted) aspects of a traditional pie crust.
So when my wife was away a few weekends ago, I decided to bake a traditional pie. Real butter, all purpose flour, white sugar. No food processor.
I wanted to really understand pie crust. I wanted the "touch."
I pulled out my big Joy of Cooking and started to read - six pages on the creation of a pie crust. I learned things. About the science behind the flakiness.
“When the larger chunks of fat melt during baking, they leave gaps in the dough that fill up with steam and expand, separating the pastry into myriad flaky ledges. Inexperienced pie makers tend to overwork the flour and fat mixture into a soft, greasy paste, resulting in pastry that is mealy and dense, like shortbread, rather than crisp and flaky.”
And I learned that adding more water and working the dough more causes the formation of gluten, which is what will make your dough hard or chewy and more like bread than pastry.
I took all the instructions and followed them to the letter, something I almost never do with a recipe.

I froze the butter but left the shortening at room temperature.
I cut it in by hand quickly with a pastry cutter, leaving some large pea-sized chunks, and then mixed in the ice water with my rubber spatula until the dough began to form small balls.


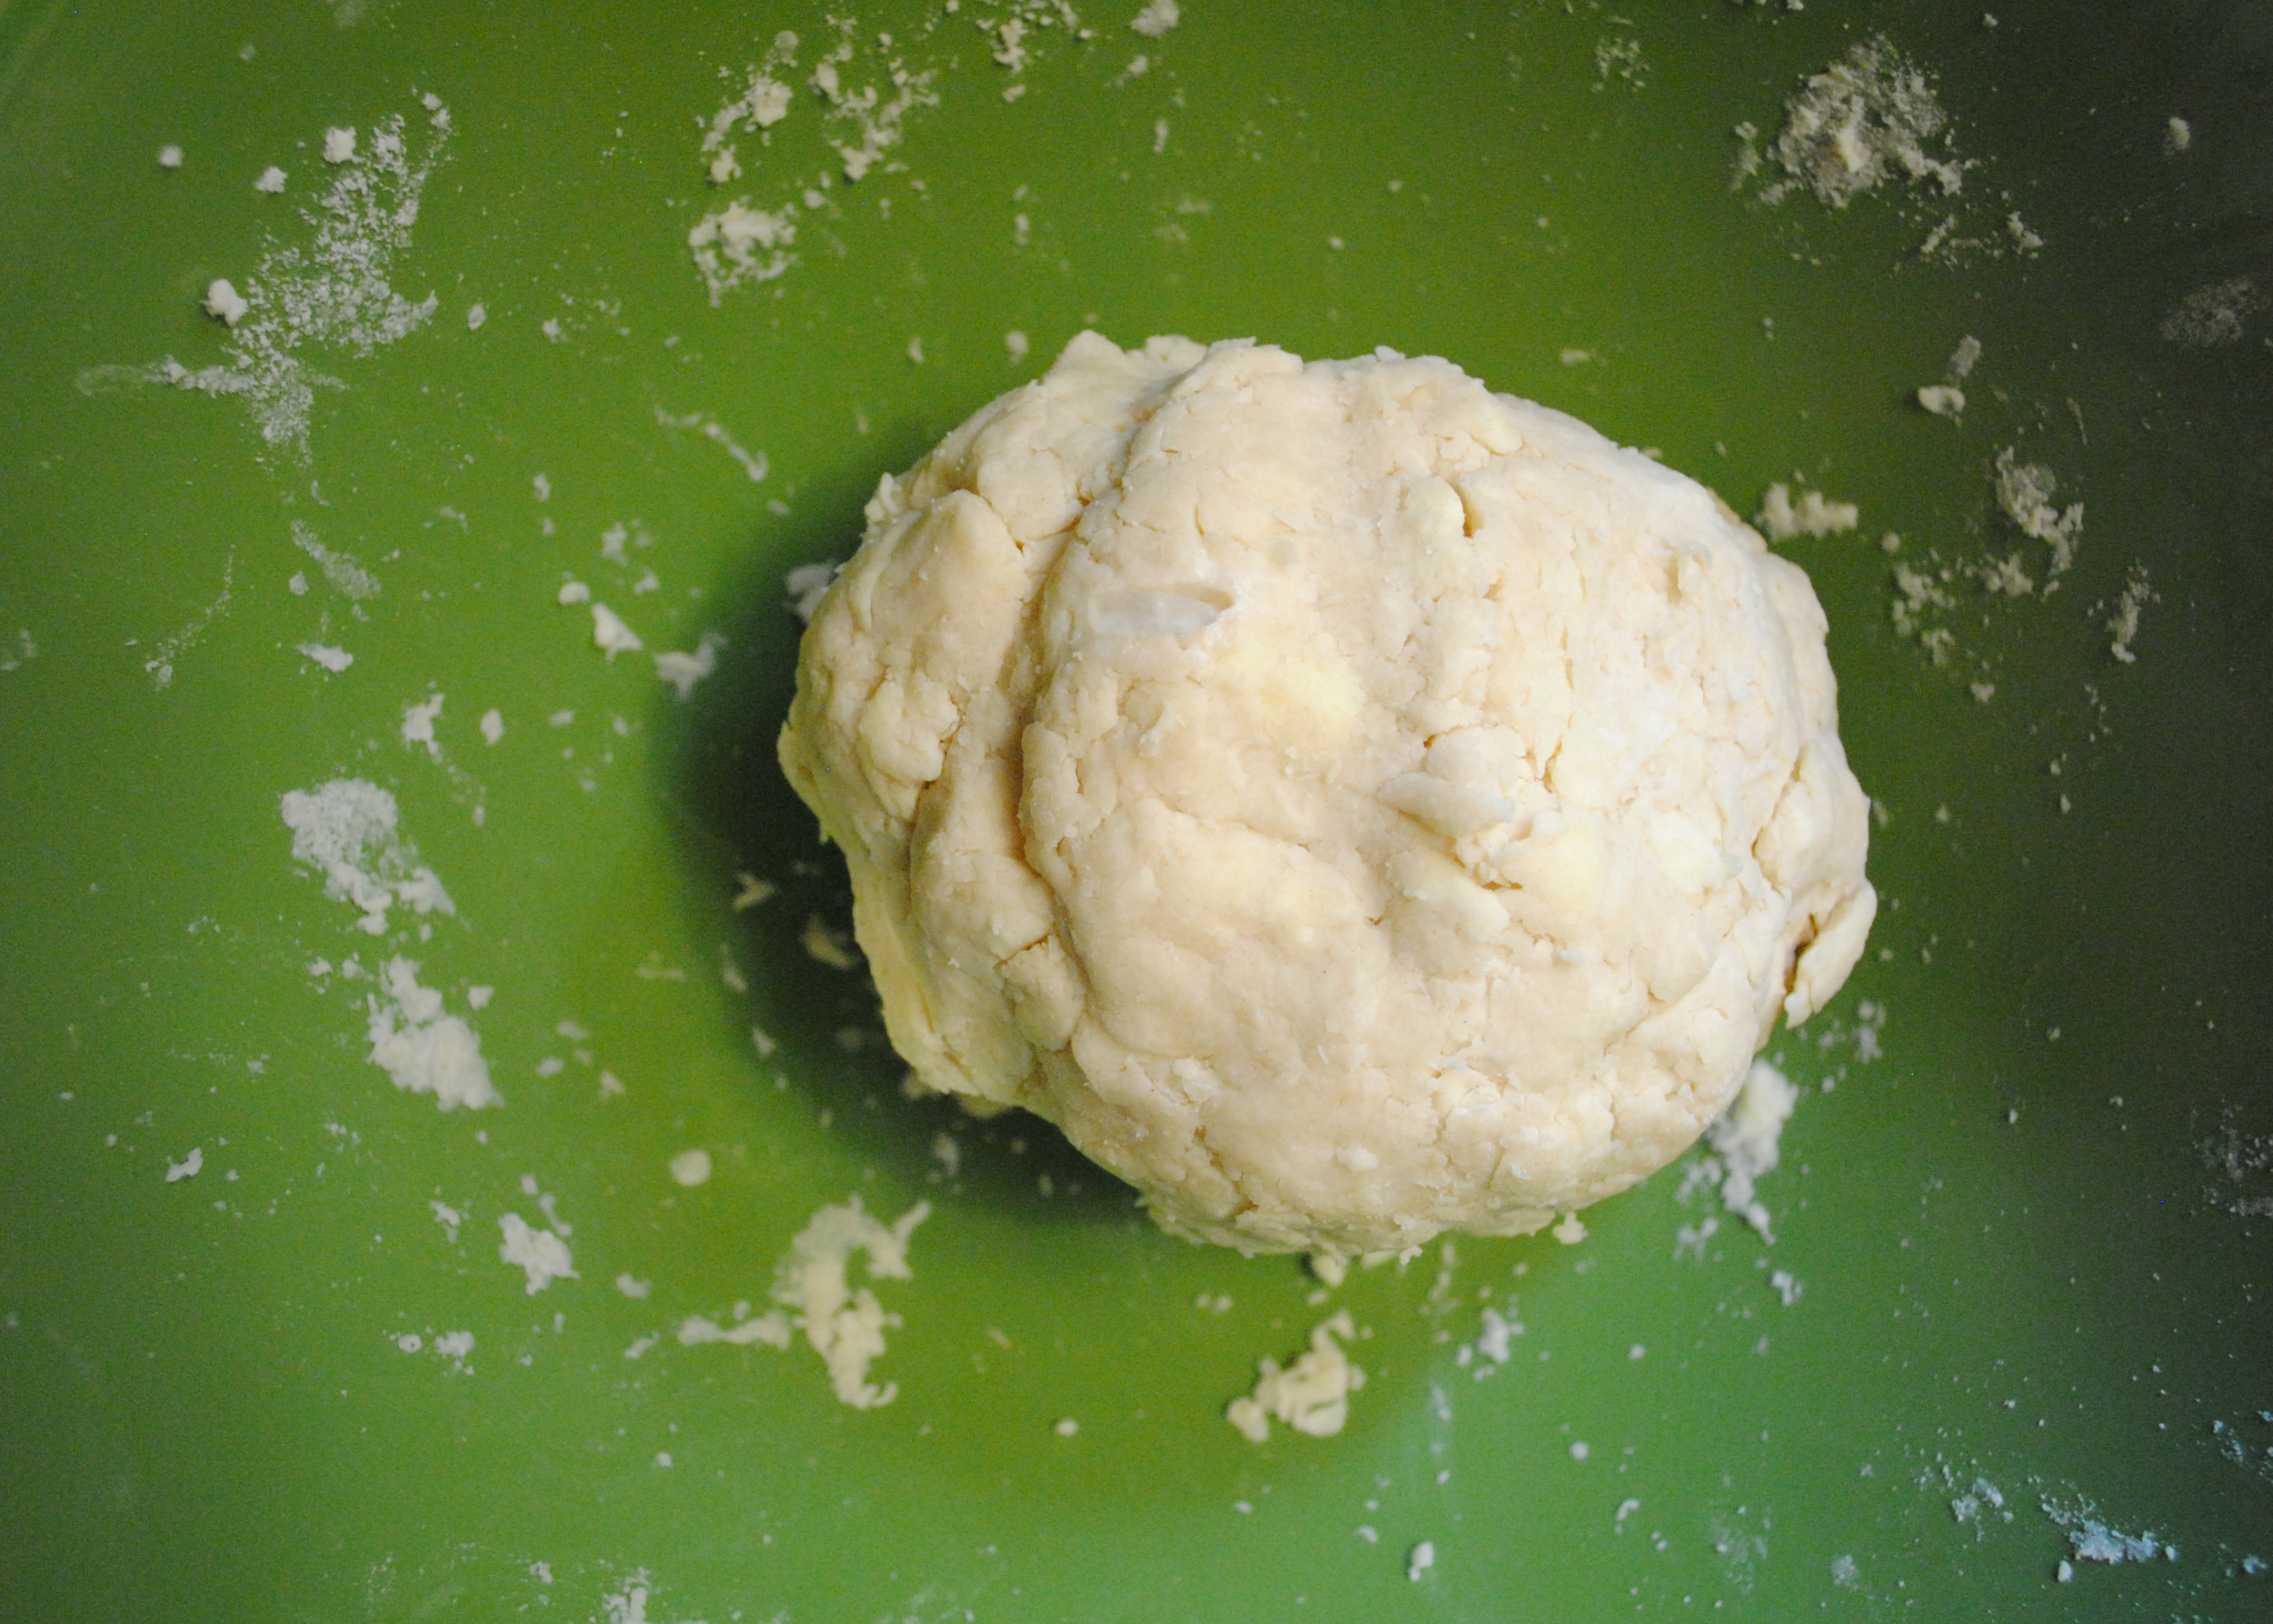
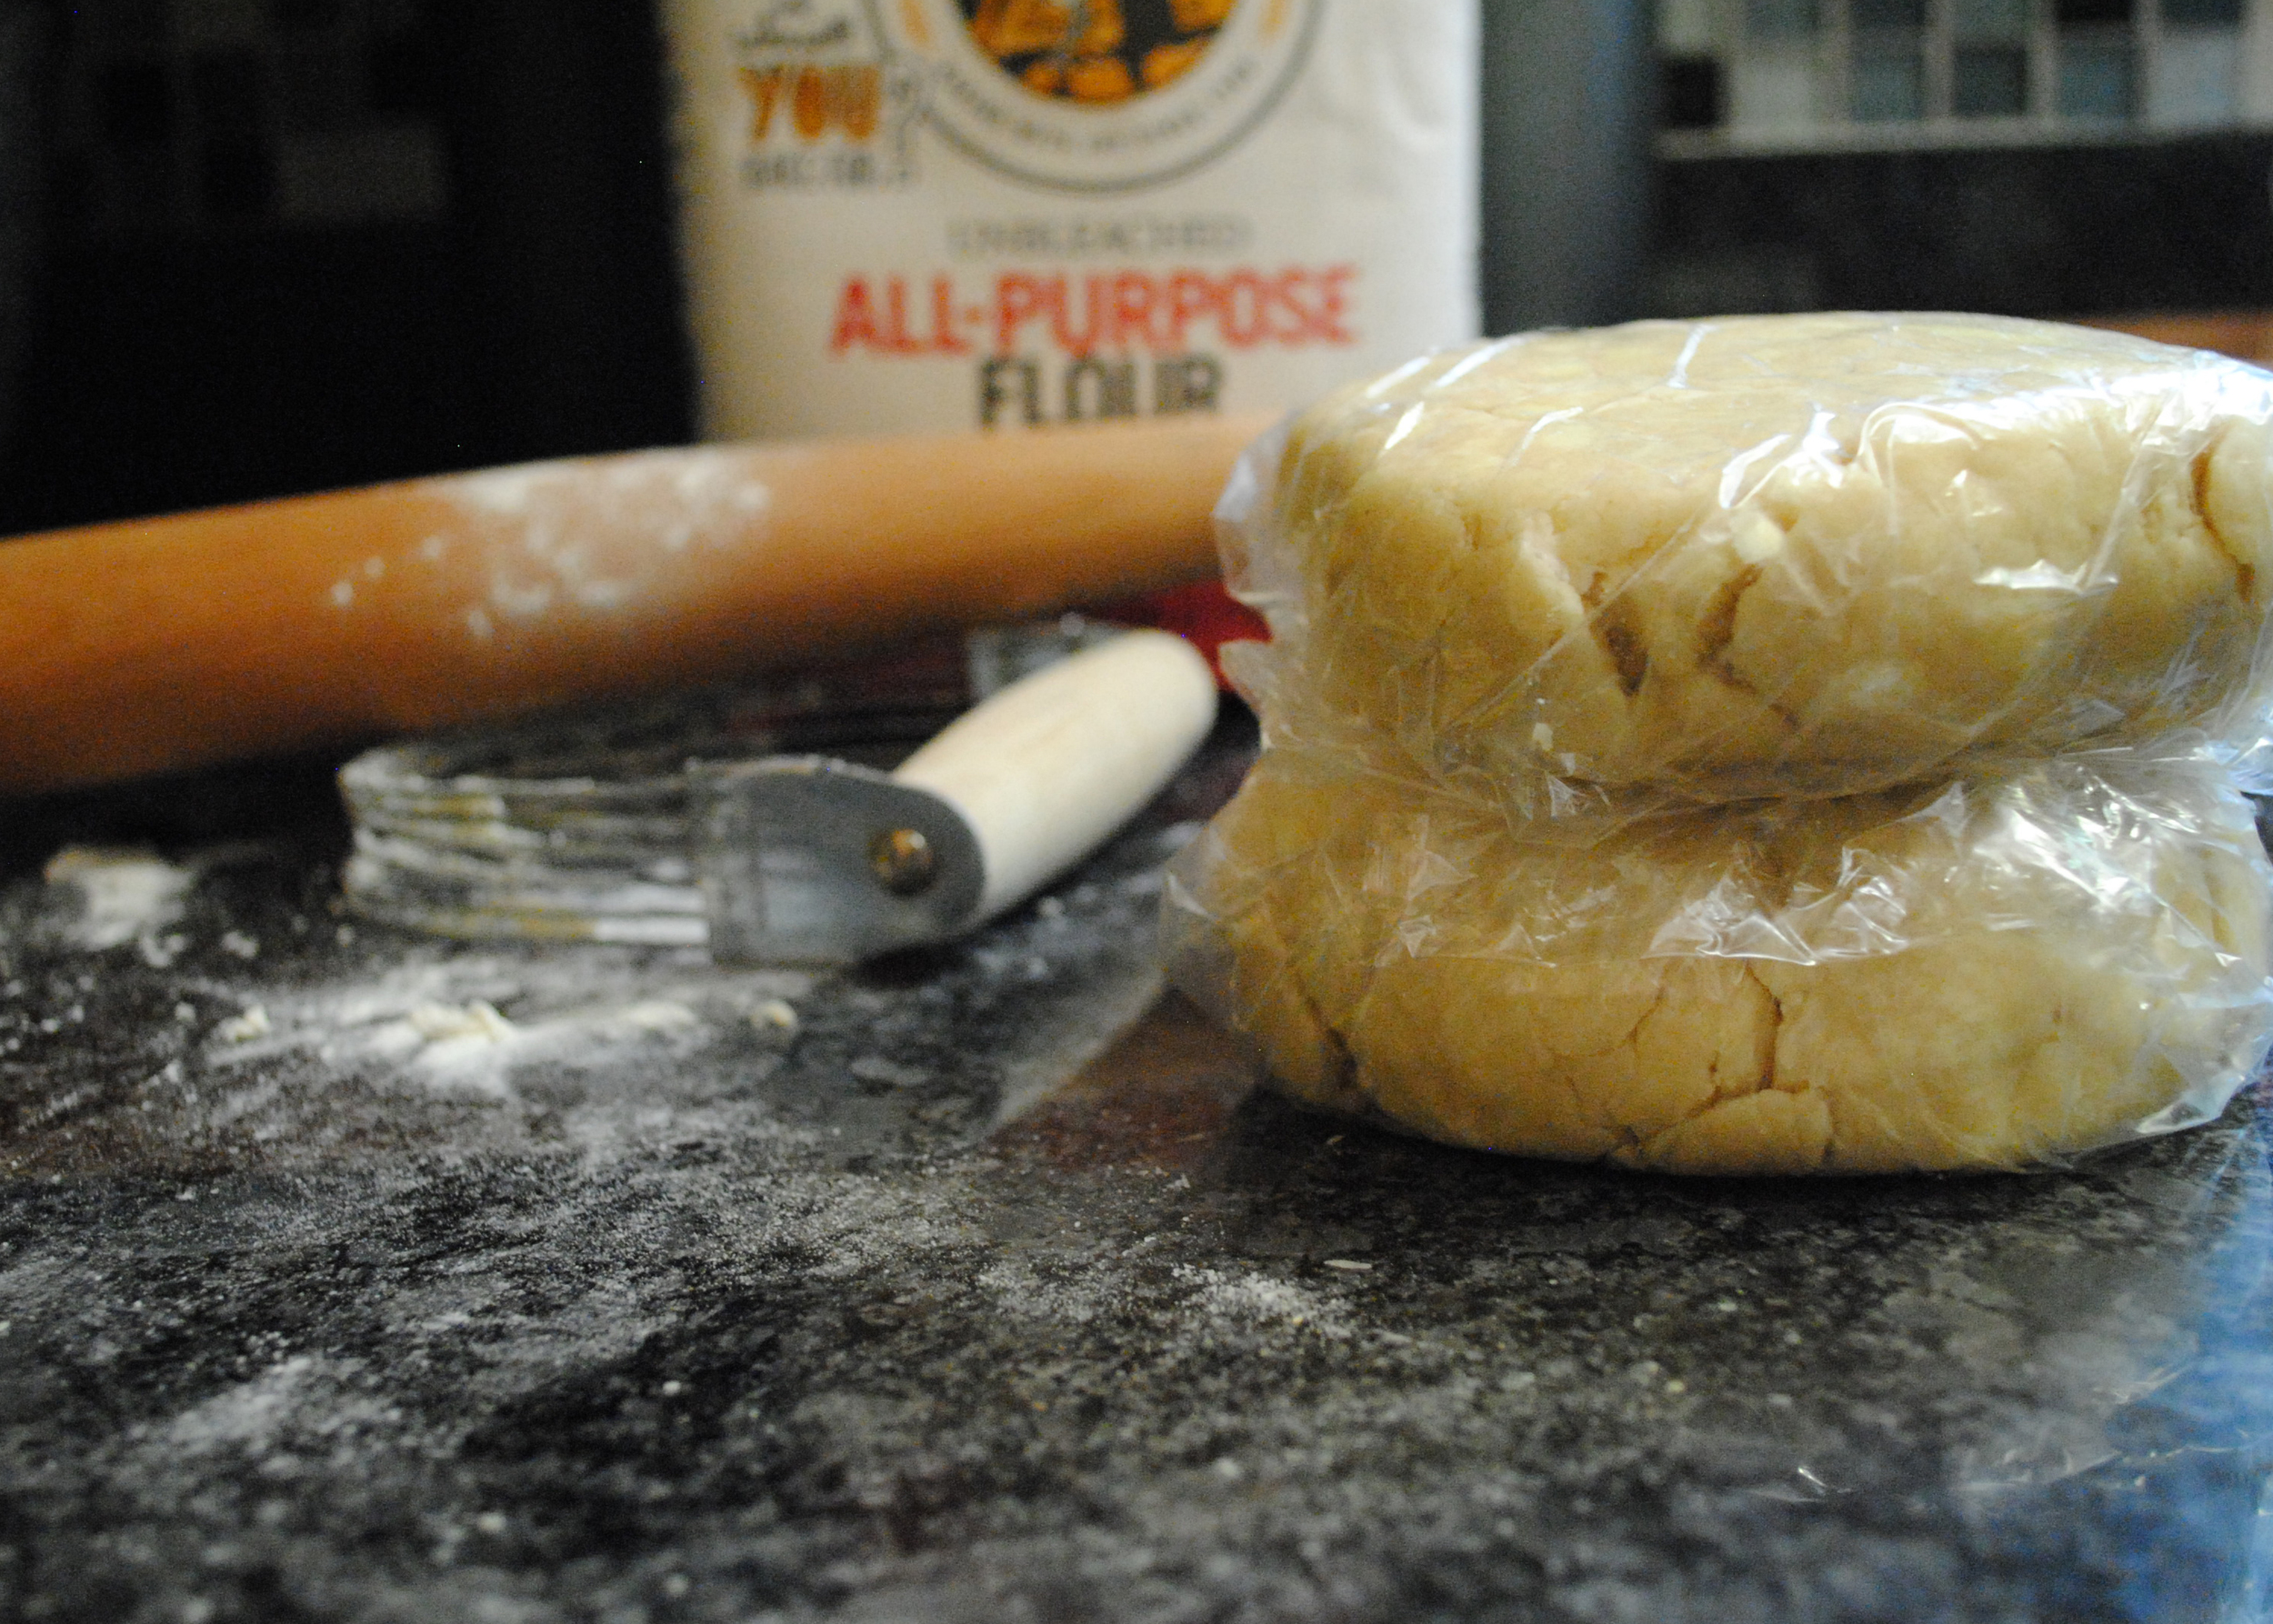
When I stopped mixing, I couldn't imagine the dough would be able to hold together. But I followed the instructions. I smashed all the little pieces of dough into a ball, separated that into two, wrapped them in plastic wrap and stuck them in the refrigerator to chill.
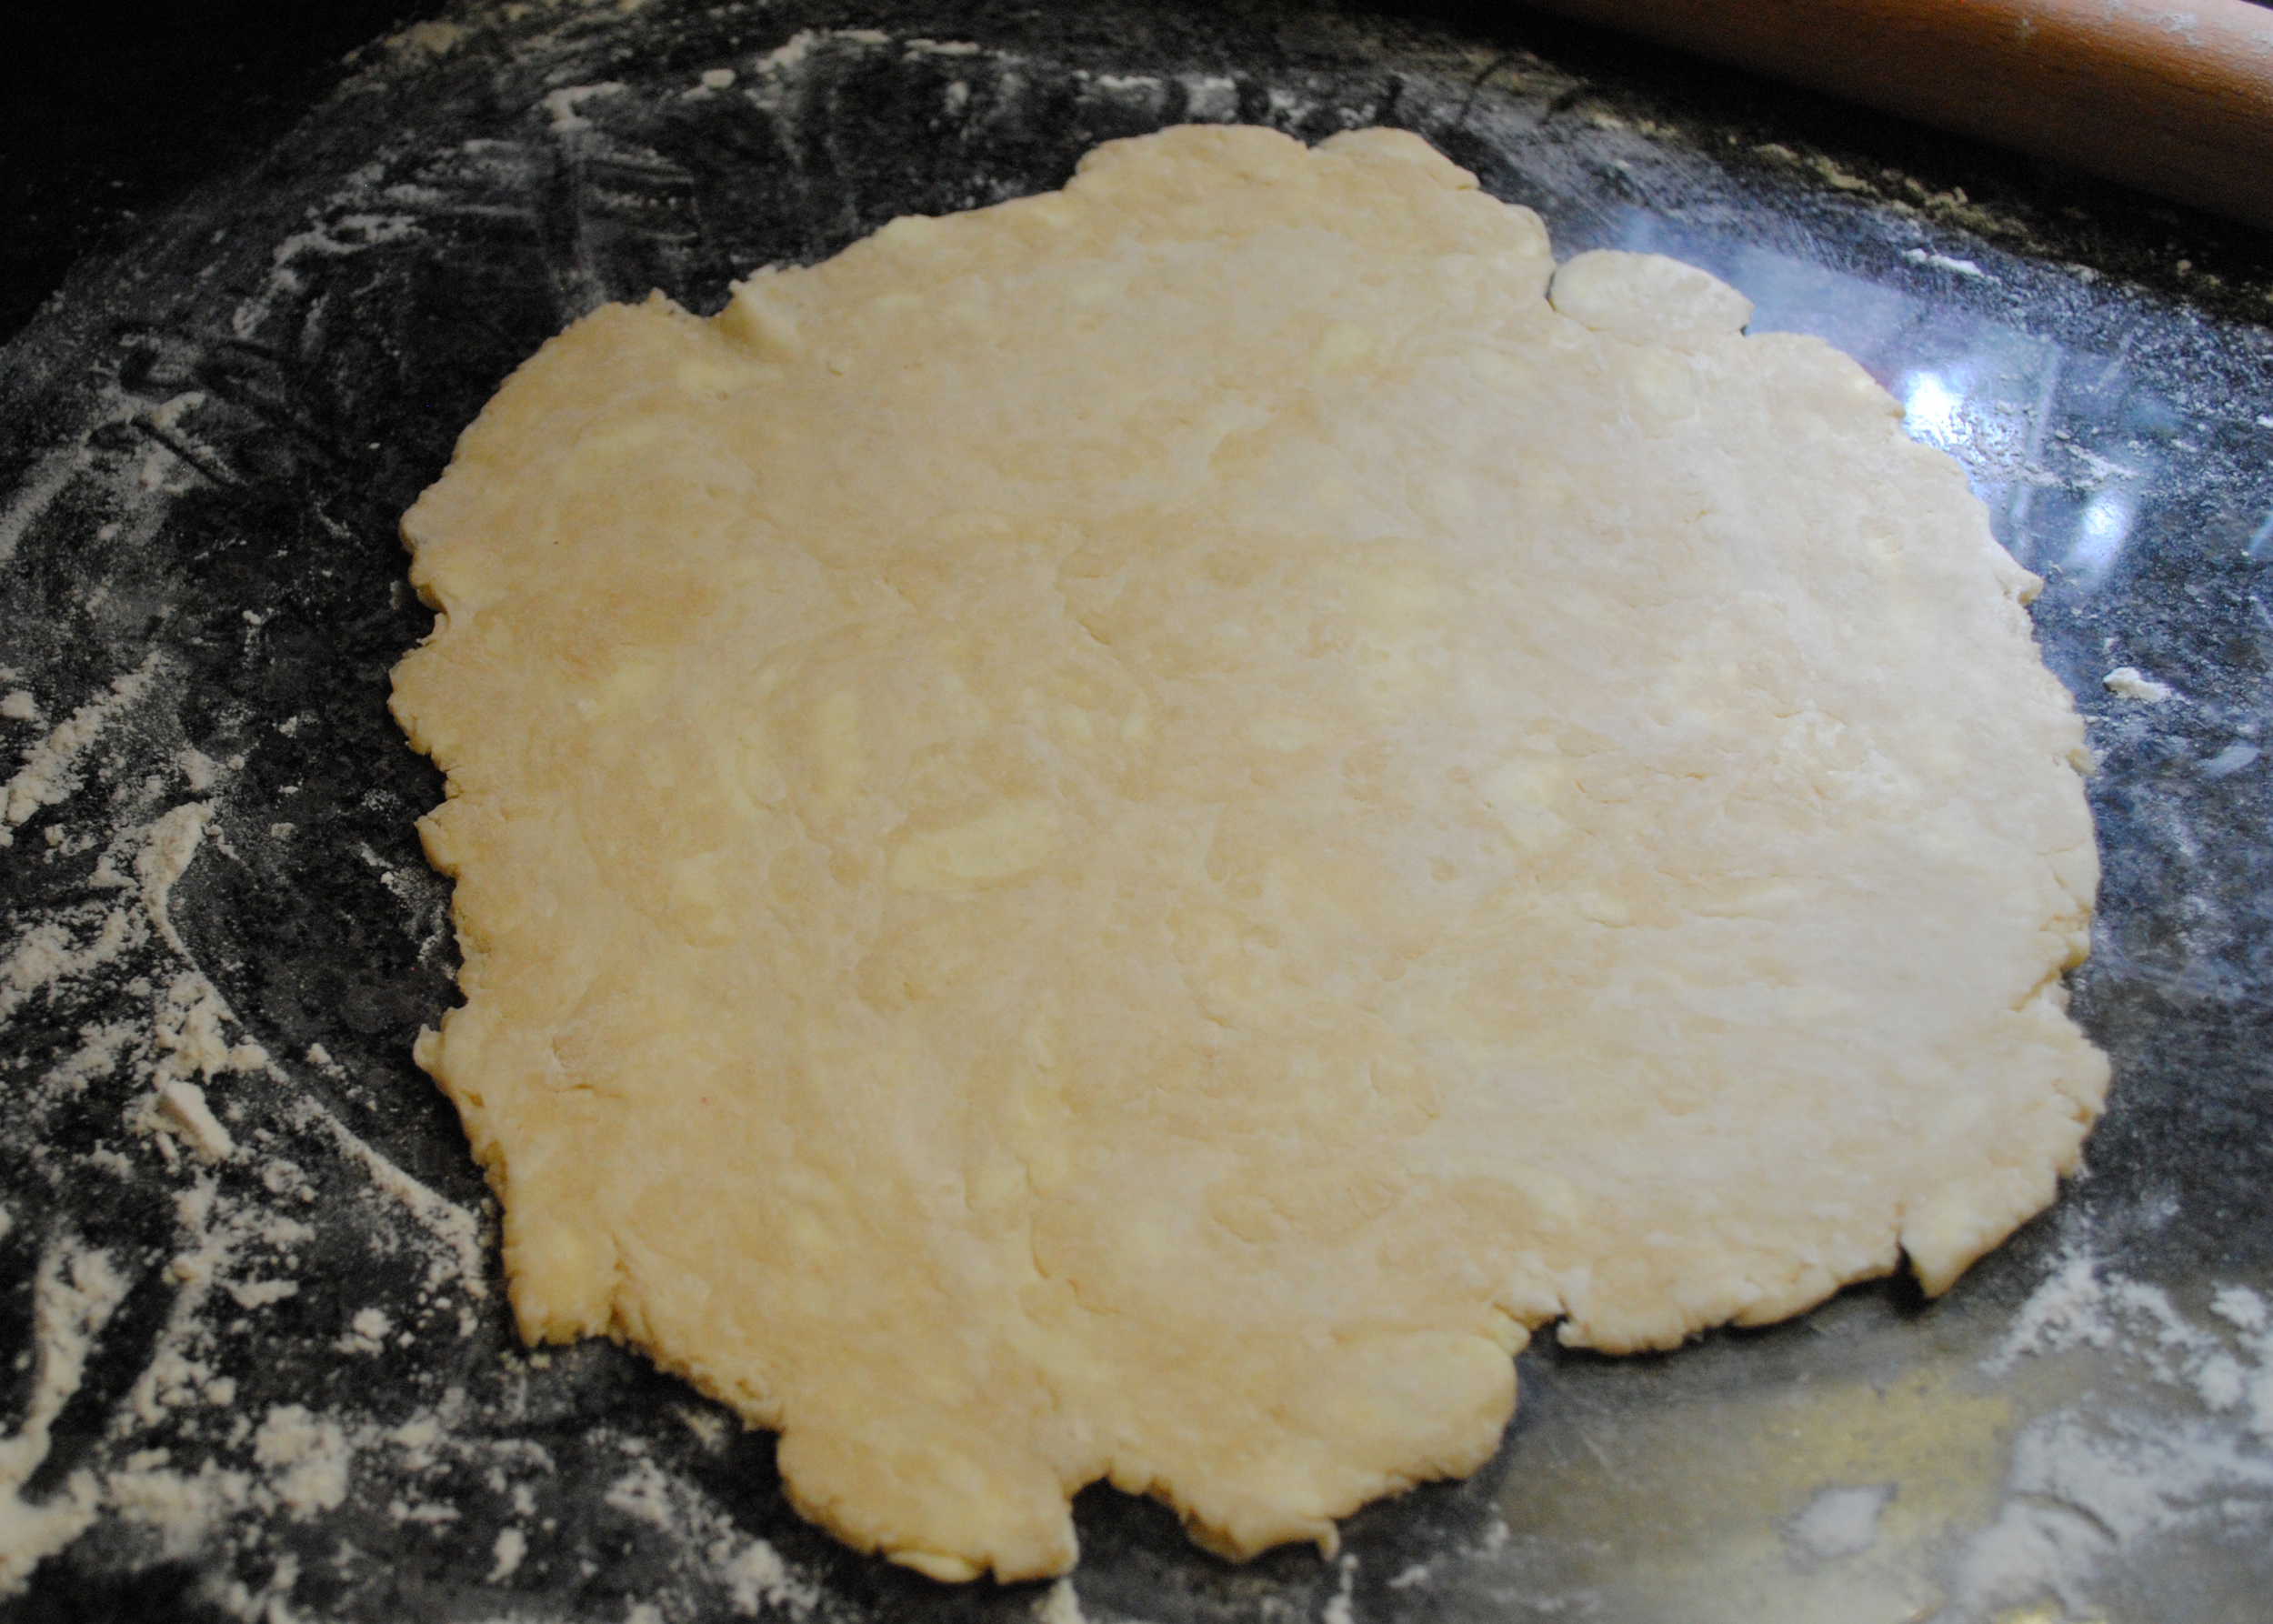
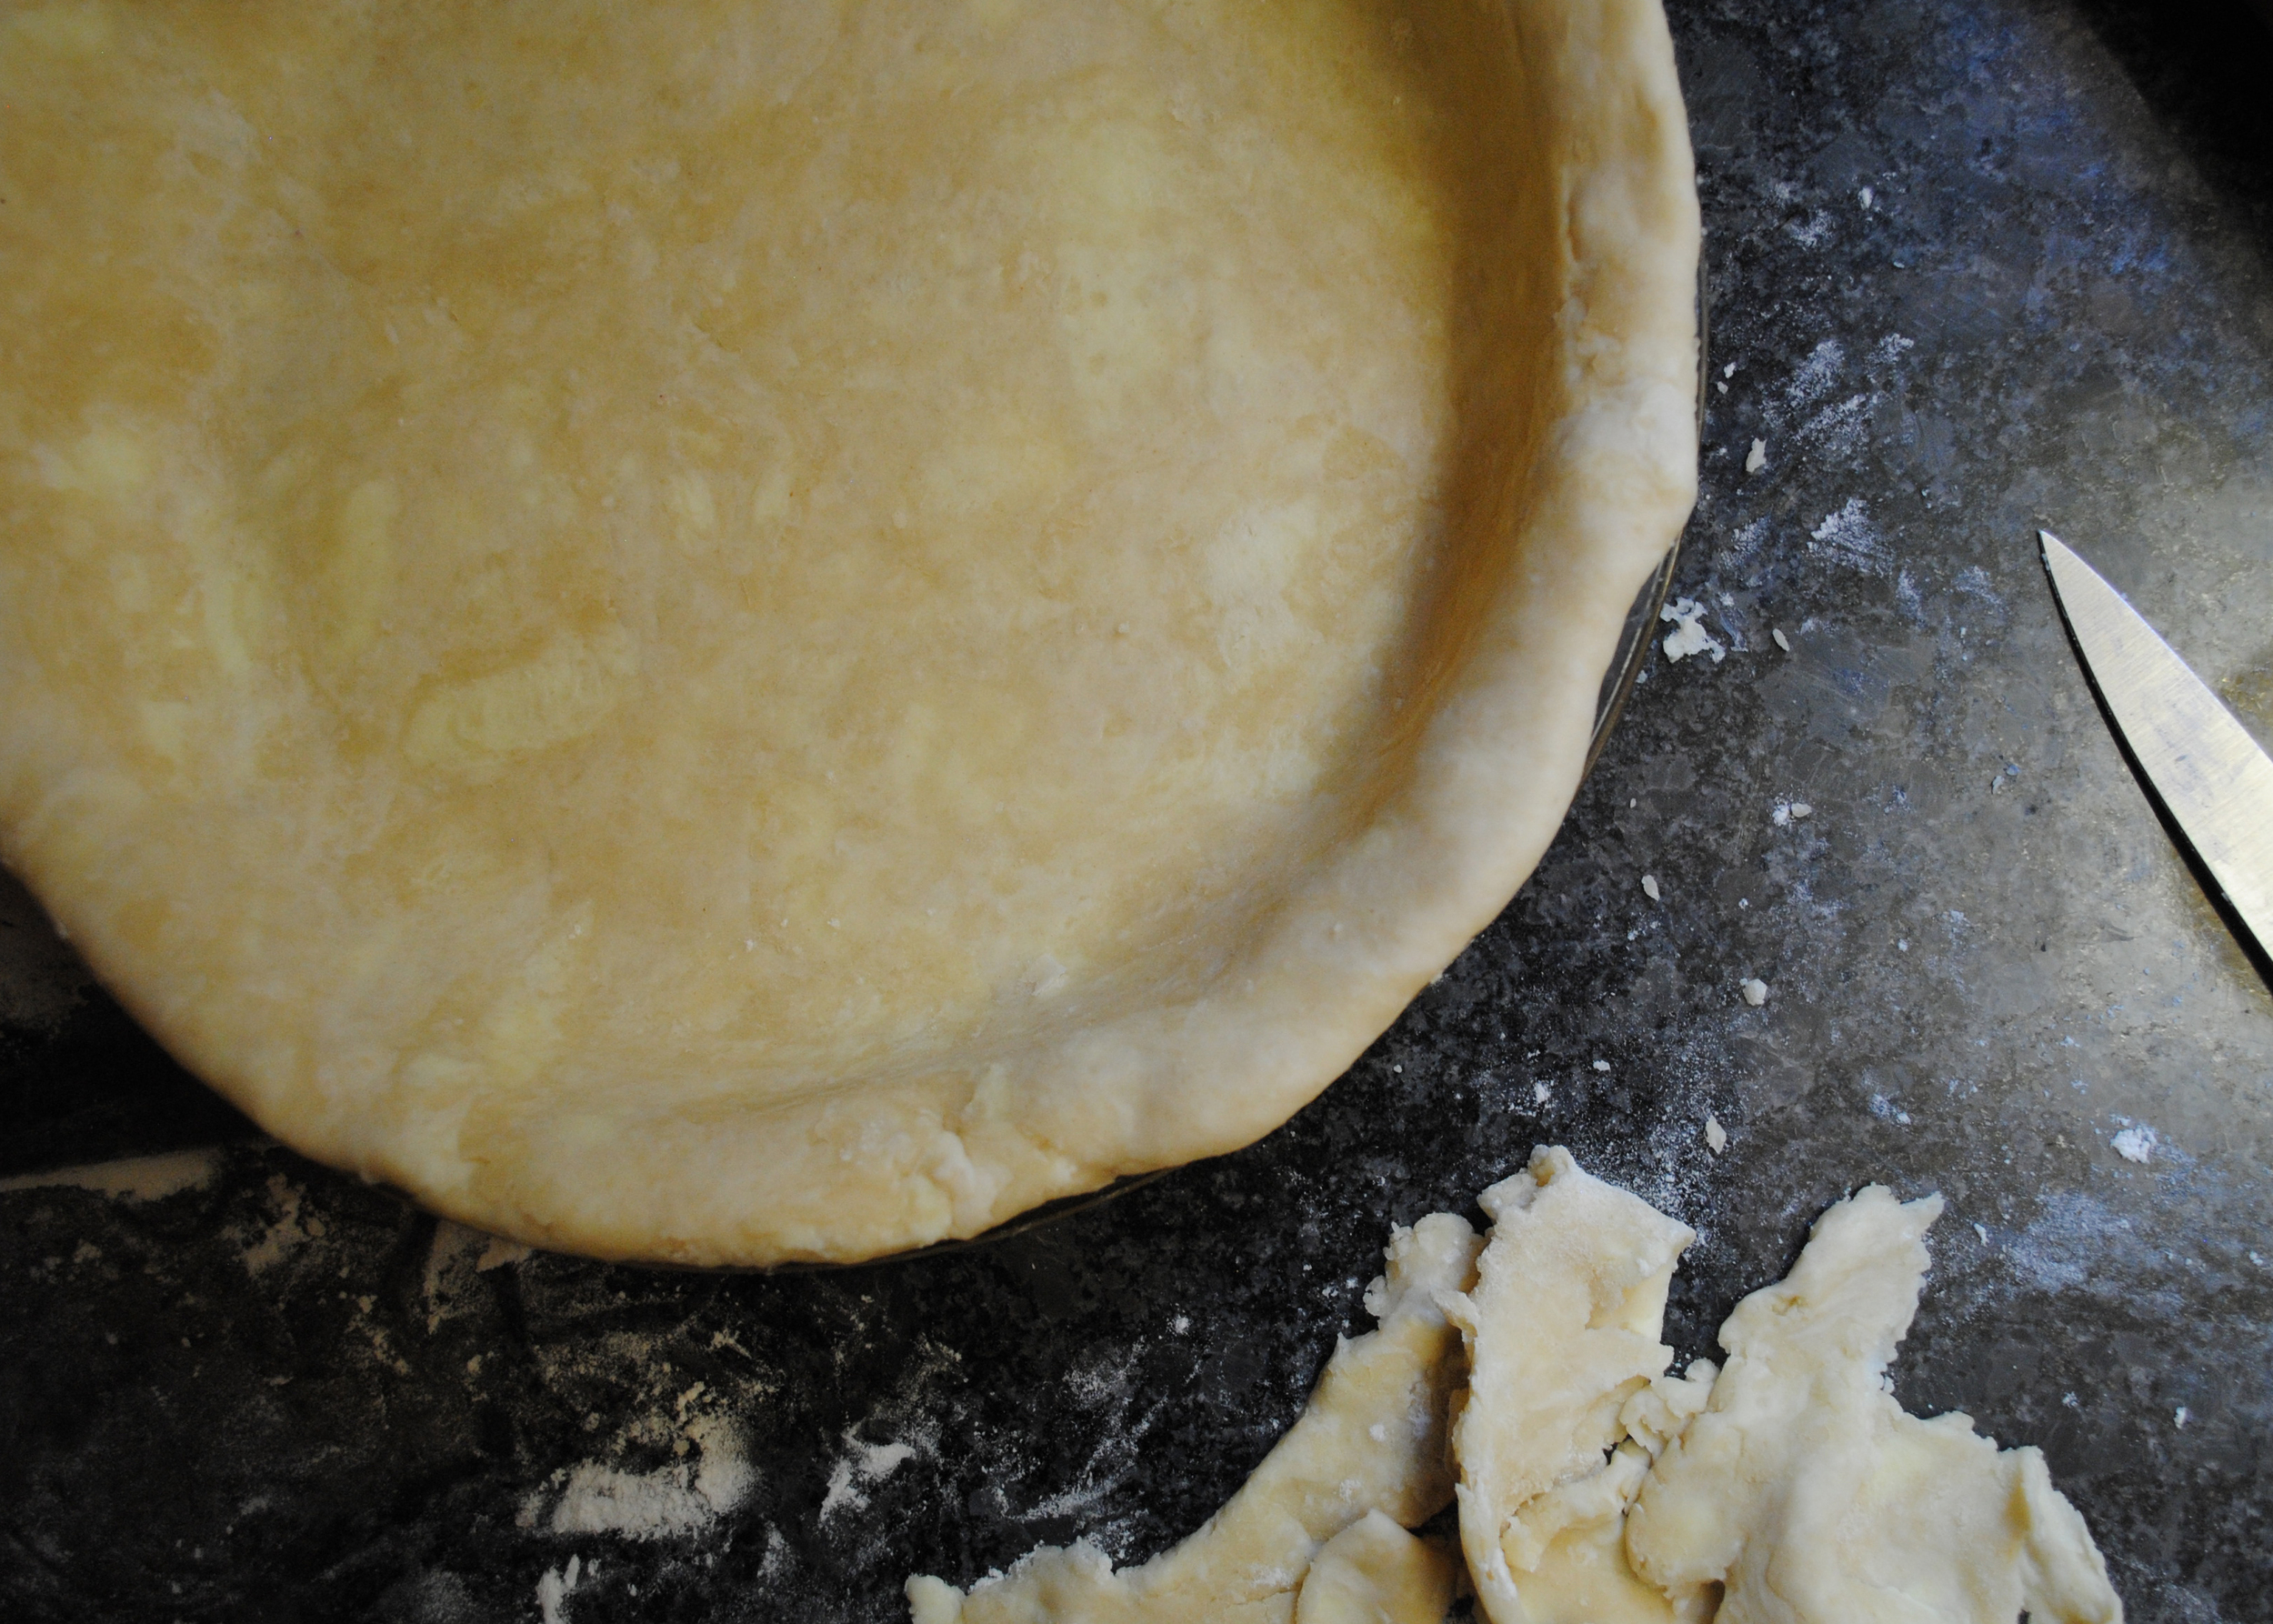
When I rolled it out, the dough didn't fall apart. I could see the chunks of butter and shortening. I cut the crust with a 3/4 inch ease around the pie pan and tucked the edges under just like the book said.
Everything exactly as I was instructed.
Turns out The Joy of Cooking knows what it's talking about. When I cut into that pie, the crust cracked beautiful, flakes of perfection sticking up as the knife went in.

There was much rejoicing. (Followed by face-stuffing.)
Whether this knowledge will help me create a tender and flaky whole wheat + vegan pie crust remains to be seen, but I have to hope it will. For now, I'm basking in the success of that exquisite pie and hoping I don't hurt my arm from all the patting myself on the back.
Traditional Blueberry Pie
From The Joy of Cooking
Crust:
2 1/2 cups all purpose flour
1 teaspoon white sugar
1 teaspoon salt
8 tablespoons cold unsalted butter
1/2 cup shortening, room temperature
1/2 cup plus 1 tablespoon ice water
egg or milk + sugar for glaze
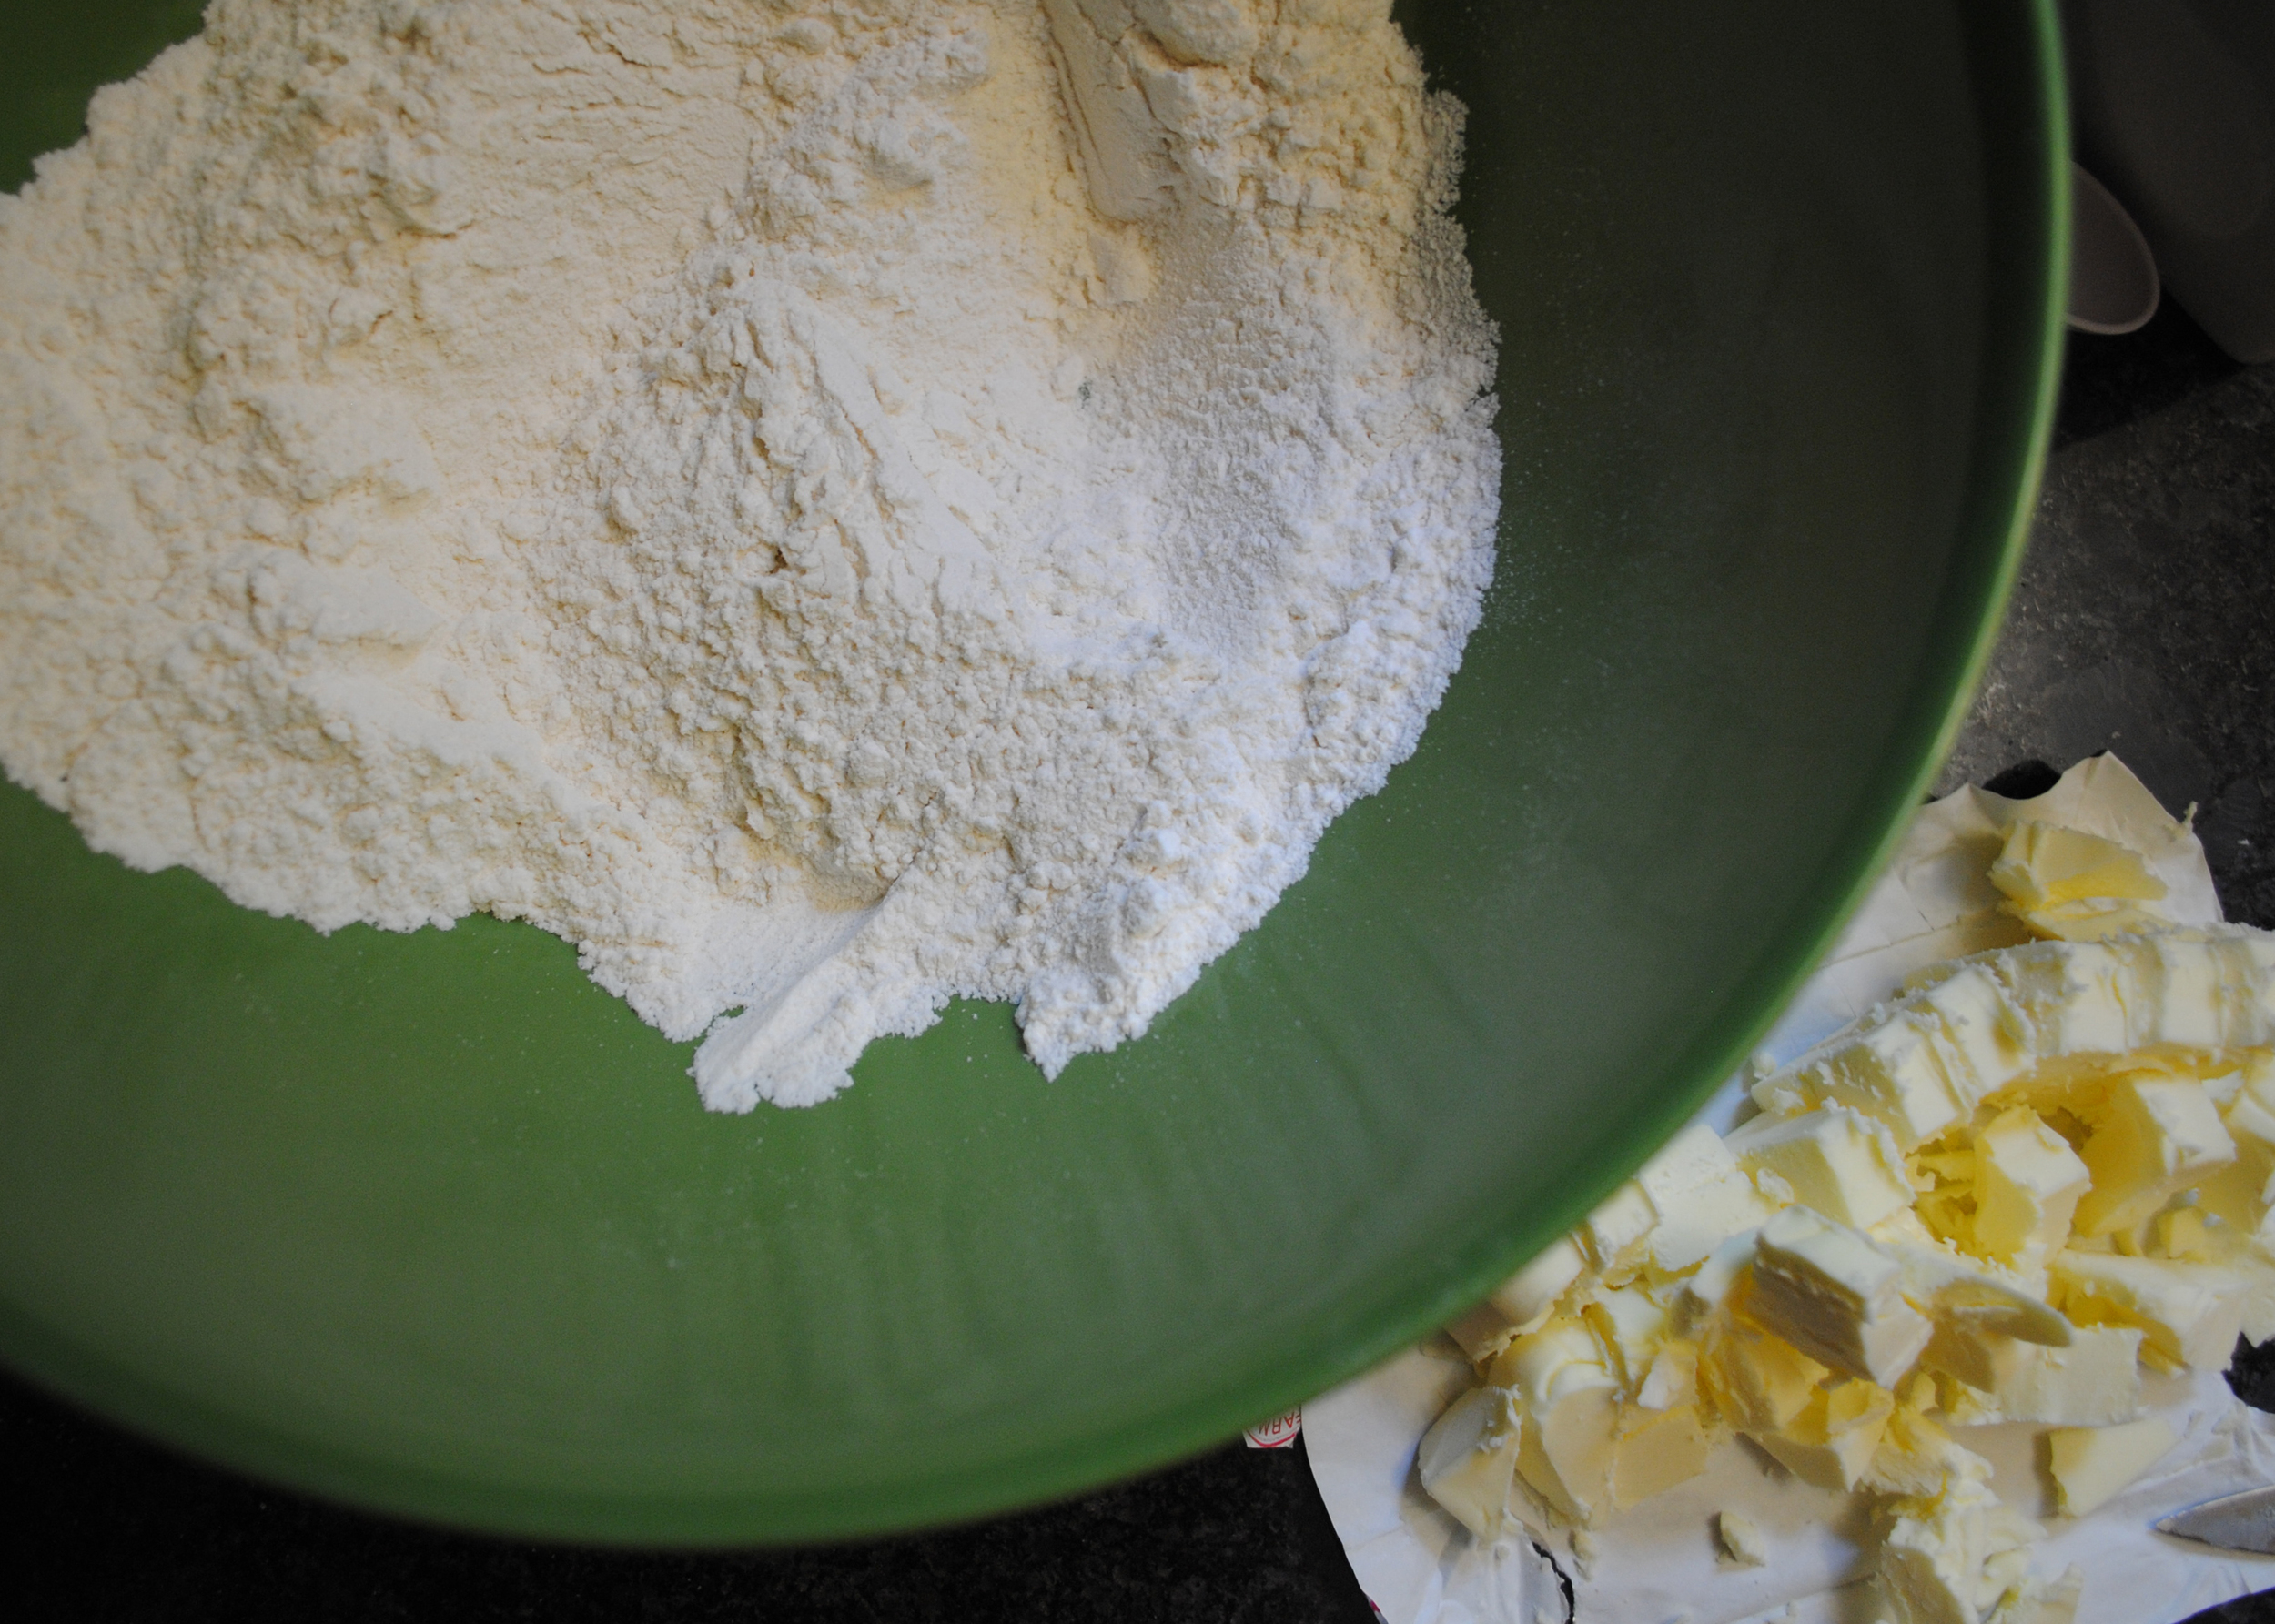
1. Quickly mix the flour, sugar, and salt together in a large bowl.
2. Break the shortening into large chunks and cut your butter (from the freezer) into small pieces. Add the butter and shortening to the flour mixture. Cut it into the dry ingredients by chopping vigorously with a pastry blender or cutting it with two knives. Work quickly so the butter does not melt. Make sure you are getting all the flour off the bottom of the bowl. Stop when the mixture has some pea-sized pieces and is mostly a consistency of dry, coarse crumbs, like cornmeal.
3. Drizzle the ice water over the top. Using the blade side of a rubber spatula, cut into the mixture until it is evenly moistened and small balls begin to form. If balls of dough stick together, you're done. If they don't, drizzle 1-2 more tablespoons of water over the top. (I added 1 1/2 more tablespoons, but this will depend on the particulars of your flour, kitchen air, etc.)
4. Press the dough together until it forms a ball. It should be rough, not smooth. Divide the dough in half and press each into a flat, round disk. Wrap tightly in plastic and refrigerate for at least 30 minutes. You can refrigerate for up to several days.
Blueberry Filling:
5 cups blueberries, fresh or frozen
3/4 cup sugar
3 1/2 tablespoons cornstarch
1 tablespoon lemon juice
1 teaspoon grated lemon zest
1/8 teaspoon salt
1-2 tablespoons unsalted butter, cut into small pieces
1. Combine the first 6 ingredients and let stand for 15 minutes.
2. When you pour the mixture into the bottom curst, dot it with the butter.
Putting it together:
1. Preheat the oven to 425 degrees.
2. Roll out the dough on a lightly floured surface, beginning in the center and rolling out from all directions. Roll the dough about 3-4 inches wider than your pie pan.
3. Transfer the dough into your pie pan by rolling it loosely around your rolling pin and then unrolling it into the pie pan. Press the dough over the bottom and into the corners of your pan. Trim the edges of the dough, leaving a 3/4 inch overhang, and then tuck that overhang underneath itself. (If you're able to eat eggs, do an egg wash over the bottom crust to seal it from the pie filling.)
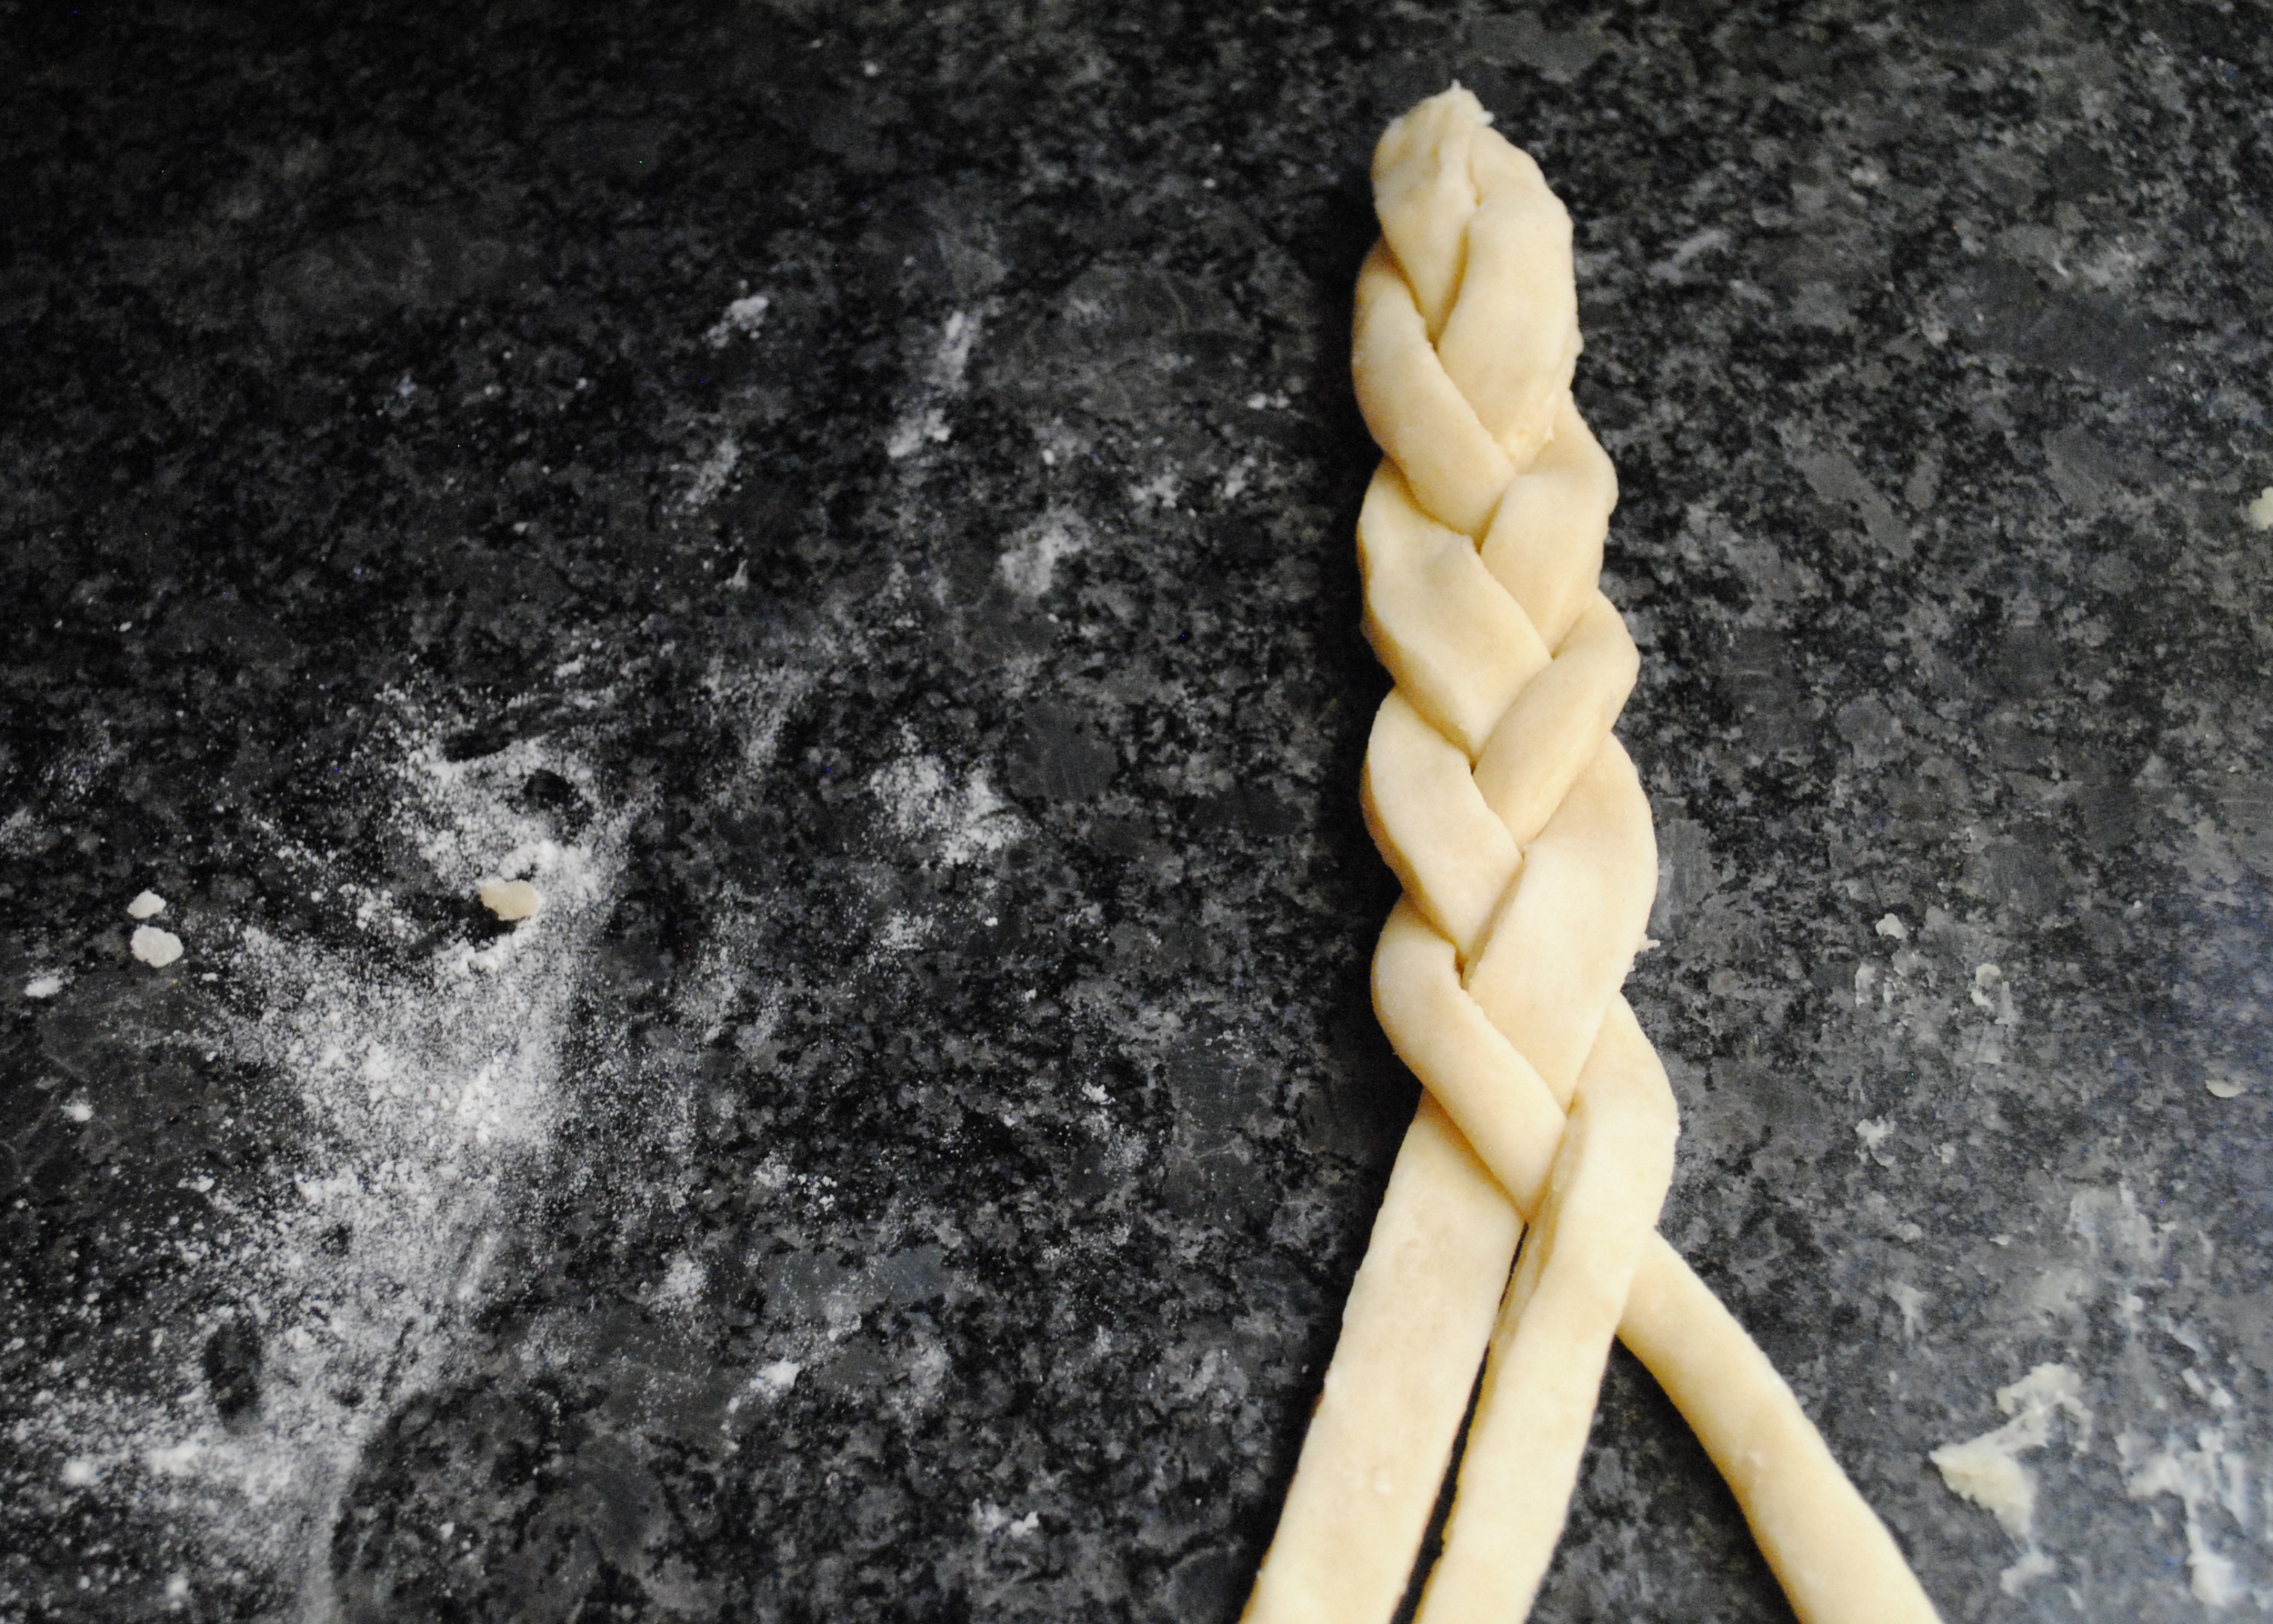
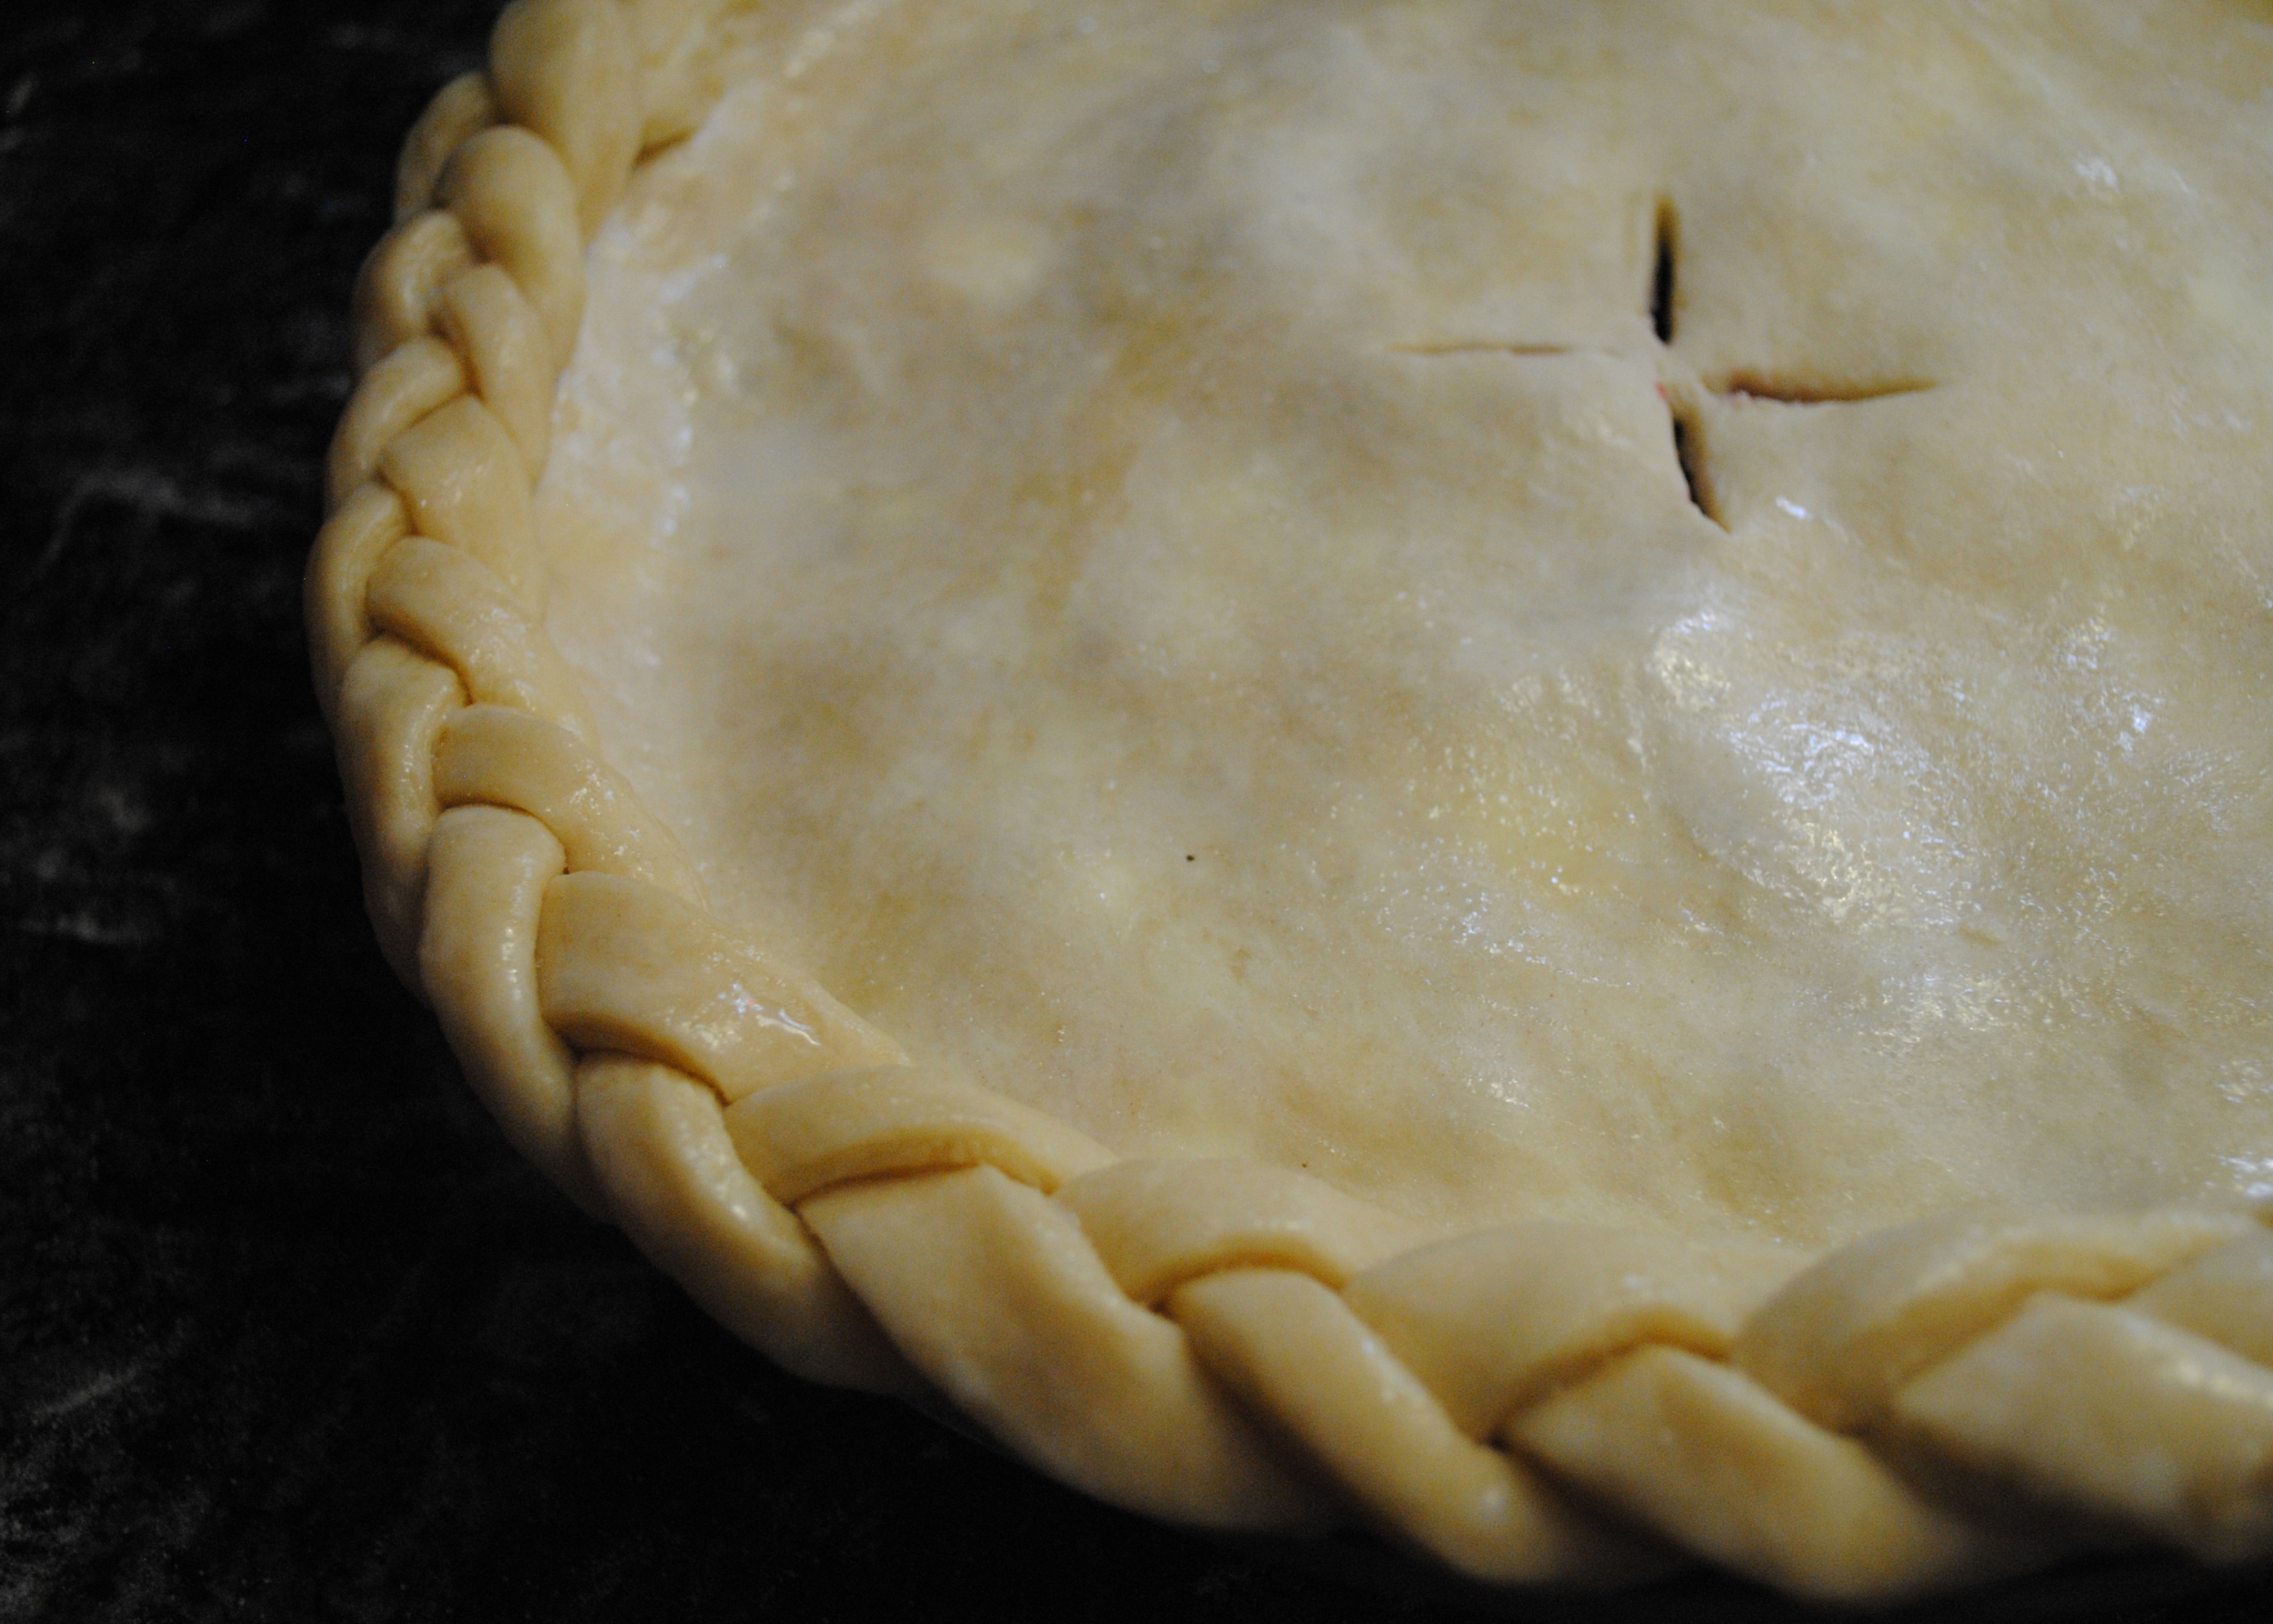
4. Put the bottom crust into the refrigerator (preferably for at least 30 minutes). Roll out the top crust in the same way, though a little smaller. Pour your filling into the bottom crust and top with the top crust. Cut steam vents in the middle. Crimp the rim with a fork or make a decorative edge.
5. Place the pie pan on a large baking sheet and place in the oven. Bake for 30 minutes.
6. Reduce the oven temperature to 350 degrees and bake 25-30 minutes or until bubbles juice through the vent.
7. Let cool completely on a rack (this step is important so that all the juices don't just flow out when you cut the first piece).
p.s. Cherry Chocolate (Green) Smoothie
Like what you just read? Share it with a friend! You can also follow ktmade on Twitter, Facebook, or Instagram so you'll never miss a post. And you'll earn my undying affection!


