I'm so excited to be welcoming Kara to the blog today. Not only does she share adorable and inexpensive projects on her site, but she's also one of the nicest folks I've met in the blogosphere. You must go check out her blog (which she designed herself even though she's not a graphic designer!)! Clearly a talented lady. Today, she has a great project for upcycling a sweater, and as you know, I'm all about that. So, without further ado, here's Kara!
Hi there! I'm Kara, author of the blog
Nest Candy. I recently became blogging friends with Katie. She was so genuine and sweet right from the beginning. When she asked me to guest post on ktmade, I was thrilled!
Nest Candy is my creative outlet. It's a place where I share my crafting projects, tips and tricks, and a little about my day-to-day life. Money Saving Mondays and Quick Tip Tuesdays are two weekly features. Here are some popular projects found at Nest Candy.
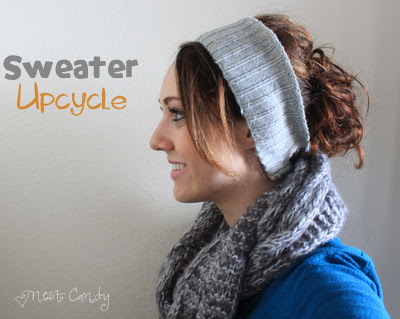
Today I've got a fun and frugal project for you. It is the Sweater Upcycle Series {Part 2} - The Winter Headband. Check out Part 1
here. If you live anywhere cold (where I live it gets down to -20 F without windchill!) you're going to need one of these babies!
To get started, all you need is an old sweater. Your pieces might look a little different than mine, depending on the type of sweater, but you can just work with what you've got. For this project, we will be focusing on the bottom ribbing of the body of the sweater.
1. Measure around your head where the headband will be. Measure the distance on your sweater. I measured how far my sweater would stretch and subtracted a few inches to compensate.
2. Cut the section.
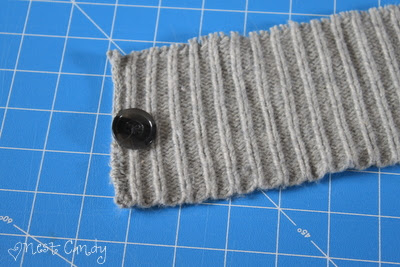
3. Cut a section of grosgrain ribbon and stitch it to one end of the band. This is reinforcement for a buttonhole. I just quickly hand-stitched mine. You really don't need it to be perfect.
4. Pick out a button and sew a matching buttonhole over the ribbon reinforcement. I used a stretch/knit fabric specific buttonhole. I wasn't too concerned about my placement, but if you want to be specific, you can practice on a scrap piece of fabric first.
5. Sew your button onto the opposite side of the band.
6. Try it on, and admire your handiwork.
If you're worried about the unfinished edge unraveling you can try to finish it in some way. I wasn't sure the best way to go about this since I don't knit. If you've got suggestions, let me know! Hope you enjoyed this upcycling tutorial. Don't forget to come say hi over at
Nest Candy!
Thanks for popping over, friends. I look forward to sharing some Smoky Mountain photos very soon!
Katie