A couple nights ago, I walked into my apartment and headed straight for the kitchen to prep the
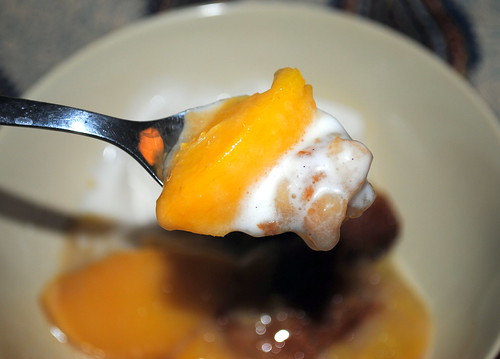
white bean and pumpkin chili that I'd been planning to make. It's one of my absolute favorite meals but one that takes a bit of prep time and a fairly long ingredient list. I had taken some roasted pumpkin out of the freezer a few days before, but I just hadn't gotten to it yet. Since I didn't have quite enough pumpkin, I was planning to supplement with a can of butternut squash I had in the cabinet.
As I started to take out the ingredients, I realized that the can of butternut squash was actually a can of sweet potato puree. And then that I only had one can of white beans (I still think someone came in and stole the others - I just KNOW I had more than that). And then I pulled out the pumpkin from the fridge, and .... yep, moldy.
So....no pumpkin and white bean chili. But what seemed to be a tragedy of epic proportion (I really wanted that chili) turned out to be a great opportunity.

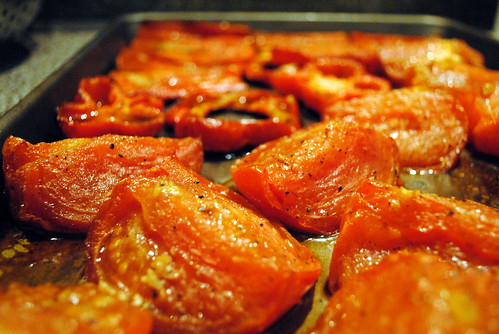
I'd already pulled out the tomatoes and the red peppers, and they were staring up at me from the cutting board. The skin on the red peppers was starting to wrinkle ever so slightly, so I knew they wouldn't be around for long. I did some quick thinking about what I could make with what was sitting in front of me (not generally my forte), and since I had my heart set on something soupy, I threw this together:
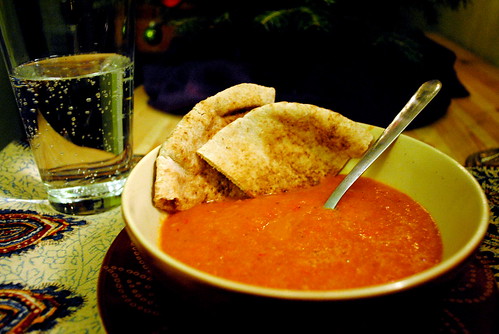
Roasted Tomato and Red Pepper Soup
3 tomatoes (I had beefsteaks, but I think 6-8 romas would be delicious)
2 red peppers
2 tsp minced garlic (or 2 cloves)
2 tsp kosher salt
1 tsp cracked pepper
2 tablespoons olive oil
2 small or 1 large onions
2 cups vegetable stock
1. Preheat the oven to 450 degrees.
2. Cut up your tomatoes and red peppers. There's no science to this - do what works. I quartered the tomatoes and cut the red peppers in half, removing the seeds and stems.
3. Place them on a rimmed baking pan. Sprinkle on the garlic, salt, and pepper. Pour on the olive oil. Make sure everything's coated. It should be a slippery affair.
4. Let roast for 30 minutes, checking occasionally.
5. While the tomatoes and red peppers are roasting, cut up an onion and saute over medium heat in the bottom of a soup pot with a little bit of olive oil, salt, and pepper. Once the onion's looking soft and clear (about 5 minutes), pour in the vegetable stock and let that simmer on low.
6. When the vegies come out of the oven, pour your tomatoes into the soup pot, but keep out the red peppers. You'll want to let those cool a bit so that you can peel off the skins. They'll come right off.
7. Once the skins are peeled, throw in the red pepper.
8. Using either an immersion blender (what I use) or a regular blender, blend it all together. If you're using a regular blender, be careful to do small batches so that you don't blow the lid off your blender (which I have done).
The soup did not disappoint. With a surprisingly rich and creamy flavor, it's like an adult version of your regular ol' tomato soup. I paired mine with some pita bread, but I think a grilled cheese sandwich would be the perfect complement. You could even serve this for company if you made "fancy" grilled cheese with gruyere or gouda or some other fancy g-named cheese. Ooh, now I'm hungry.
I imagine making a huge batch and freezing portions to take out on particularly snowy mornings so that it'll be ready for a quick simmer on the stove when we get home.
What do you make to keep you toasty warm on those cold days?
Katie