Needlepoint Save the Date: Exploit Your Dog


About a year ago, I saw this bandana, made by my friend Caitlin, featured on Brides.com. I knew I wanted to make something like it, but I'm not so great with cross-stitching. And I love the look of appliqued fabric with stitching around it. 


Also, I didn't want to wait to see it around cute little Jammer's neck until our wedding day. 


The solution? Make a needlepoint version for the save the date. 


So I started. 


Using regular ol' Microsoft Word, I picked a font that I liked and printed out our initials and the date the size that I wanted for the bandana. 


I pulled out a bunch of scrap fabric and chose some prints that I thought went together for the letters. 


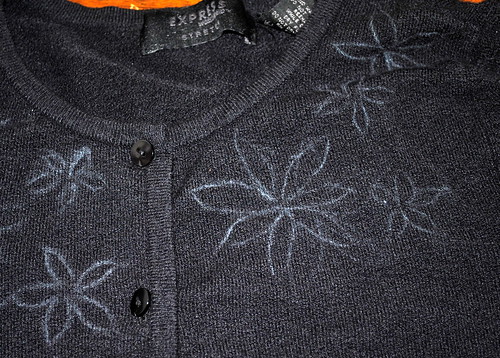
Using tracing paper and a pen, I traced the outline of the letters onto my chosen fabrics. 


After cutting them out, I cut out some light-weight fusible interfacing in the same letter shapes and ironed it onto the fabric according to the instructions. 


I placed the letters onto my fabric, using a straight edge to arrange them, and then ironed them onto the plain fabric I was using for the bandana. 


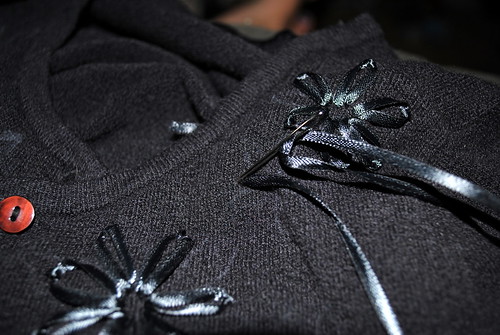
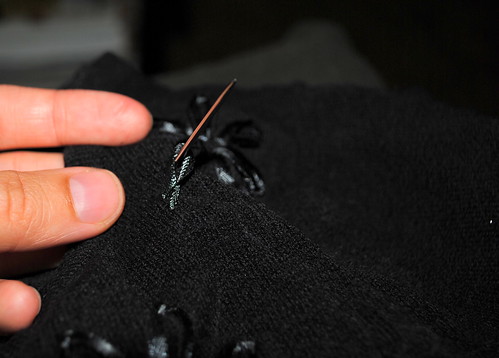
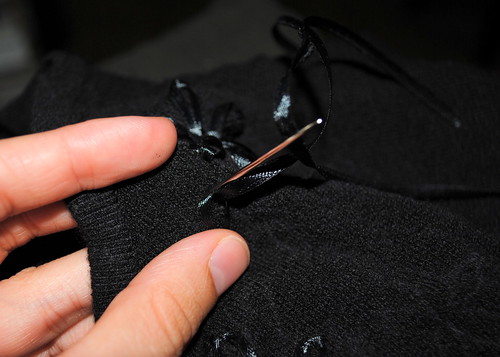
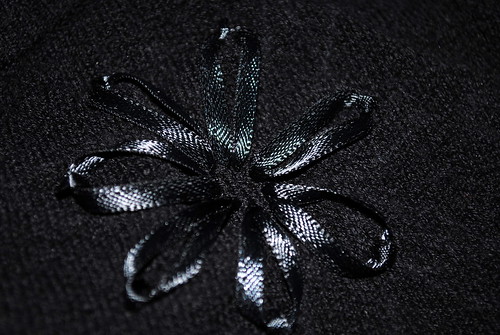
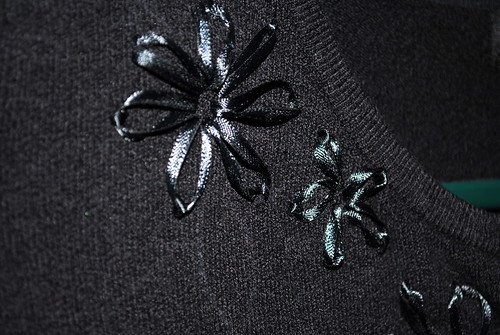
From there, it was time to put the fabric in an embroider hoop, pick a coordinating-color embroidery thread, and begin doing a blanket stitch all the way around each letter. 


I included some pictures of the blanket stitch process, but if you need a great tutorial, I'd check here


Once I had completed blanket stitching all the way around all the letters, I was ready to move on to the date. 


I measured the letters on my fabric and the numbers on my original print-out to find the exact center of each. 


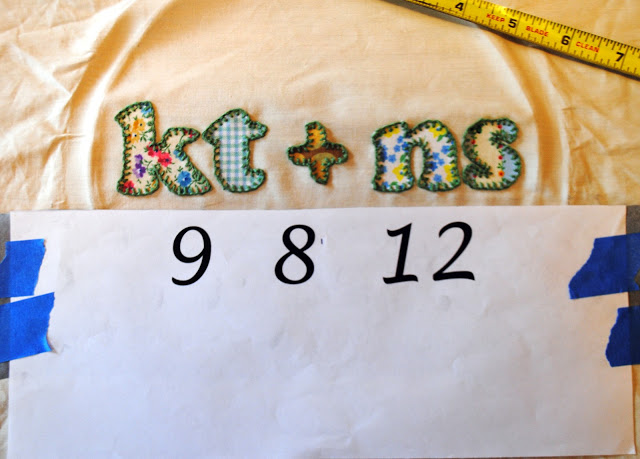
Once I'd lined it up, I traced the numbers onto my fabric.


And then used a basic back stitch for them and sewed a couple buttons in between the numbers. 


The final step was to cut out the fabric into the bandana shape. I used another of Jammer's bandanas as a template. 


And there it was. 


Originally I planned to take a picture just of Jammer with the little needlepoint bandana around his neck, but those pictures just weren't doing it for me. 


He looked so somber that I felt like we were inviting people to our funeral instead of a wedding. 


We decided that we had to get us in the picture somehow. 


This was our first try, but in order to get our hands in the picture the way we wanted, the letters on the bandana were too small. 


But luckily we landed on our final version, with Jammer looking like a stern butler but us looking joyful in the background: 


Katie

Cardigan Makeover

Ever have an article of clothing in your closet that's perfectly functional but a little bland?  I have a black cardigan that I've owned since I was four.  Okay, maybe not quite that long, but it's been with me for at least ten years.  I'm sure that for some of you, once a sweater hits its golden years, it's time to send it out the door and do some shopping.  But I'm trying to cut back on my spending these days.  And it's still my utilitarian dream sweater: black, so it goes with everything; 3/4-length sleeves that don't make me too hot; slightly stretchy; not at all itchy; and it still has all its buttons.  Also, would Laura Ingalls throw a good sweater out just because it was boring?  Just sayin'.


Sweater Before
You can't tell from this photo, but it's really faded.


So here's how I took my plain ol' faded cardigan and remade it into this snazzy number:


This sweater is the bomb diggity
You can't argue.  It's snazzy.


First, I went all double, double, toil and trouble on it and dyed the cardigan with basic Rit dye. 

Dying


It went from sort of black to jet black.  Perfect. There may or may not have been a brief terrifying moment when I thought I had dyed little black dots in the bathtub from the sweater dripping dry.  Thank goodness for bleach.

Anyway, after the sweater was dry, I sketched out a quick design of flowers.  I actually didn't end up keeping to this design much, but it gave me confidence for the actual embroidery part.

Tailor's Chalk


I knew I wanted embroidered flowers, but I thought traditional embroidery floss might not show up well and also might give the sweater more of a country-sweet look than I was going for.  So I opted for a simple thin satin ribbon, purchased from Michaels for $1.99, along with a yarn needle.

I used a lazy daisy stitch for the flowers.  You can find basic tutorials for the lazy daisy stitch here and here.  But essentially, you bring your needle up through the fabric at point A.

You pull the thread (or ribbon) almost all the way through, leaving a tail or knot on the wrong side of the garment, and then thread the needle back through point A.  Don't go all the way, though.

Lazy Daisy 1


Leaving a loop of thread on the right side of the fabric, bring your needle up on the inside of the loop (B)
Lazy Daisy 2


And then down right on the outside of the loop (C).  It's a little difficult to see with black on black, so I recommend visiting one of those tutorials I mentioned above.

Lazy Daisy 3


When you're finished, you have a lovely little flower like this.

Flower 2
Flowers
Sweater After


And then several flowers (and one episode of Little House on the Prairie) later, you've turned a drab sweater into a unique and stylish cardigan.

I wonder what I'll make next


Hmm....what am I going to embroider next?

Any items in your closet that need a pick-me-up?

Katie


Linked up today at


http://www.thethriftyhome.com