
Easiest Burlap Floor Pillow
/
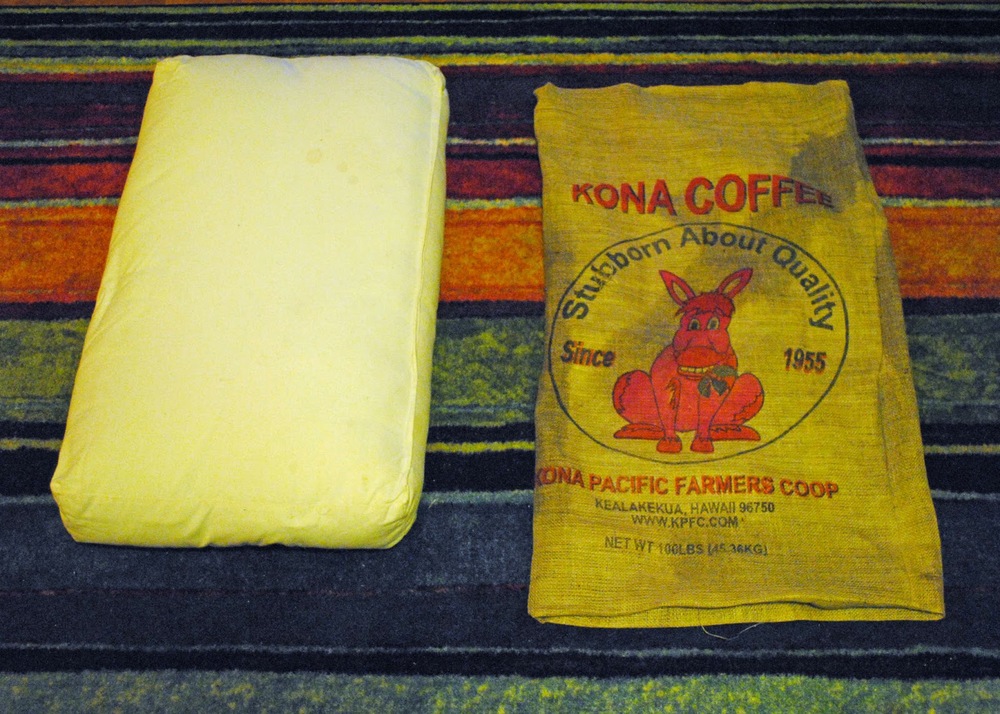
During a trip to Costa Rica about five years ago, my wife and I visited a coffee farm, which was fascinating and delicious. While there, I bought a burlap coffee bag so that I could make a burlap floor pillow.
In my house growing up, we had two enormous floor pillows. I think my grandmother made them, or at least helped my mother make them, out of carpet remnants or something similarly thick and stiff. They were definitely the heaviest floor pillows anyone has ever owned. But I have the fondest memories of them - lounging on them, using them as the base for blanket forts, snuggling against them while I watched a movie. I've always been a floor person.
So I've carried this burlap coffee bag with me from apartment to apartment to house so that I could have my own floor pillow. Of course, I am a person who still hasn't finished the quilt I started 10 years ago, so I basically just forgot about the coffee bag while it languished in my fabric stash. In the meantime, we had acquired a large pillow because of a torn sofa cushion and a mix up with Ikea. We've carried it from apartment to apartment to house. I even picked out some fabric samples to cover it almost 3 years ago.
When I was cleaning out my studio a few weeks ago, I organized my fabric stash and Hey! There's that burlap coffee bag!
So I pulled it out and tugged it onto the pillow, absolutely delighted that it fit perfectly, meaning that creating my burlap floor pillow was going to be the easiest project ever.


Steps:
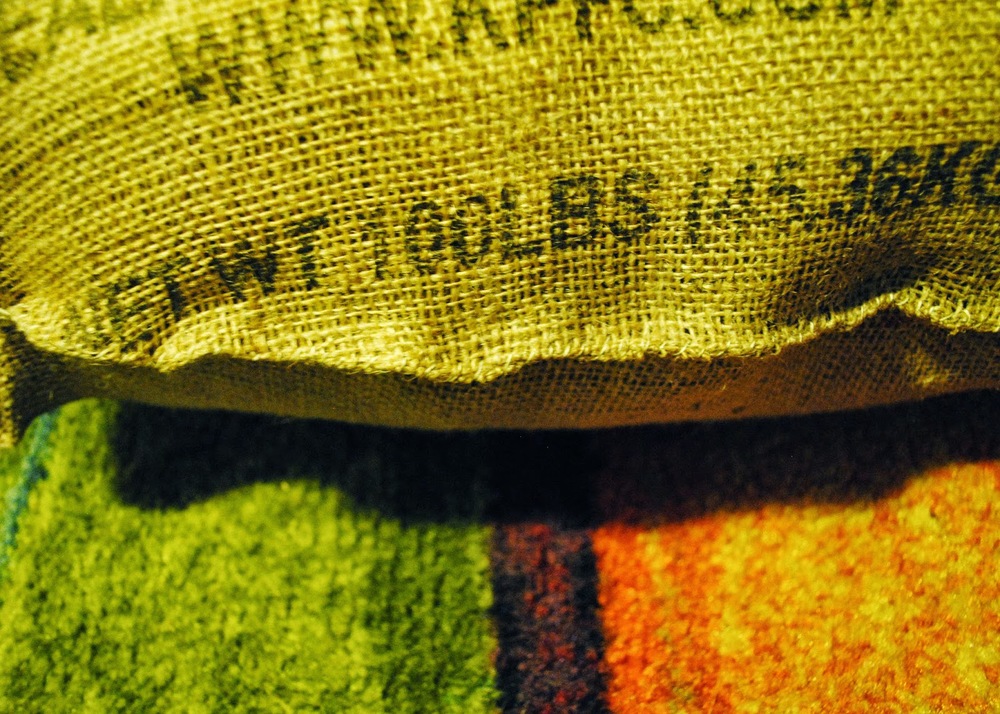
1. Iron the burlap bag. Relying on a little advice from the internet, I ironed the burlap by pouring water directly onto the bag, rubbing it in, and then ironing that area. The steamer on my iron is broken, but I'm not sure that would have gotten it wet enough anyway. [I don't have a picture of this step, but you can see the wet spots on the burlap in that first picture.]
2. Shove the pillow into the burlap bag.
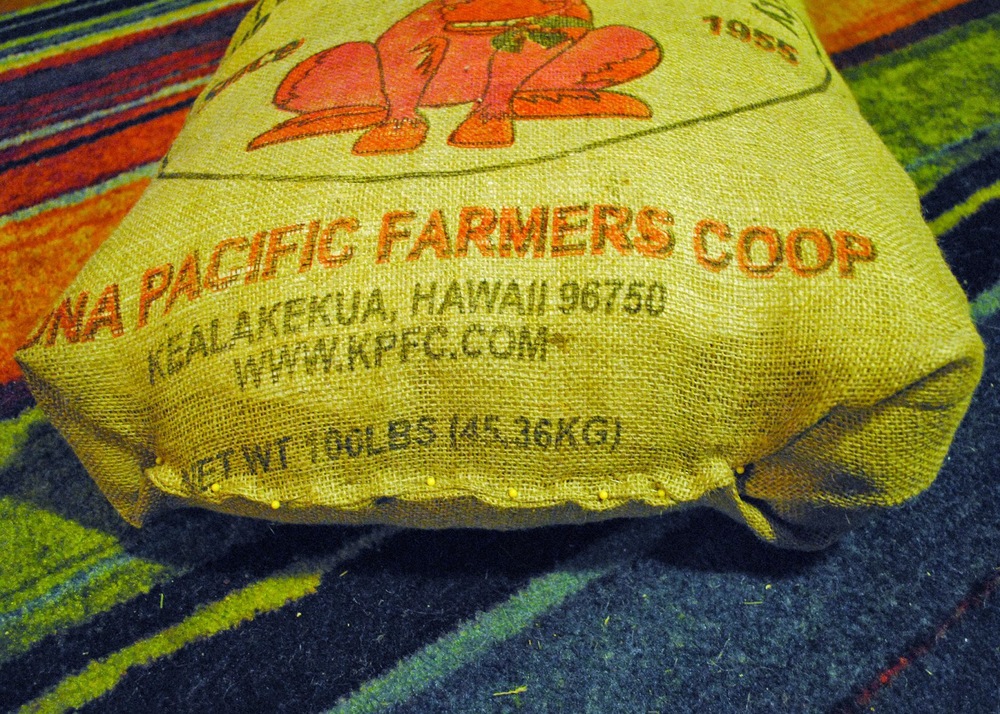
3. Fold the bottom (or actually, the top) of the bag around the pillow and pin in place. This took a little bit of maneuvering to get it all situated the way I wanted.
4. Using needle and thread, stitch the opening closed where you pinned it.
That's it! All together, it took me less than an hour. It's not the most refined edge, but this is a burlap floor pillow we're talking about. I'm not sure refined is the way to go.
I love that the pillow now goes with our room - it looks like it belongs there instead of just being a random off-white pillow we threw on the floor.
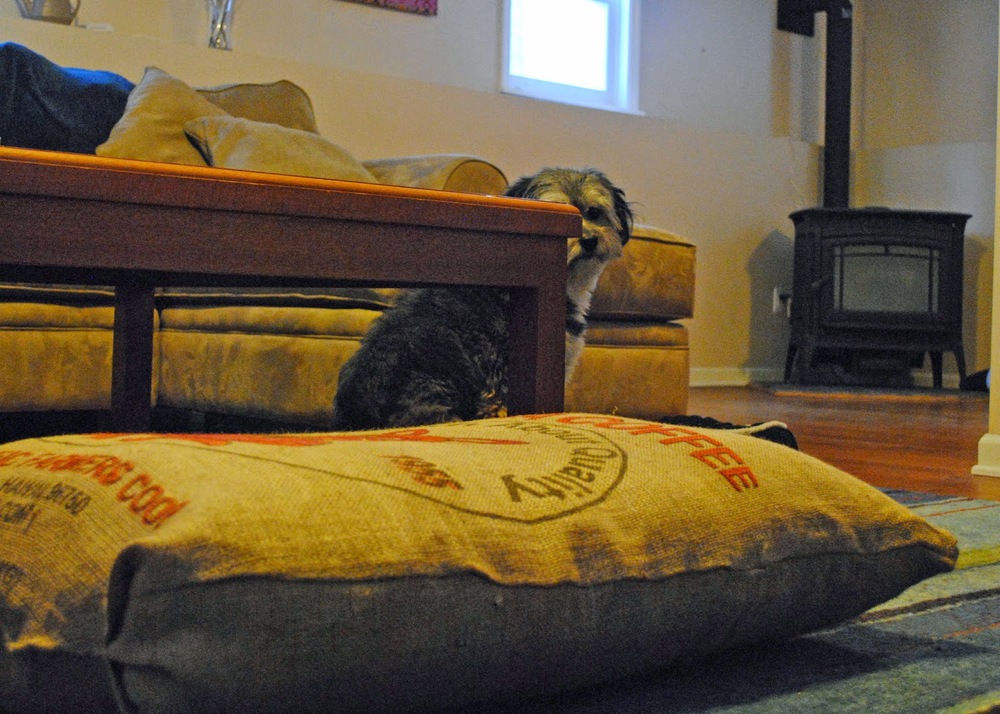
Jammer's not convinced, but he's a skeptical guy.
p.s. This reminded me of collecting hundreds of pillowcases for the pediatrics ward in Rwinkwavu, Rwanda. What an amazing experience that was.


