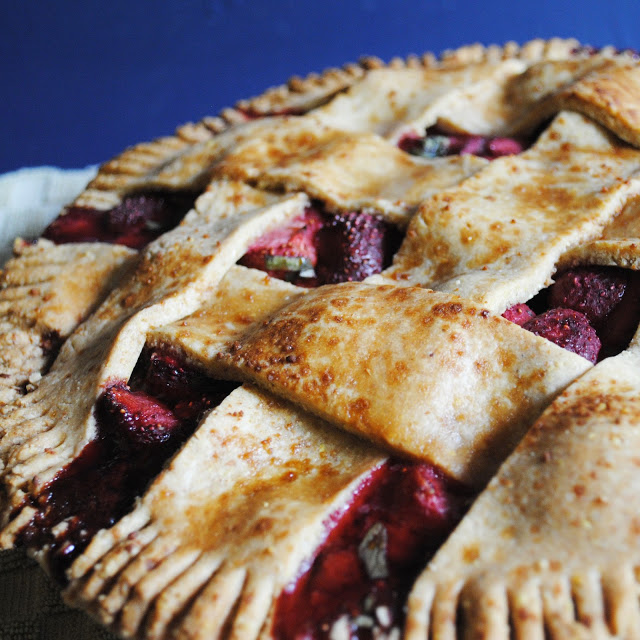
Project Pie: Pear Cranberry Pie
/
Project Pie: I'll be baking 24 pies before Pi Day 2016 to get over my fear of baking pies. And to eat delicious things. You can join me by posting about your pies in the comments or tagging your twitter, instagram, or facebook posts with #projectpie. Make something scrumptious and gooey!
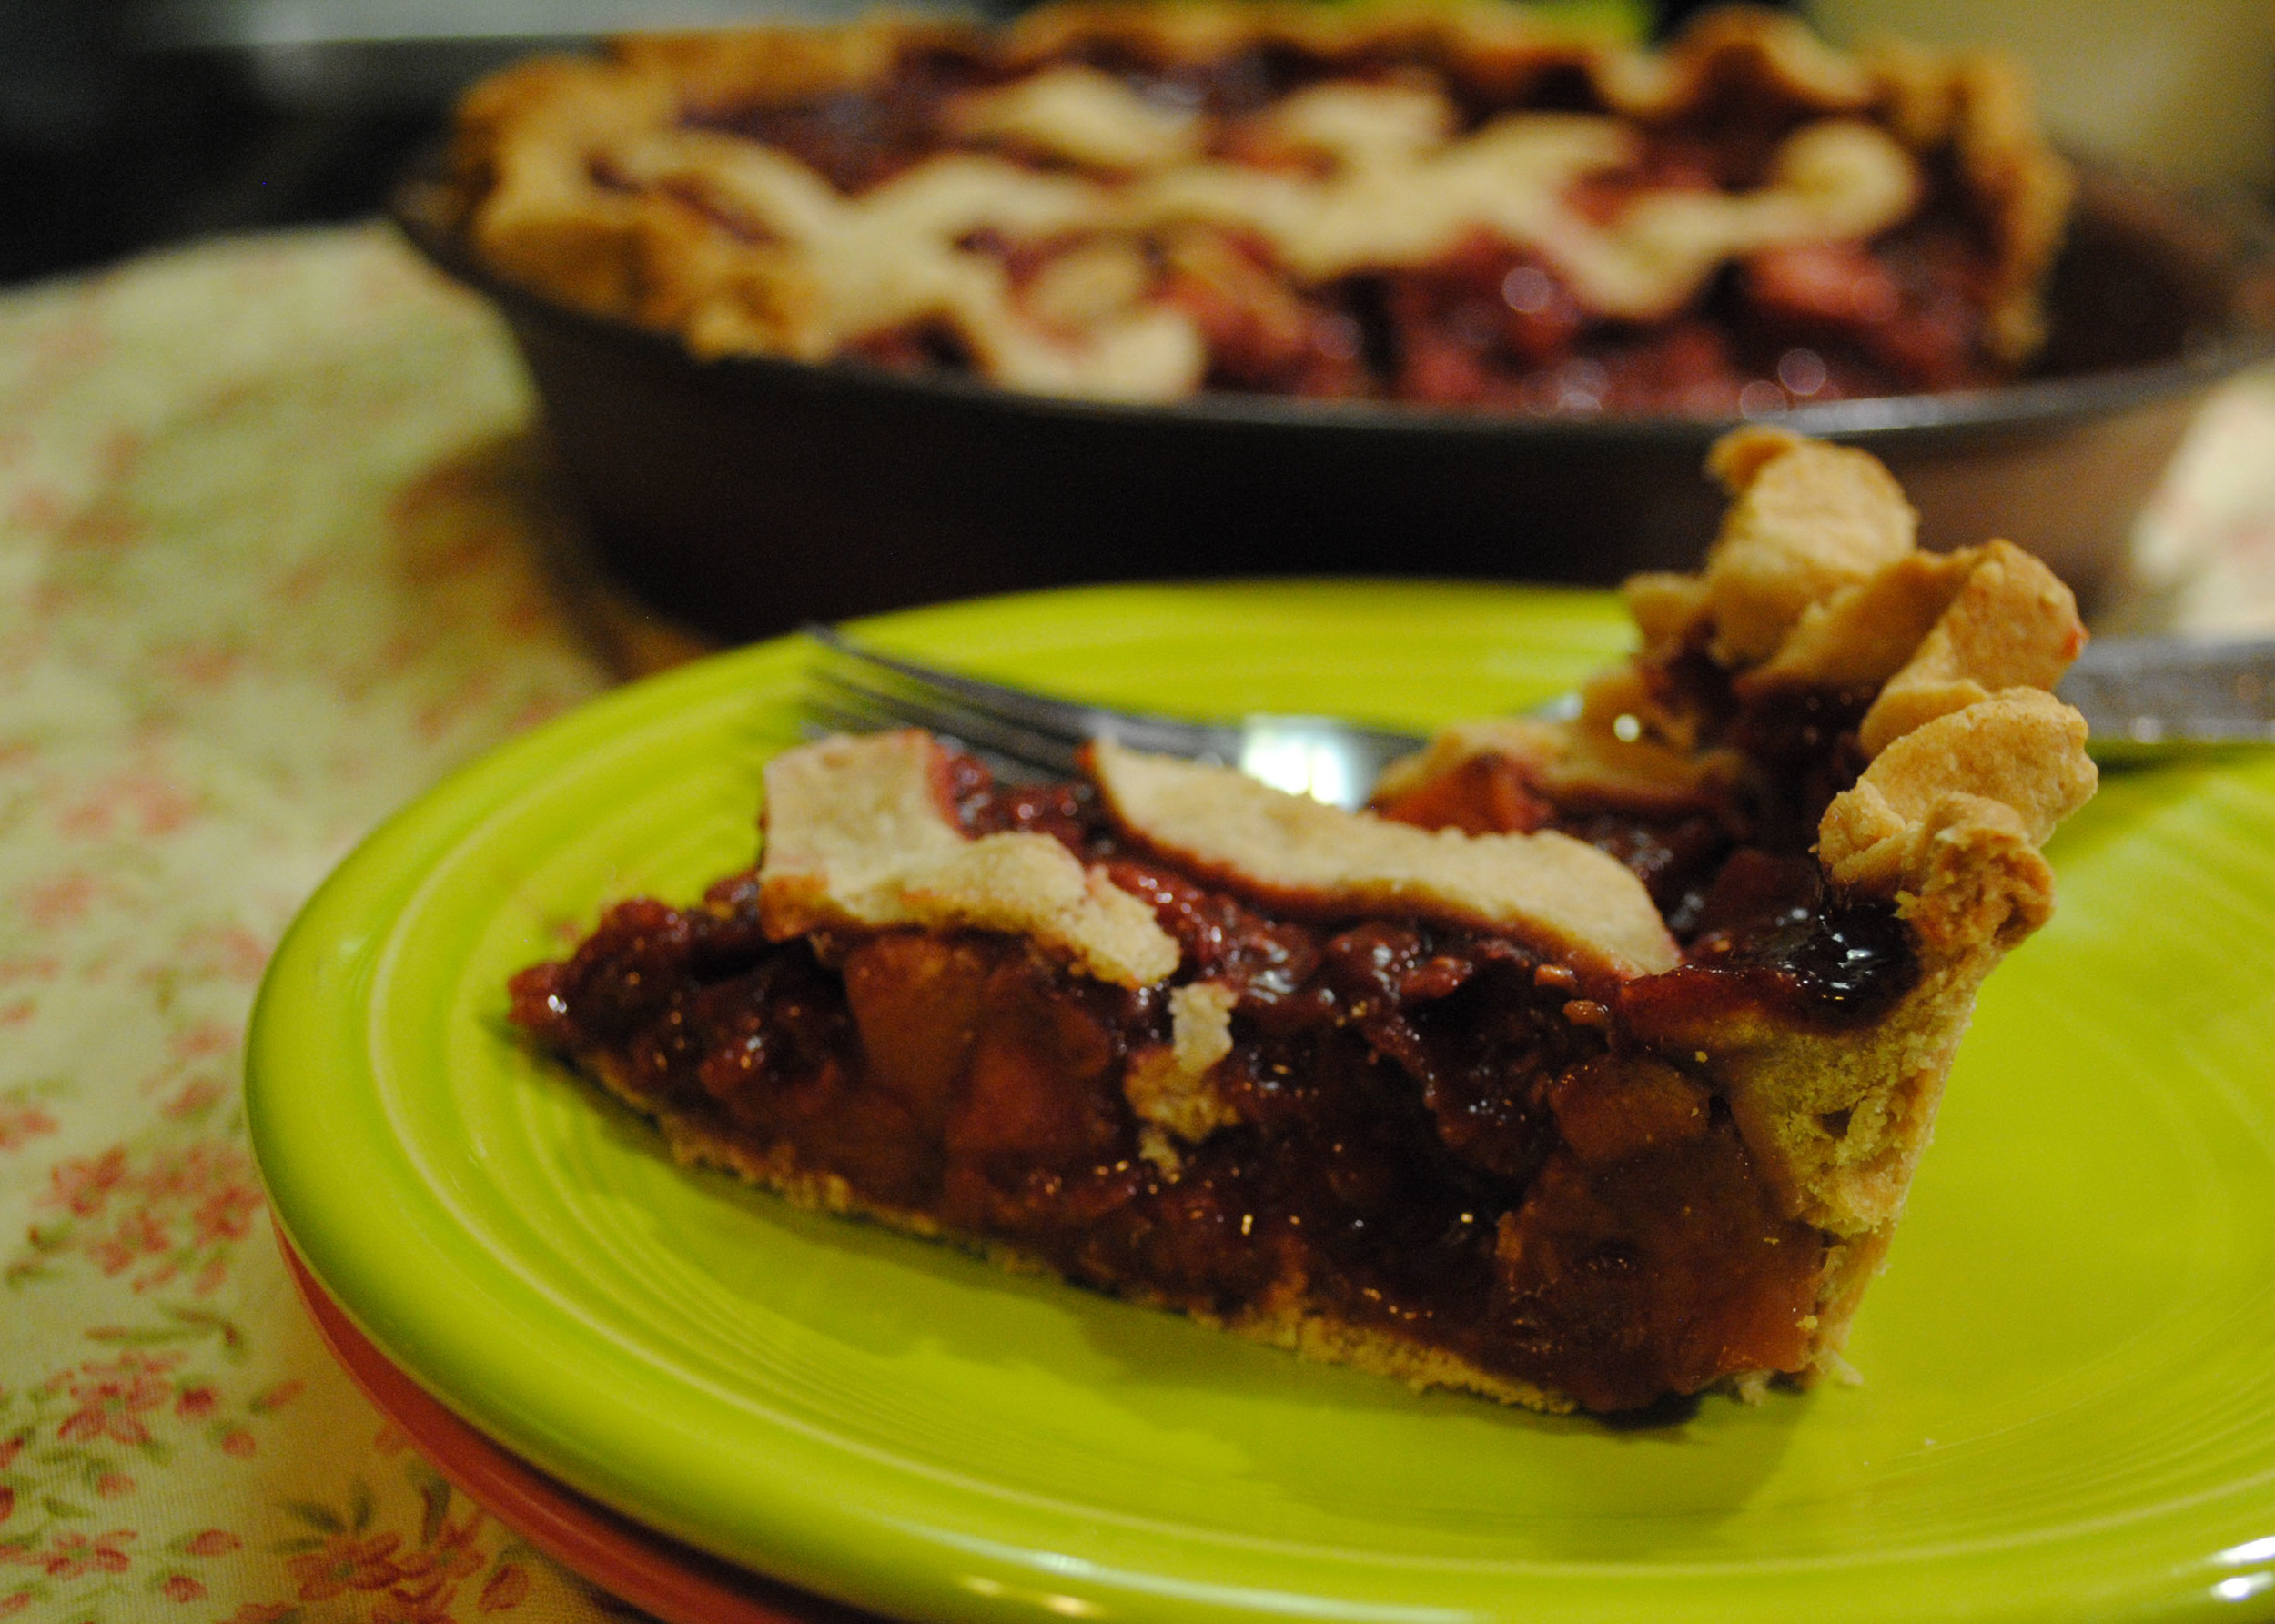
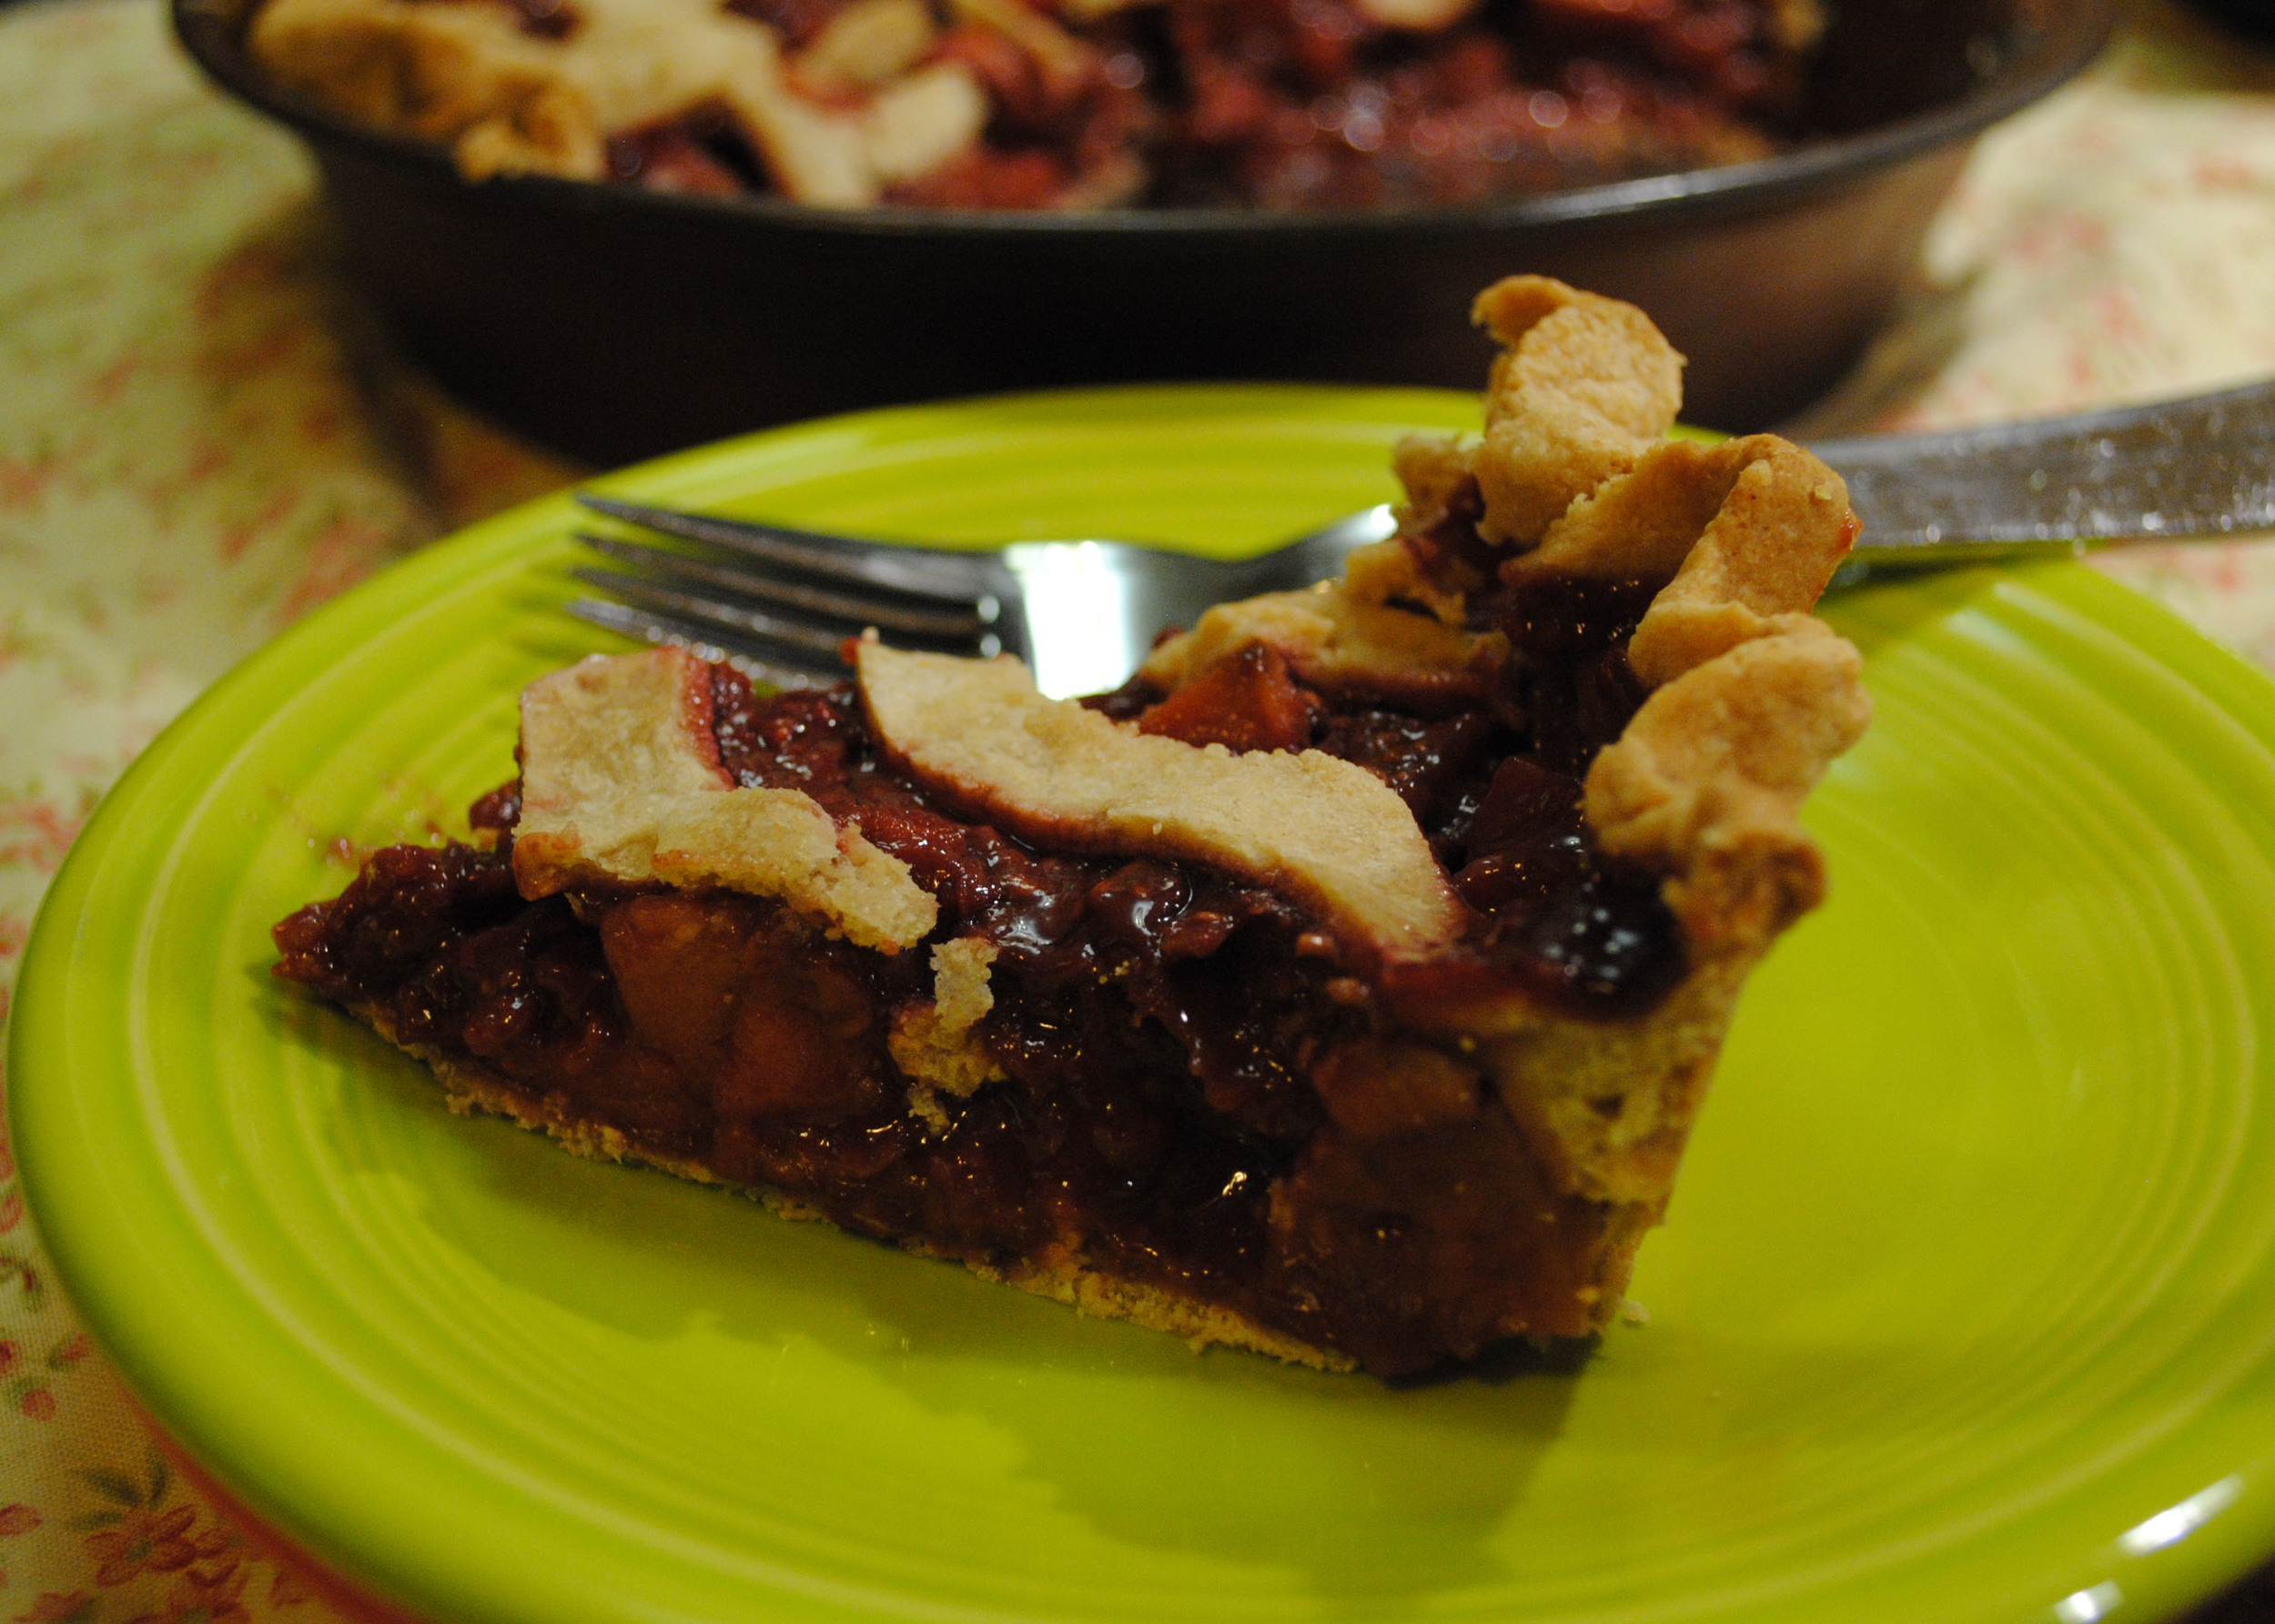
I was pretty worried as I walked out of the house with the sticky pie plate, setting it gingerly on a towel in the passenger seat. The pie looked okay, but I could see whole cranberries poking through the top, and I was concerned they hadn't squished down and mixed with the pears while it cooked. What if they weren't sweet? What if the whole thing tasted like crap, and here I was bringing it to a big Friendsgiving potluck?
I was first at the dessert table after I'd finished my meal, anxious to test a piece out before anyone else got to it. I had a notion that if it wasn't any good, I'd just grab the pie plate and walk it out to my car before anyone else had a chance to eat any.
I cut myself a slice and took a bite.
You guys.
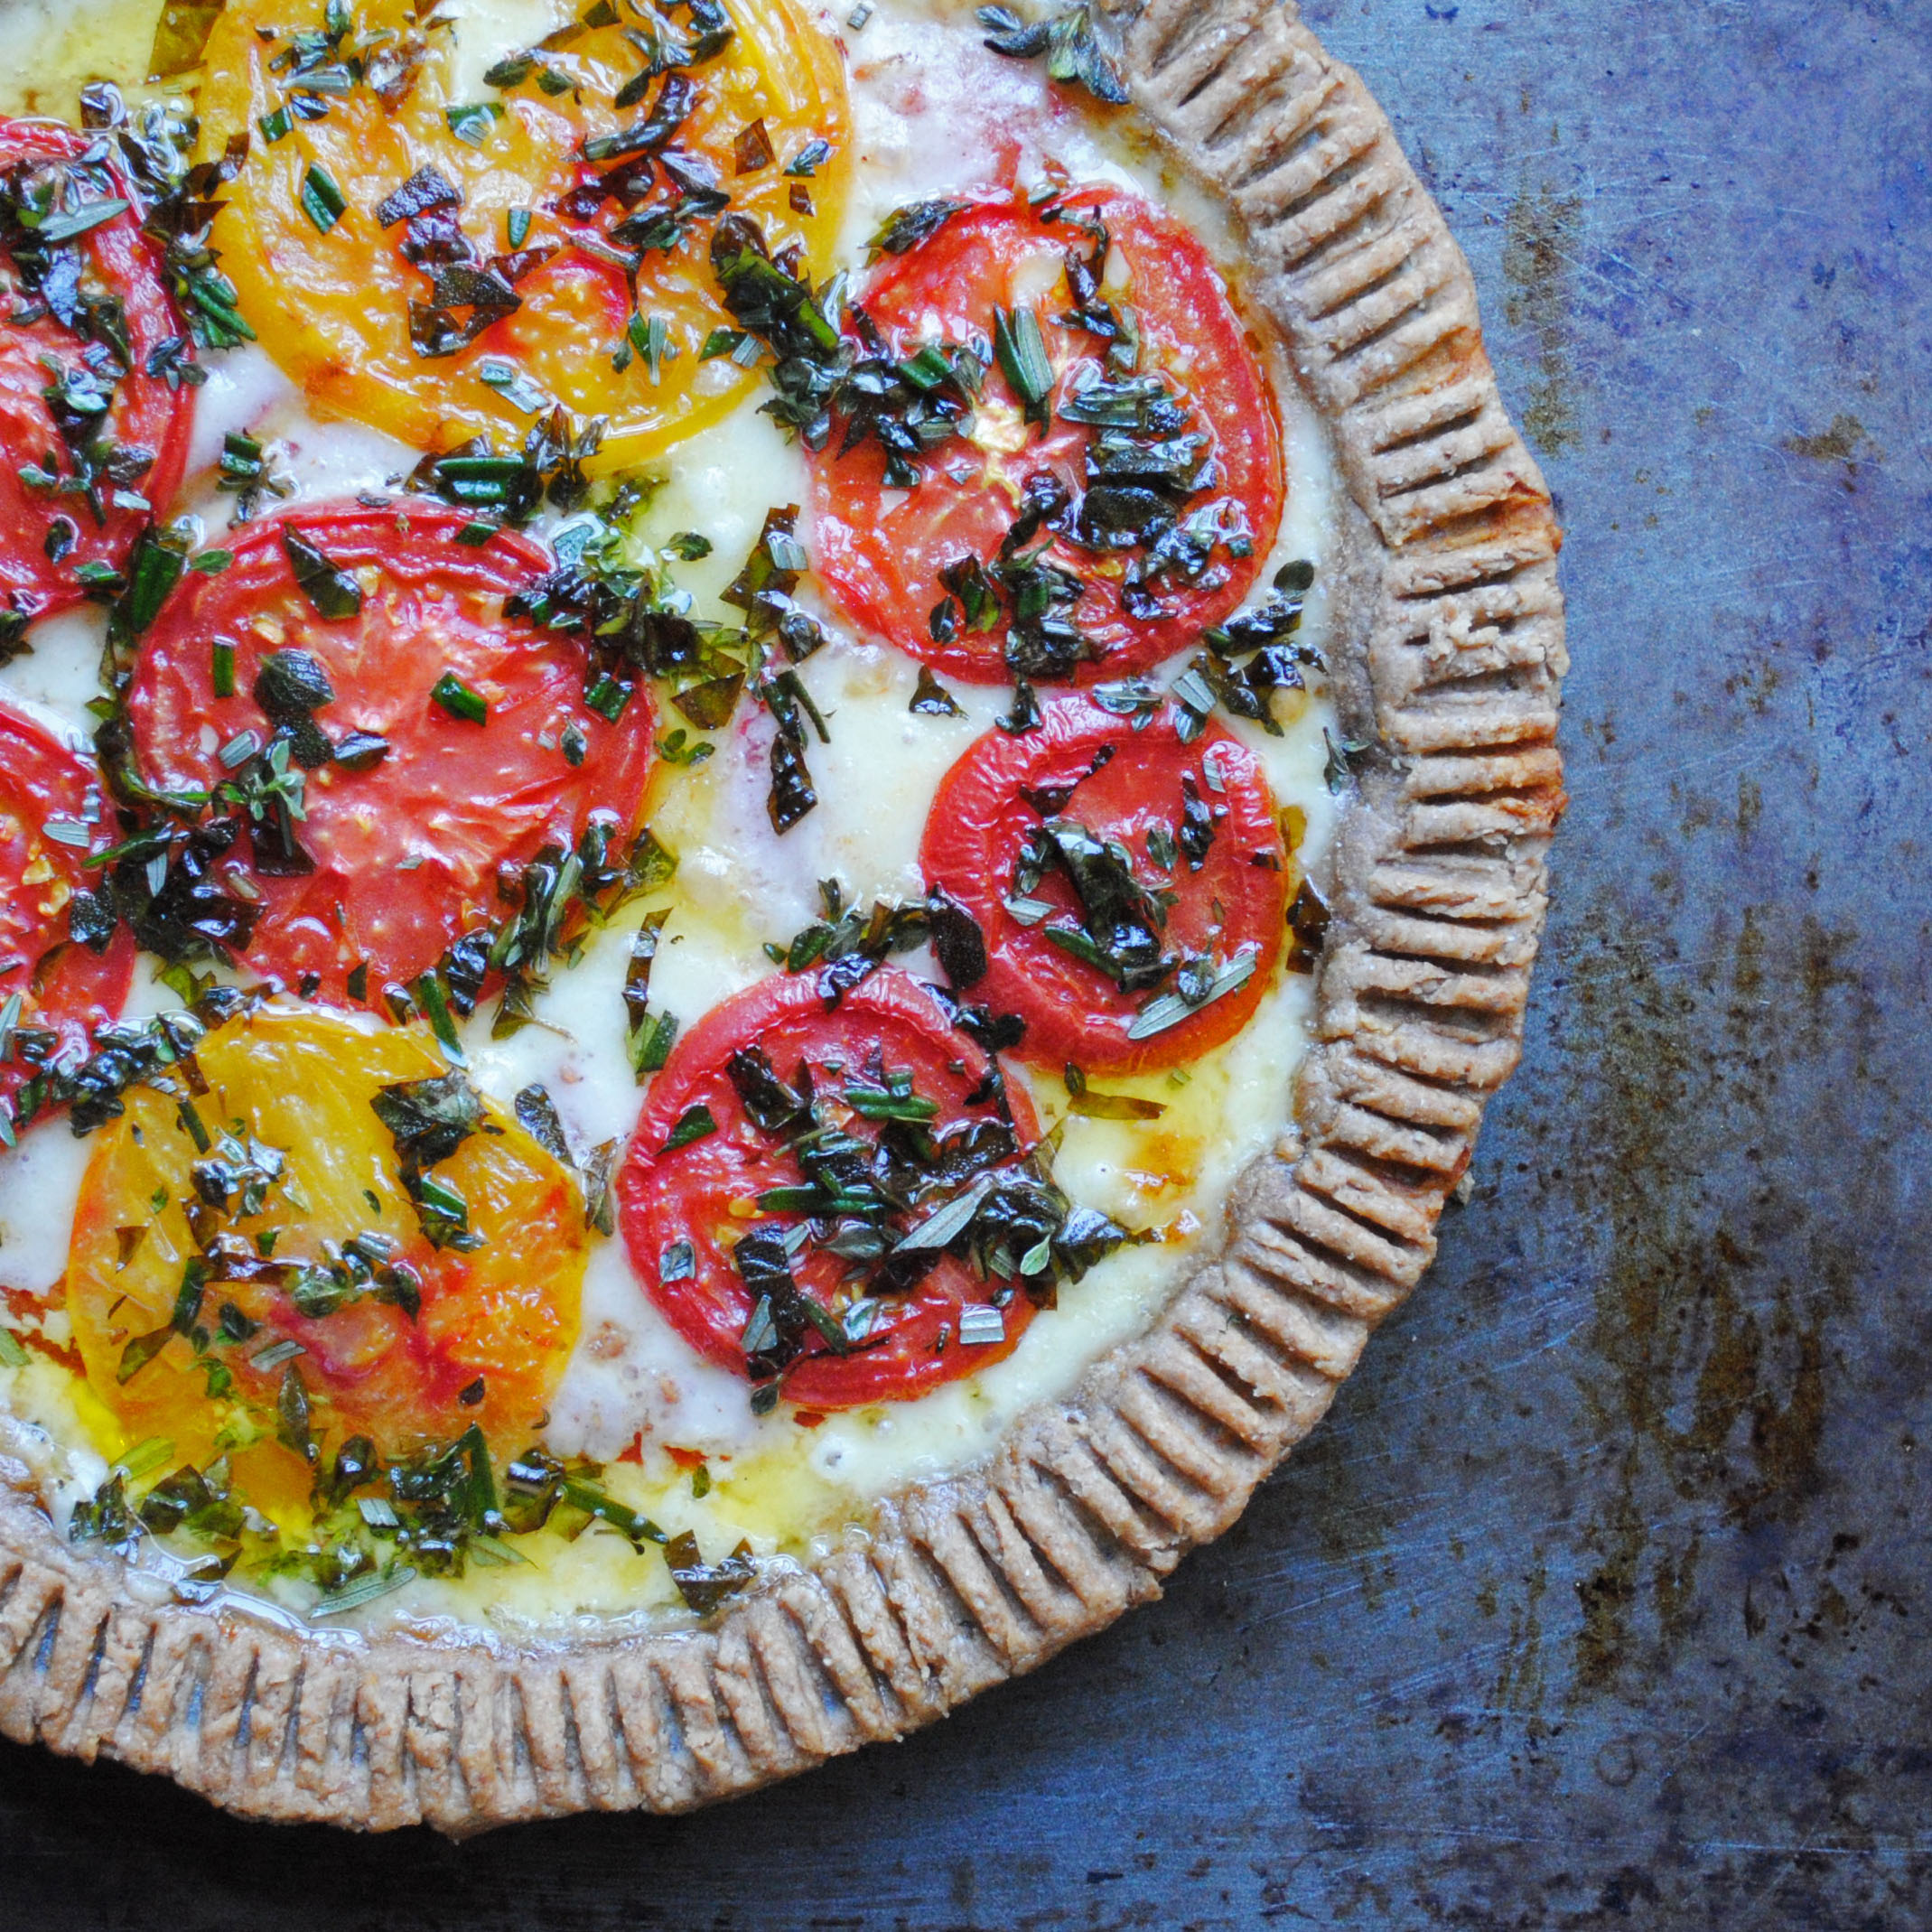
It's hard to pick favorites among the 18 pies I've made so far. Can I really compare the flavors of something I ate this weekend to something I ate six months ago?
Probably not, but even so, this pie is my favorite.
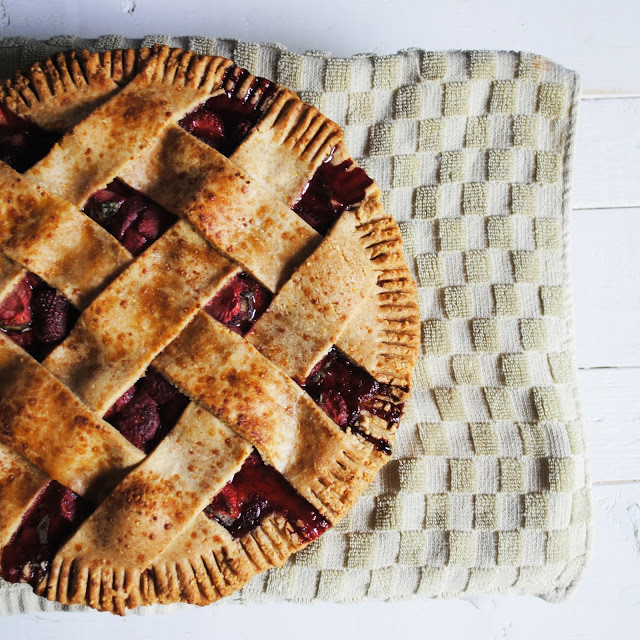
The distinct sweetness of the pears, thinly sliced and perfectly soft, combined with the slightly tart pop of a cranberry, combined with the buttery, flaky crust? It's the closest to perfection I've come in the pie-making process.
It tastes like a cozy fall afternoon and a fresh spring day at the same time. I want to eat this pie forever and always.
Pear Cranberry Pie (with spelt crust)
Adapted from The Joy of Cooking
Crust:
2 1/2 cups white spelt flour (or sub all purpose)
1 teaspoon white sugar
1 teaspoon salt
8 tablespoons cold unsalted butter
1/2 cup shortening, room temperature
1/2 cup plus 1 tablespoon ice water
egg or milk + sugar for glaze
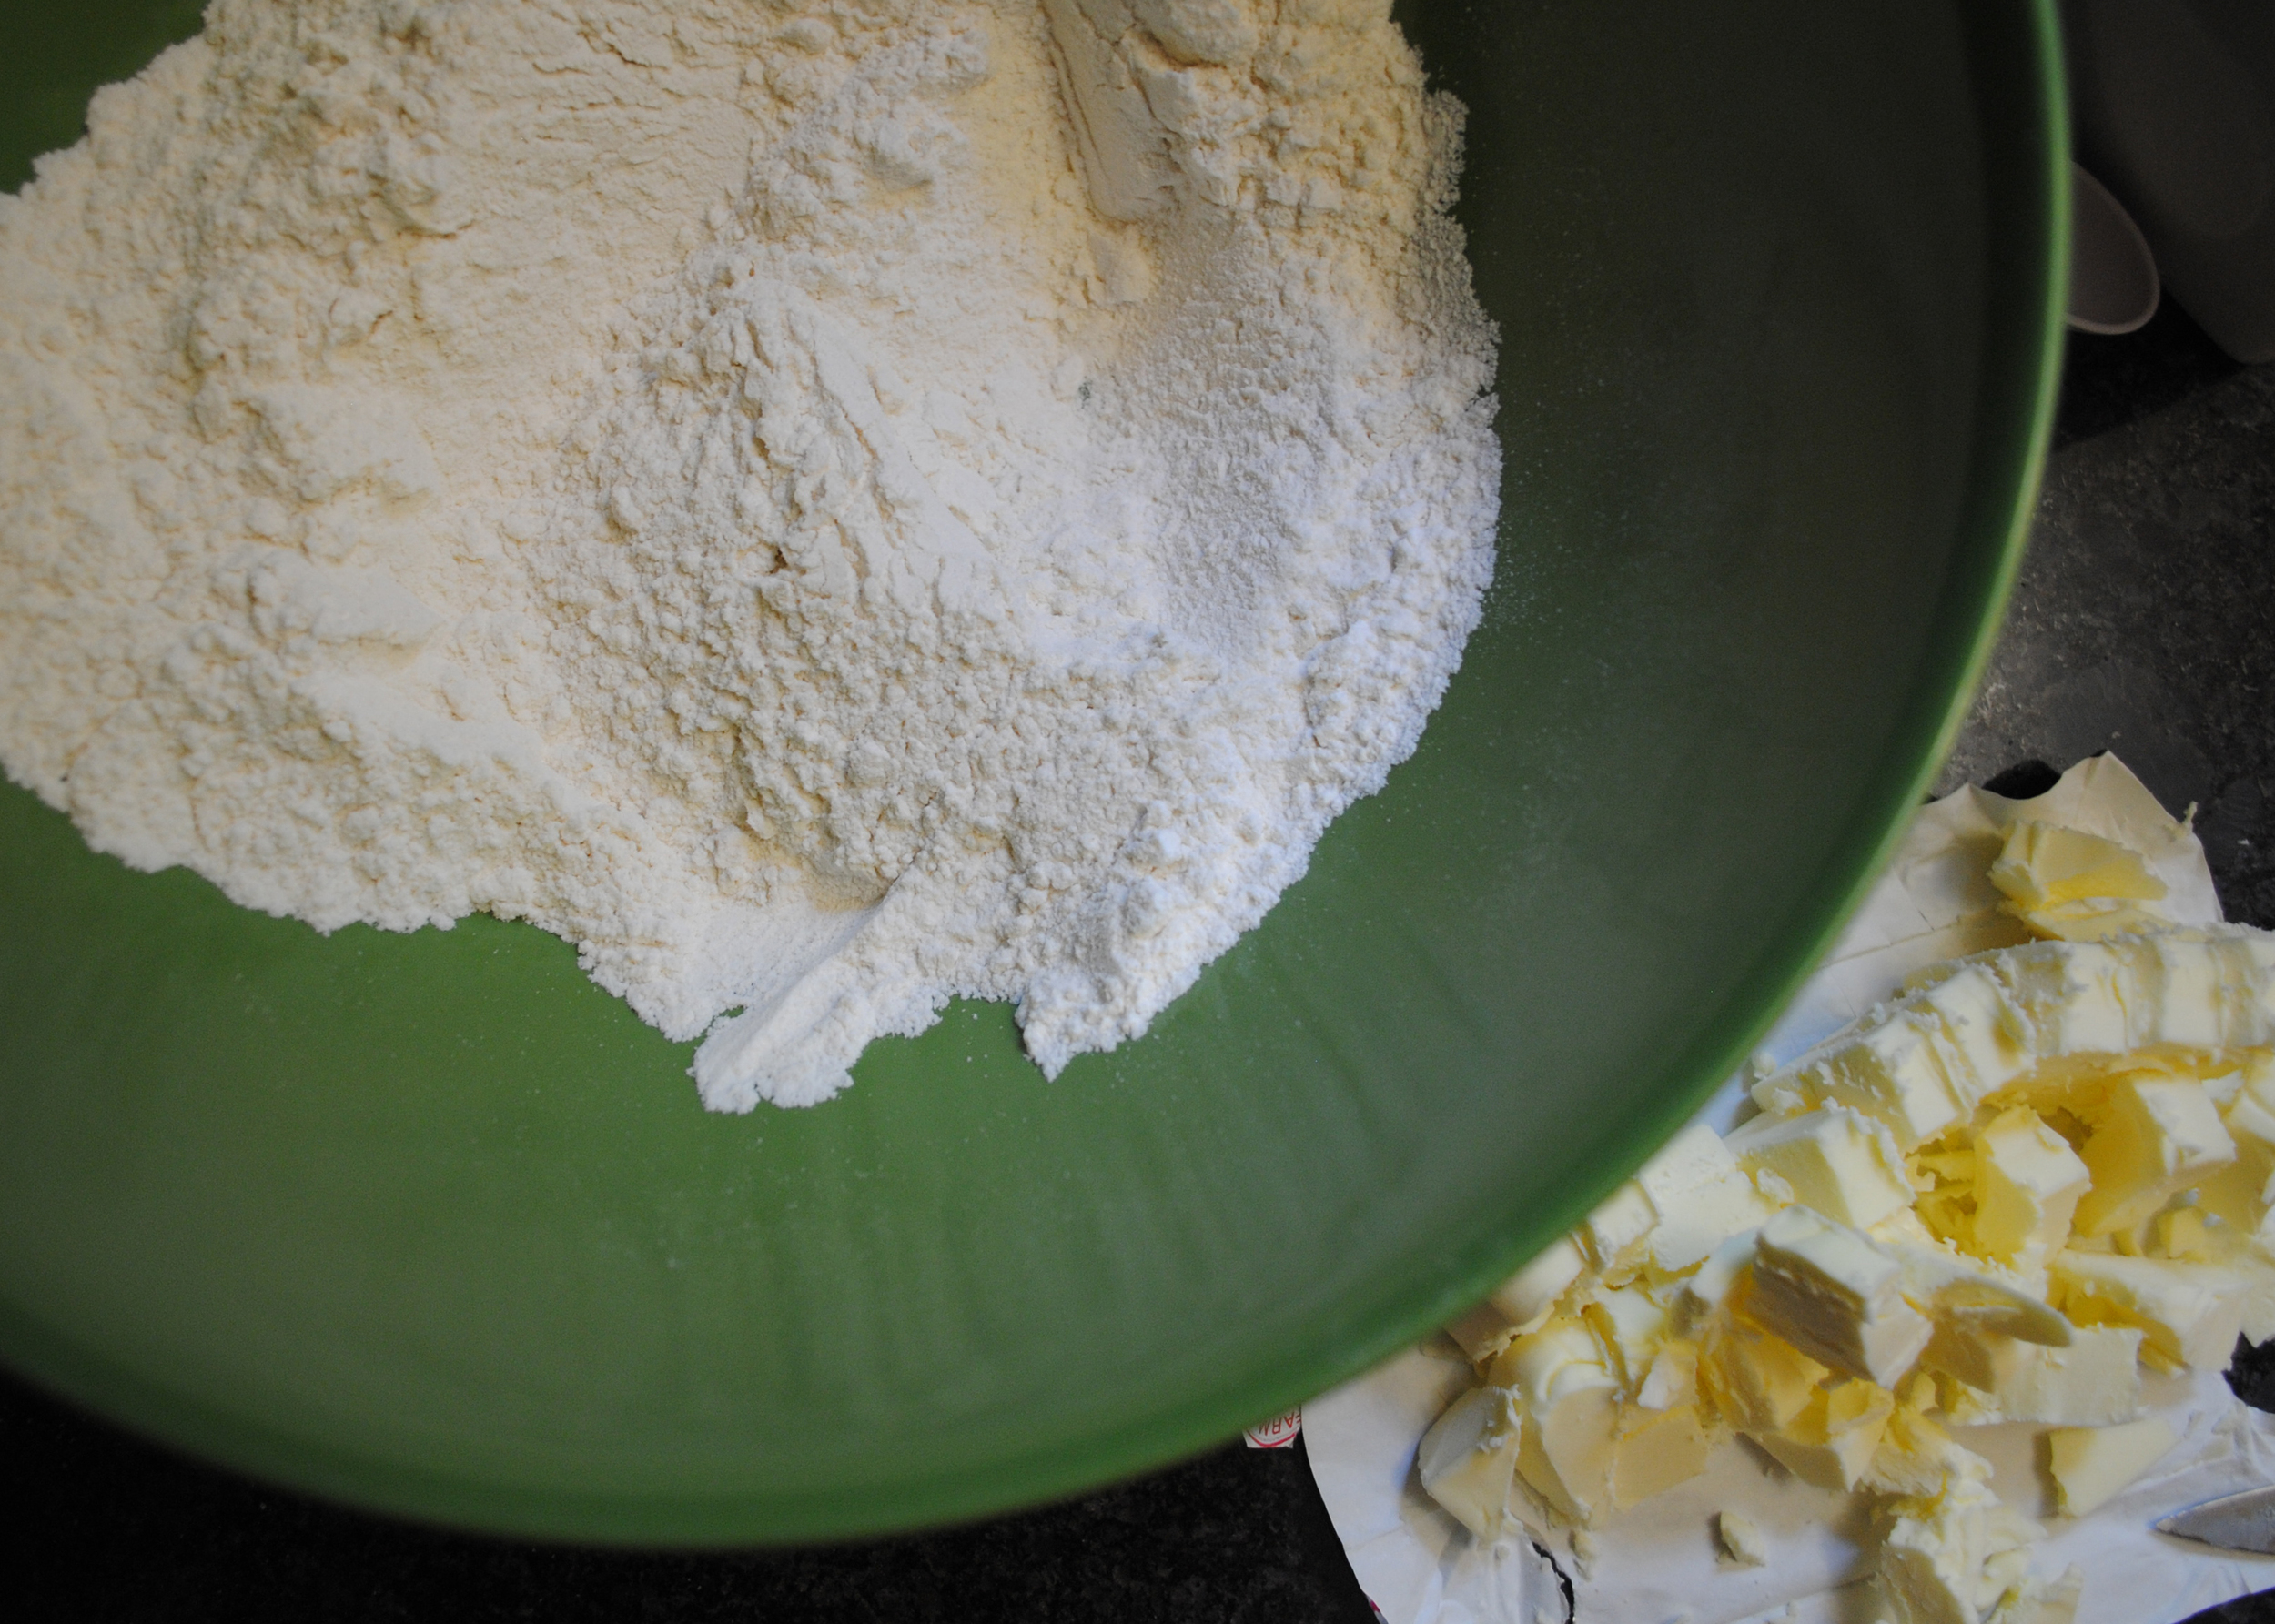
1. Quickly mix the flour, sugar, and salt together in a large bowl.
2. Break the shortening into large chunks and cut your butter (from the freezer) into small pieces. Add the butter and shortening to the flour mixture. Cut it into the dry ingredients by chopping vigorously with a pastry blender or cutting it with two knives. Work quickly so the butter does not melt. Make sure you are getting all the flour off the bottom of the bowl. Stop when the mixture has some pea-sized pieces and is mostly a consistency of dry, coarse crumbs, like cornmeal.
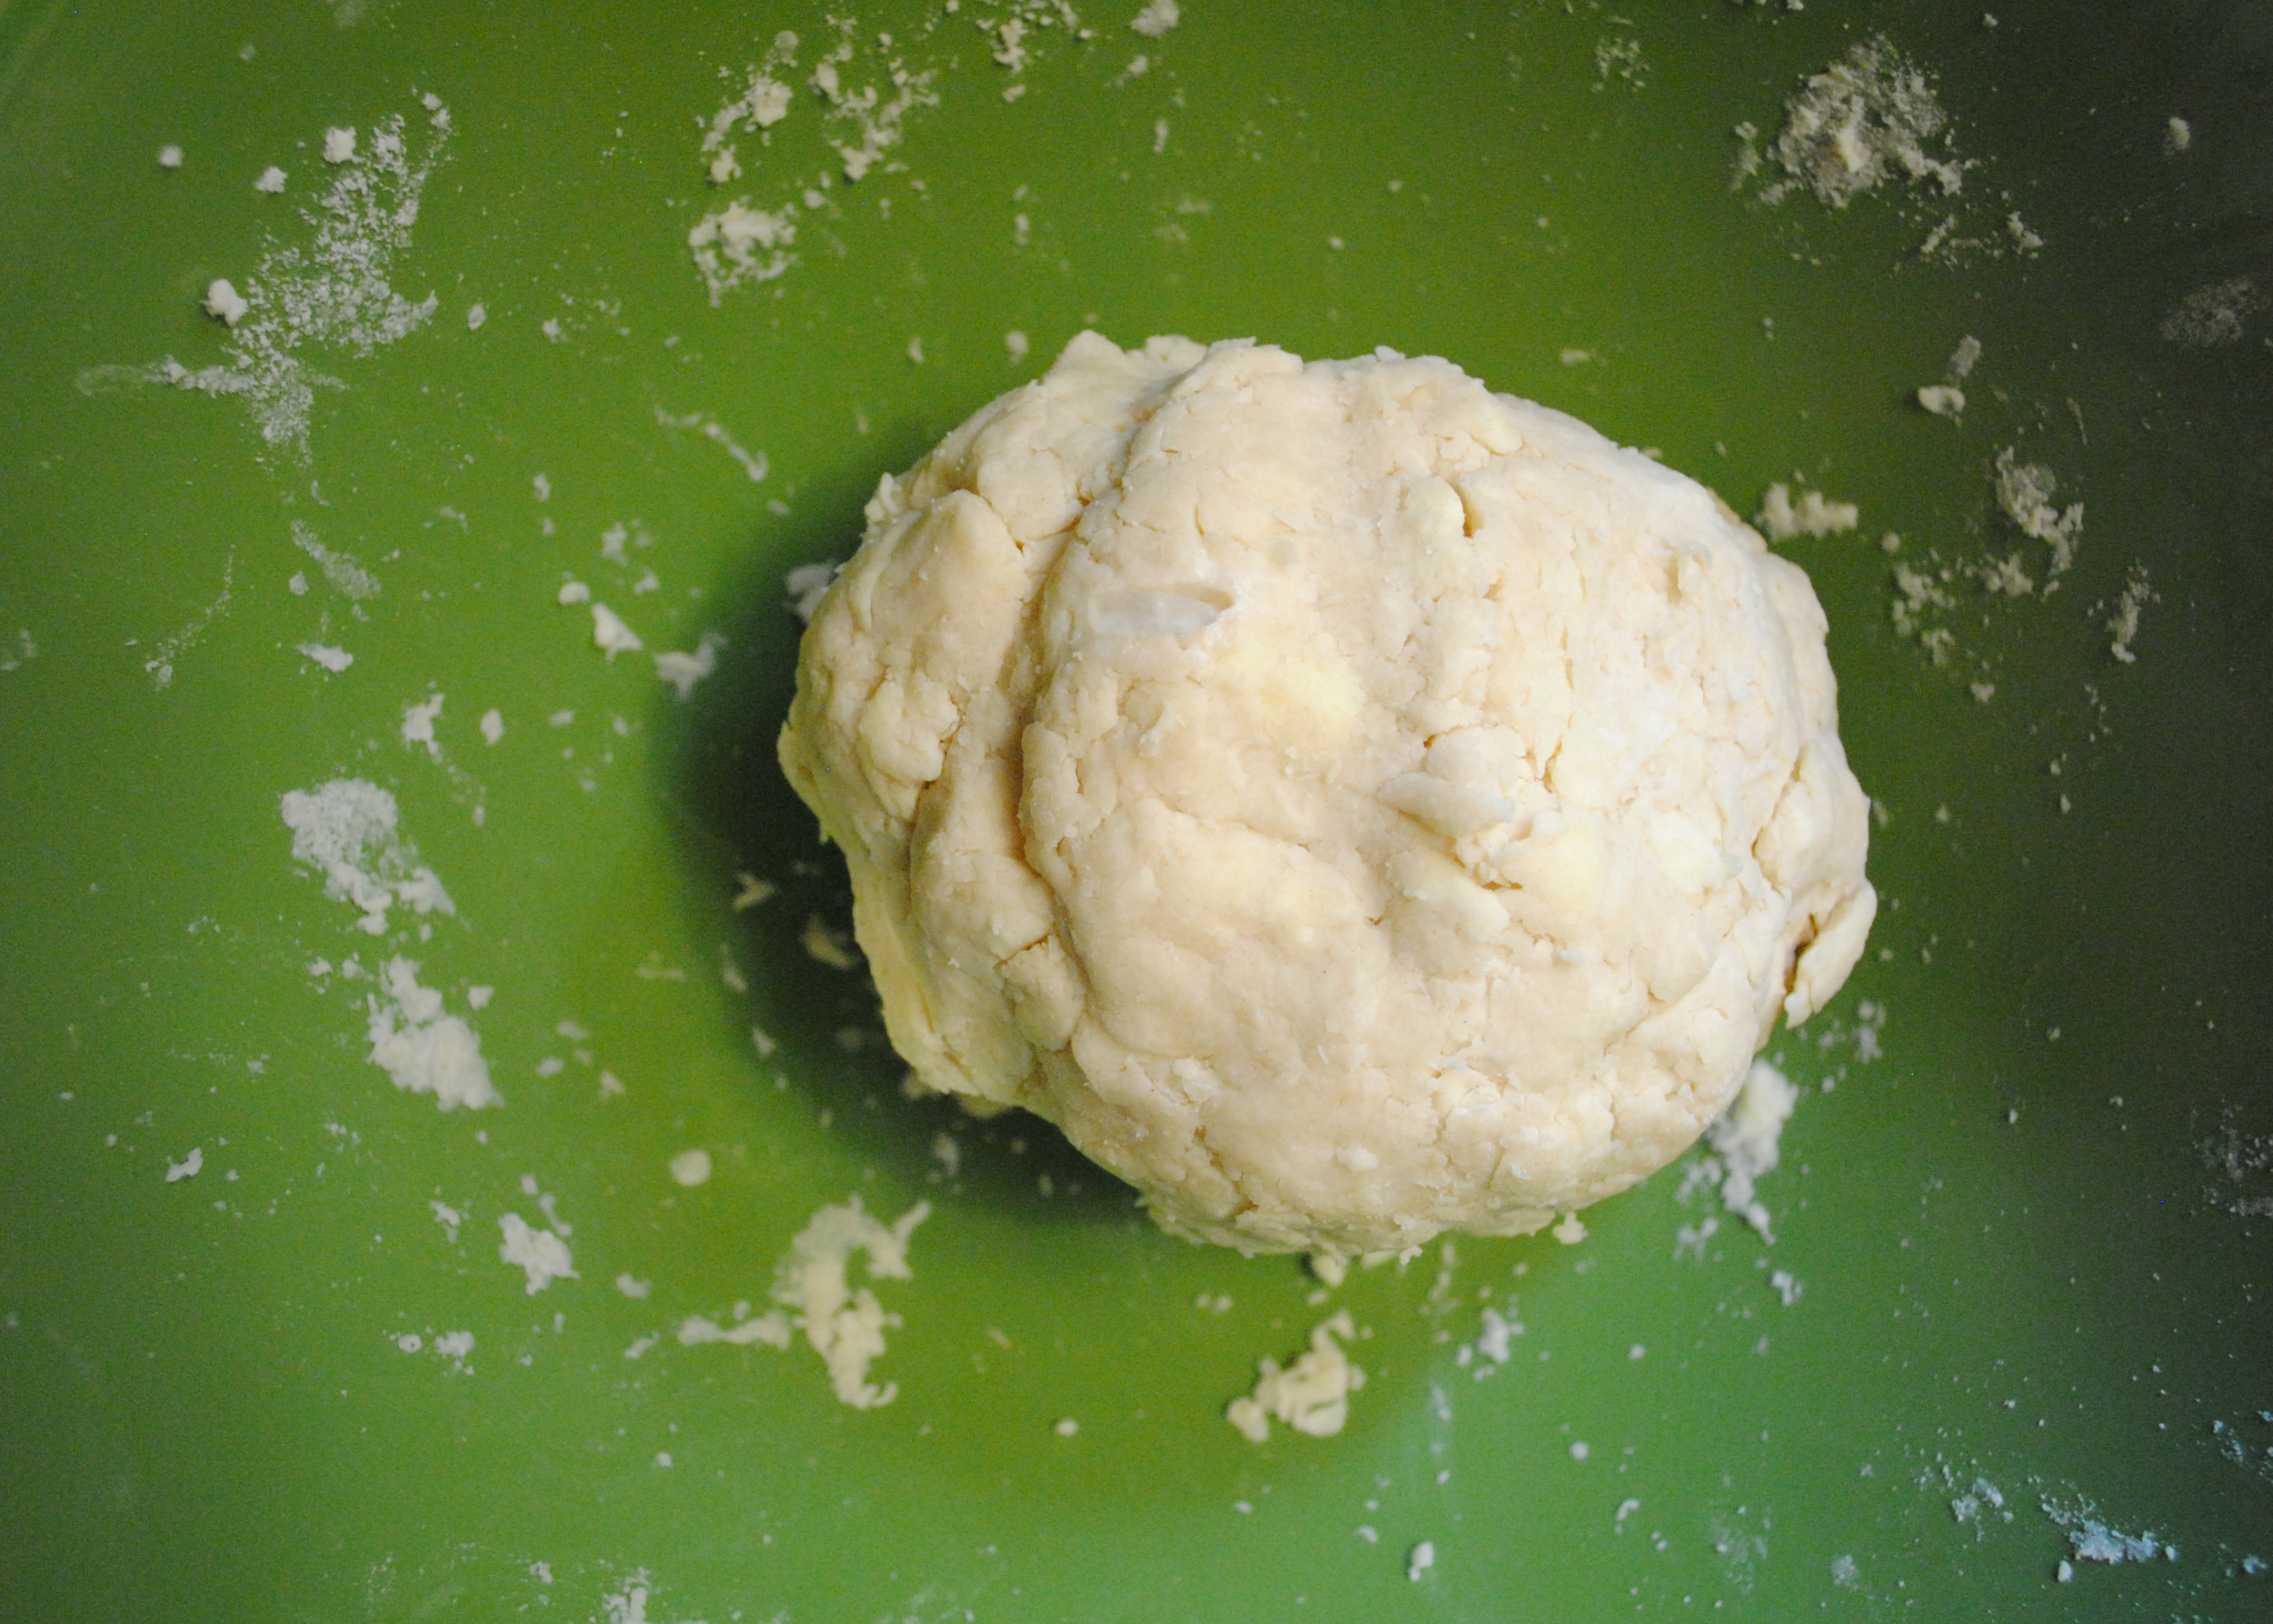
3. Drizzle the ice water over the top. Using the blade side of a rubber spatula, cut into the mixture until it is evenly moistened and small balls begin to form. If balls of dough stick together, you're done. If they don't, drizzle 1-2 more tablespoons of water over the top.
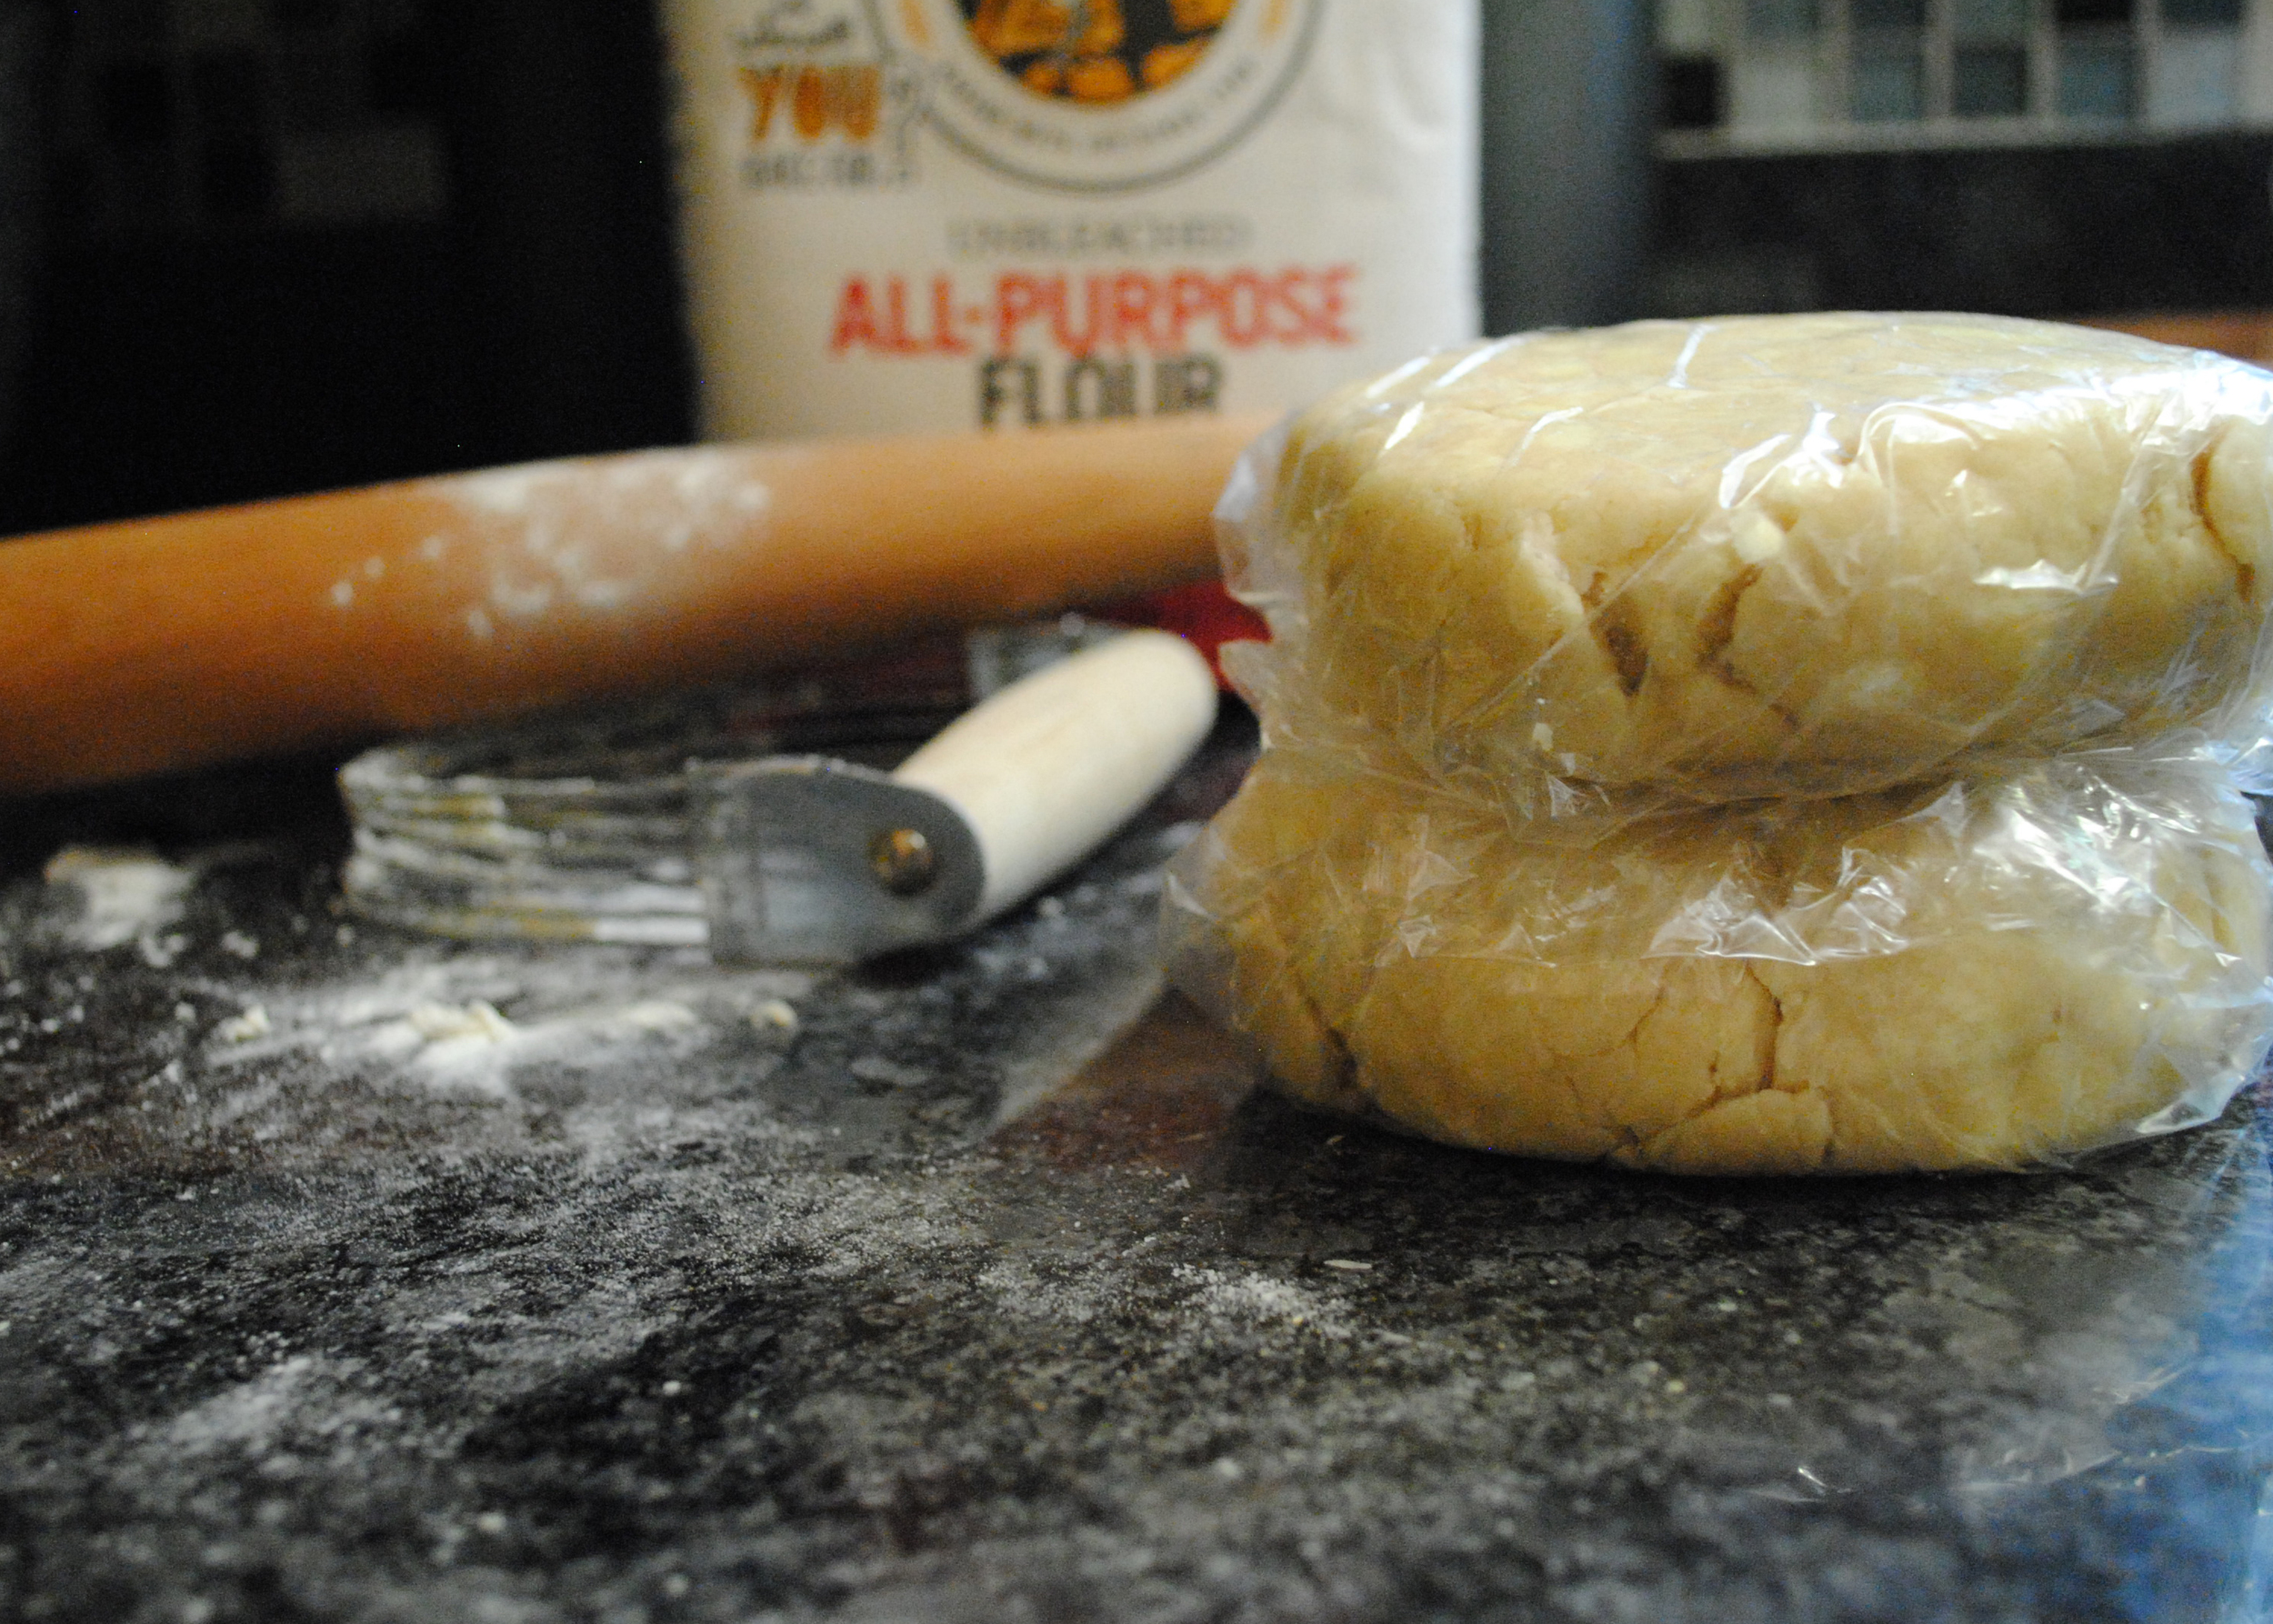
4. Press the dough together until it forms a ball. It should be rough, not smooth. Divide the dough in half and press each into a flat, round disk. Wrap tightly in plastic and refrigerate for at least 30 minutes. You can refrigerate for up to several days.
Cranberry Pear Filling:
5 barlett pears, peeled and sliced thinly
1 1/2 cups whole cranberries
3/4 cup sugar
2 tablespoons cornstarch
2 tablespoons lemon juice
1. Combine all ingredients and let stand for 15 minutes.
Putting it together:
1. Preheat the oven to 425 degrees.
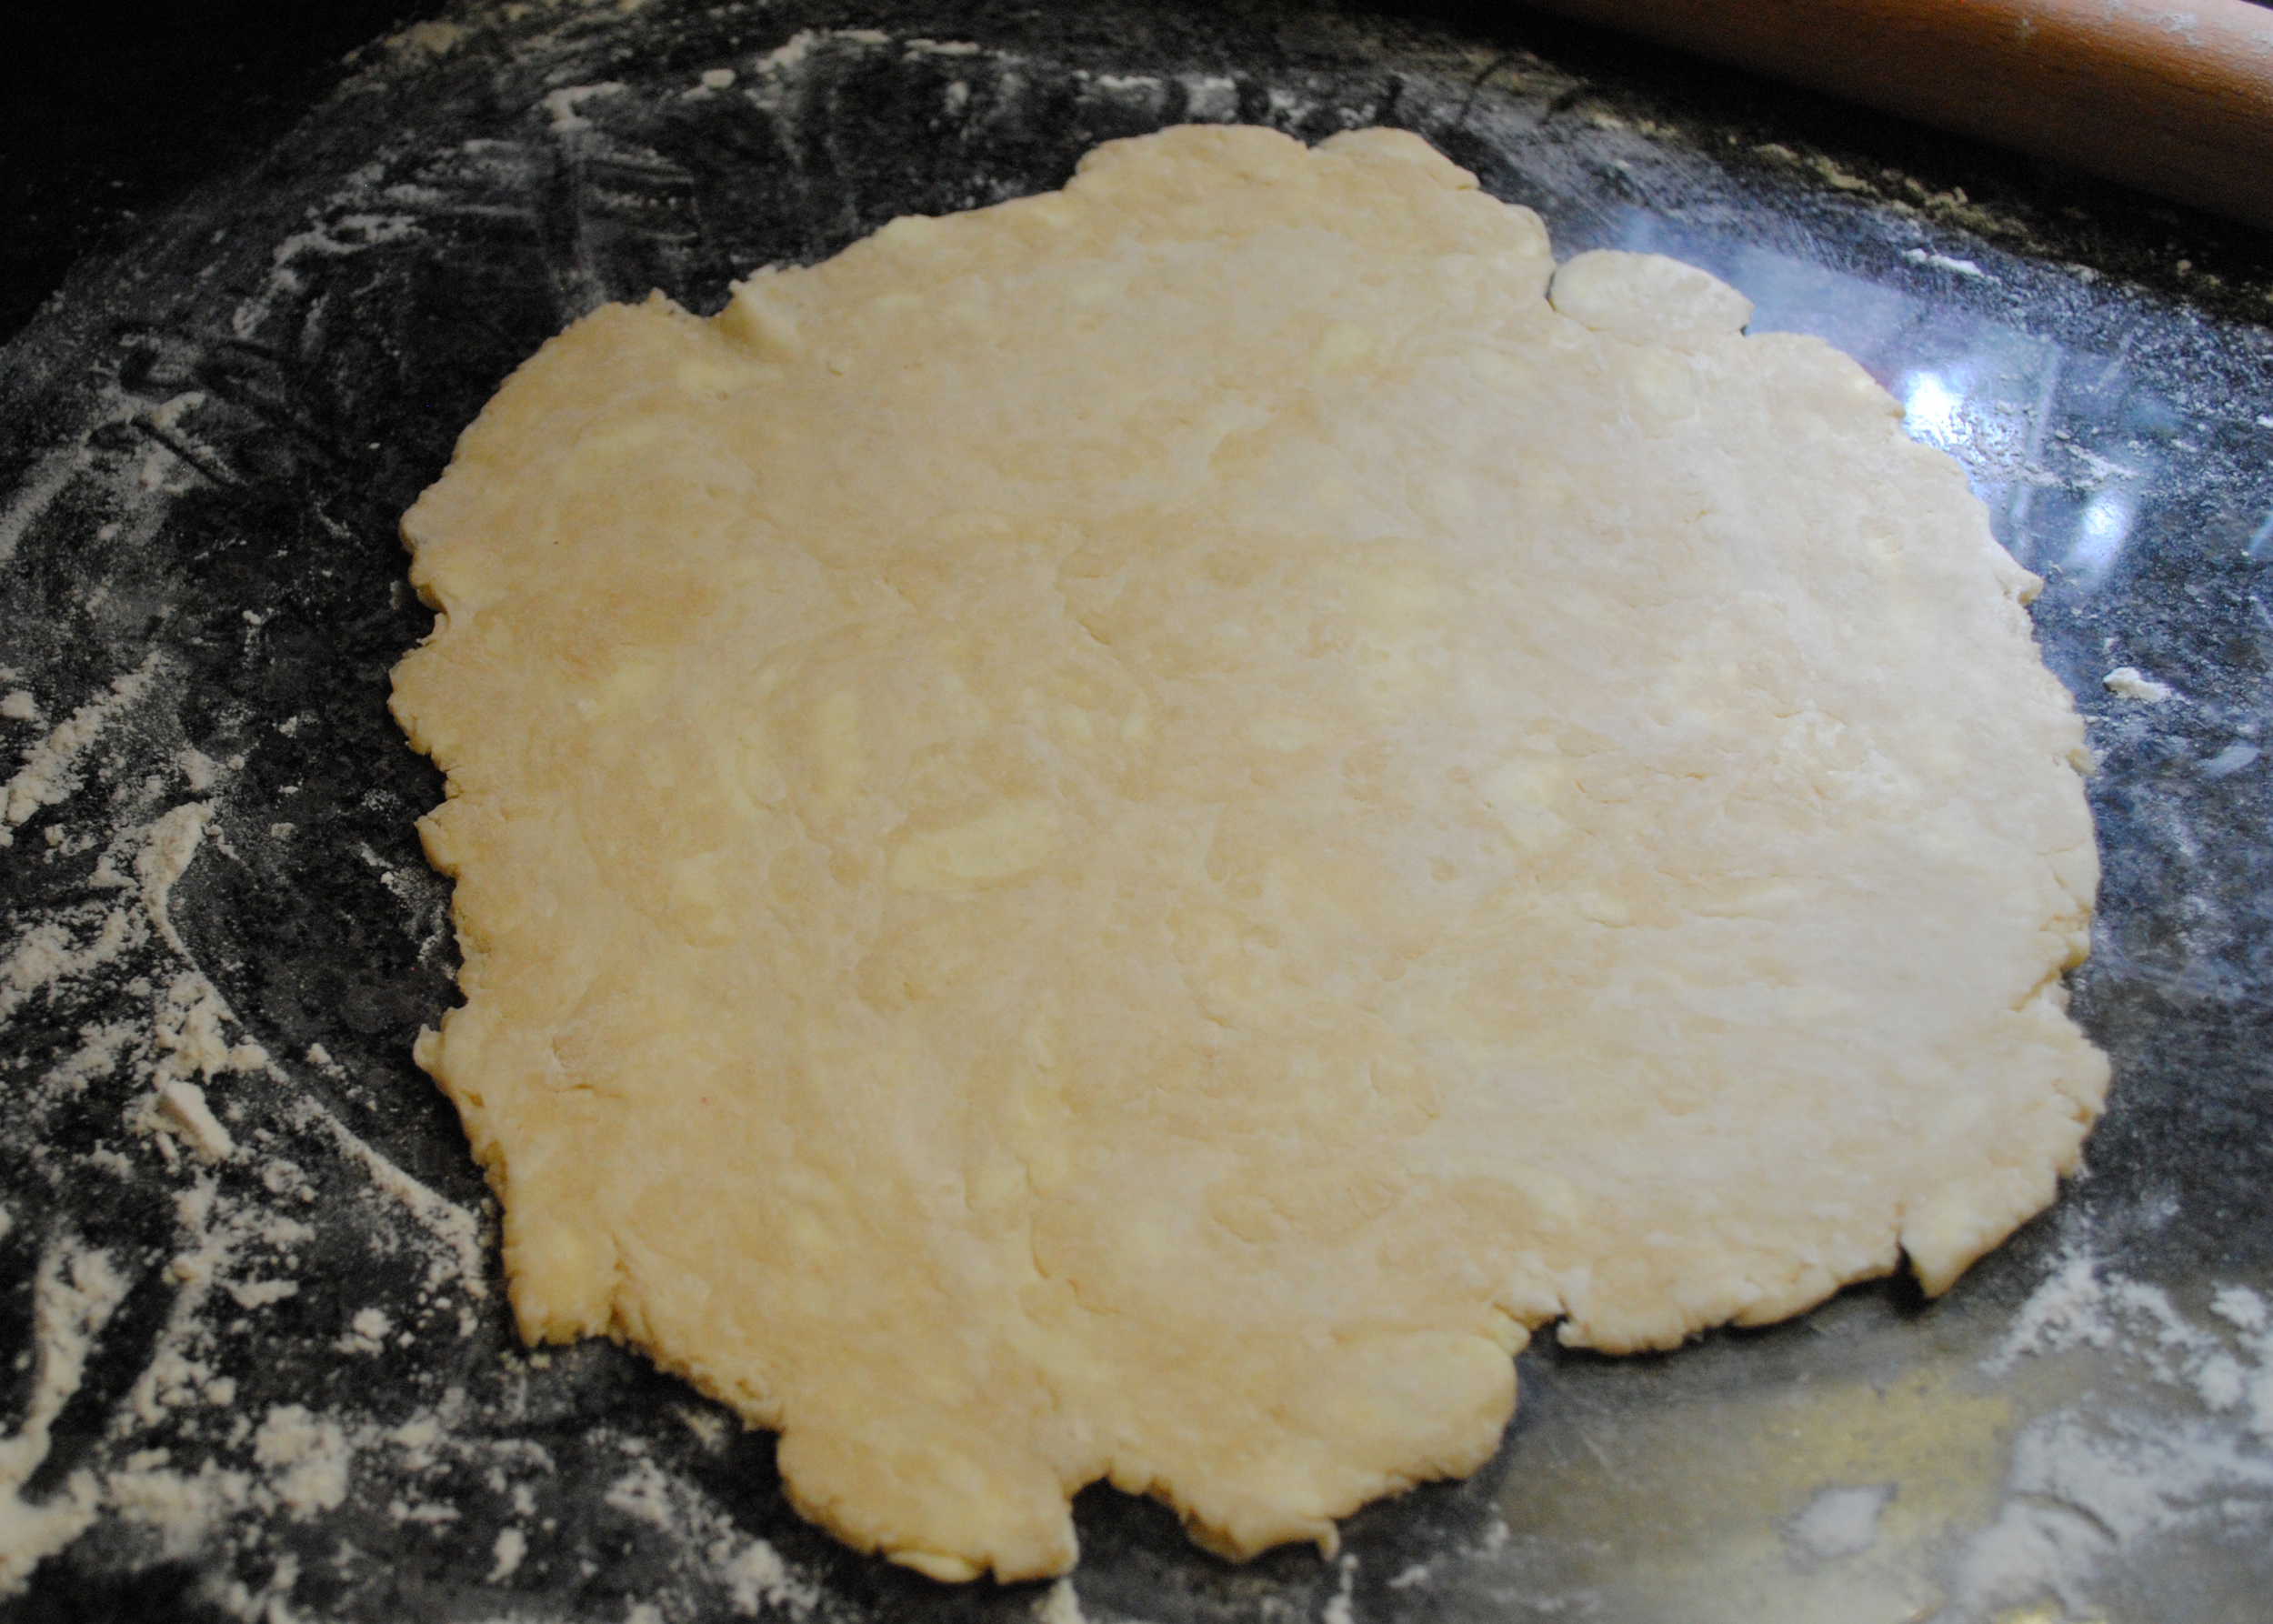
2. Roll out the dough on a lightly floured surface, beginning in the center and rolling out from all directions. Roll the dough about 3-4 inches wider than your pie pan.
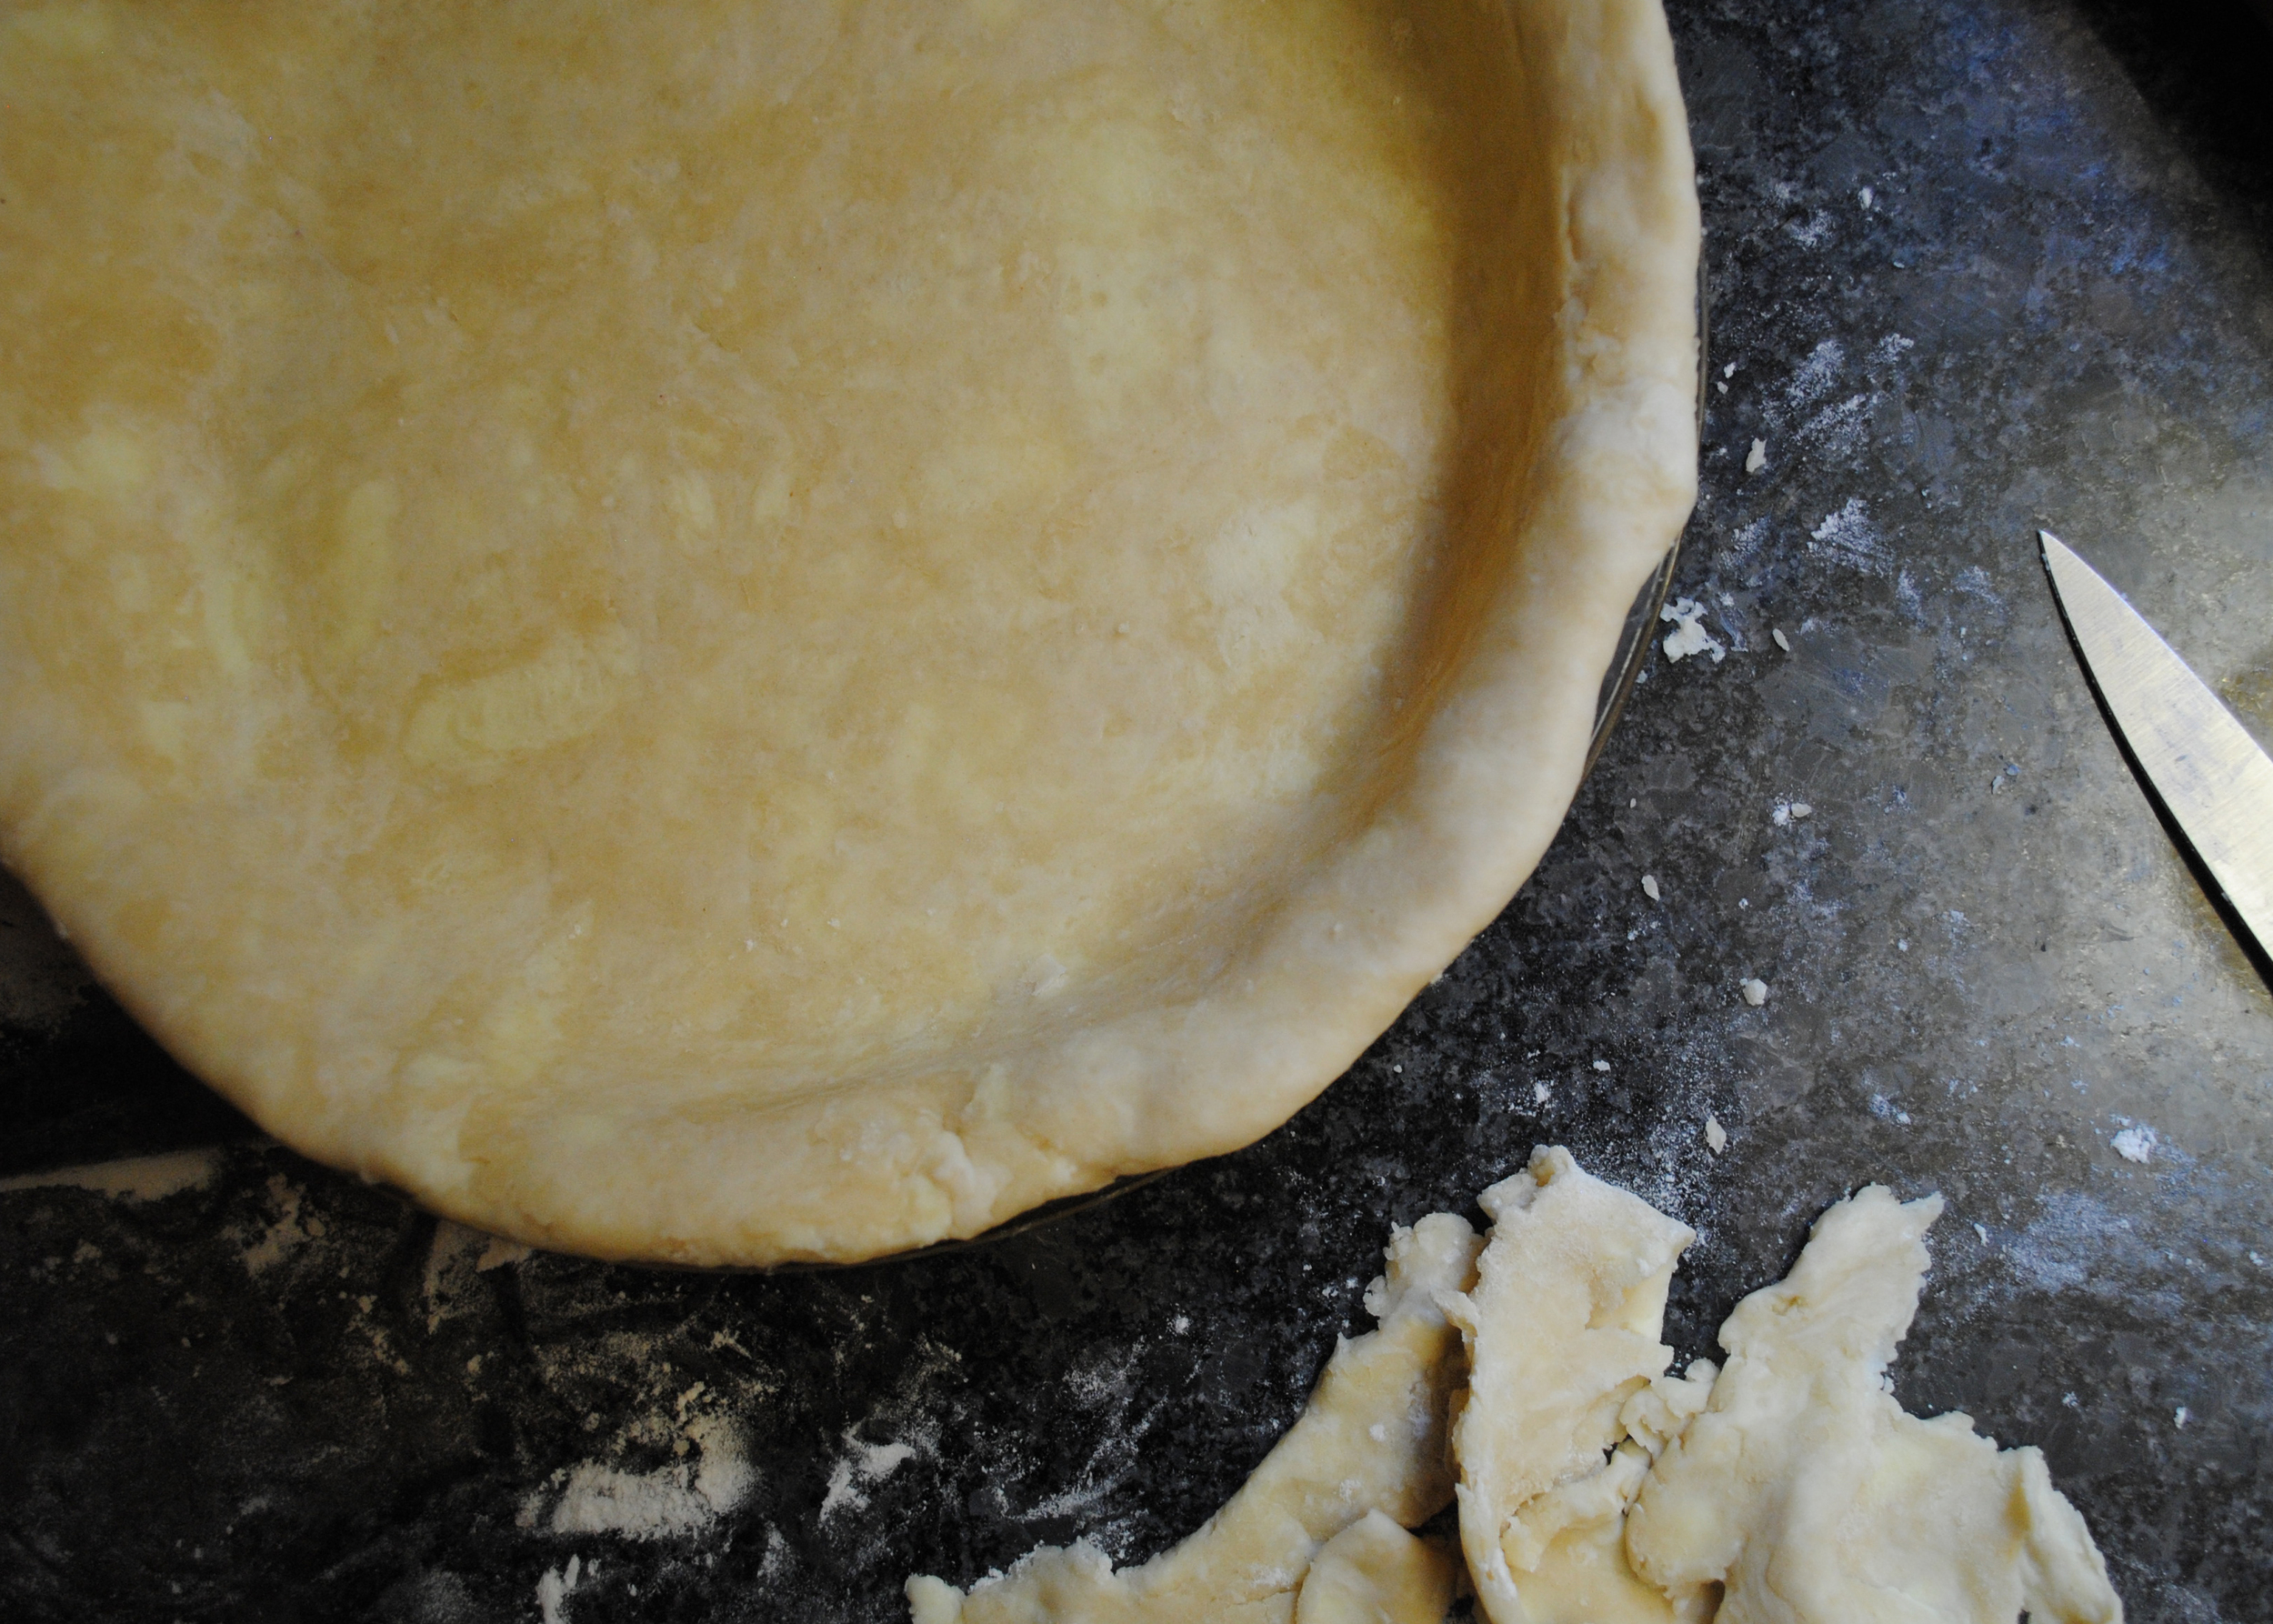
3. Transfer the dough into your pie pan by rolling it loosely around your rolling pin and then unrolling it into the pie pan. Press the dough over the bottom and into the corners of your pan. Trim the edges of the dough, leaving a 3/4 inch overhang, and then tuck that overhang underneath itself. (If you're able to eat eggs, do an egg wash over the bottom crust to seal it from the pie filling.)
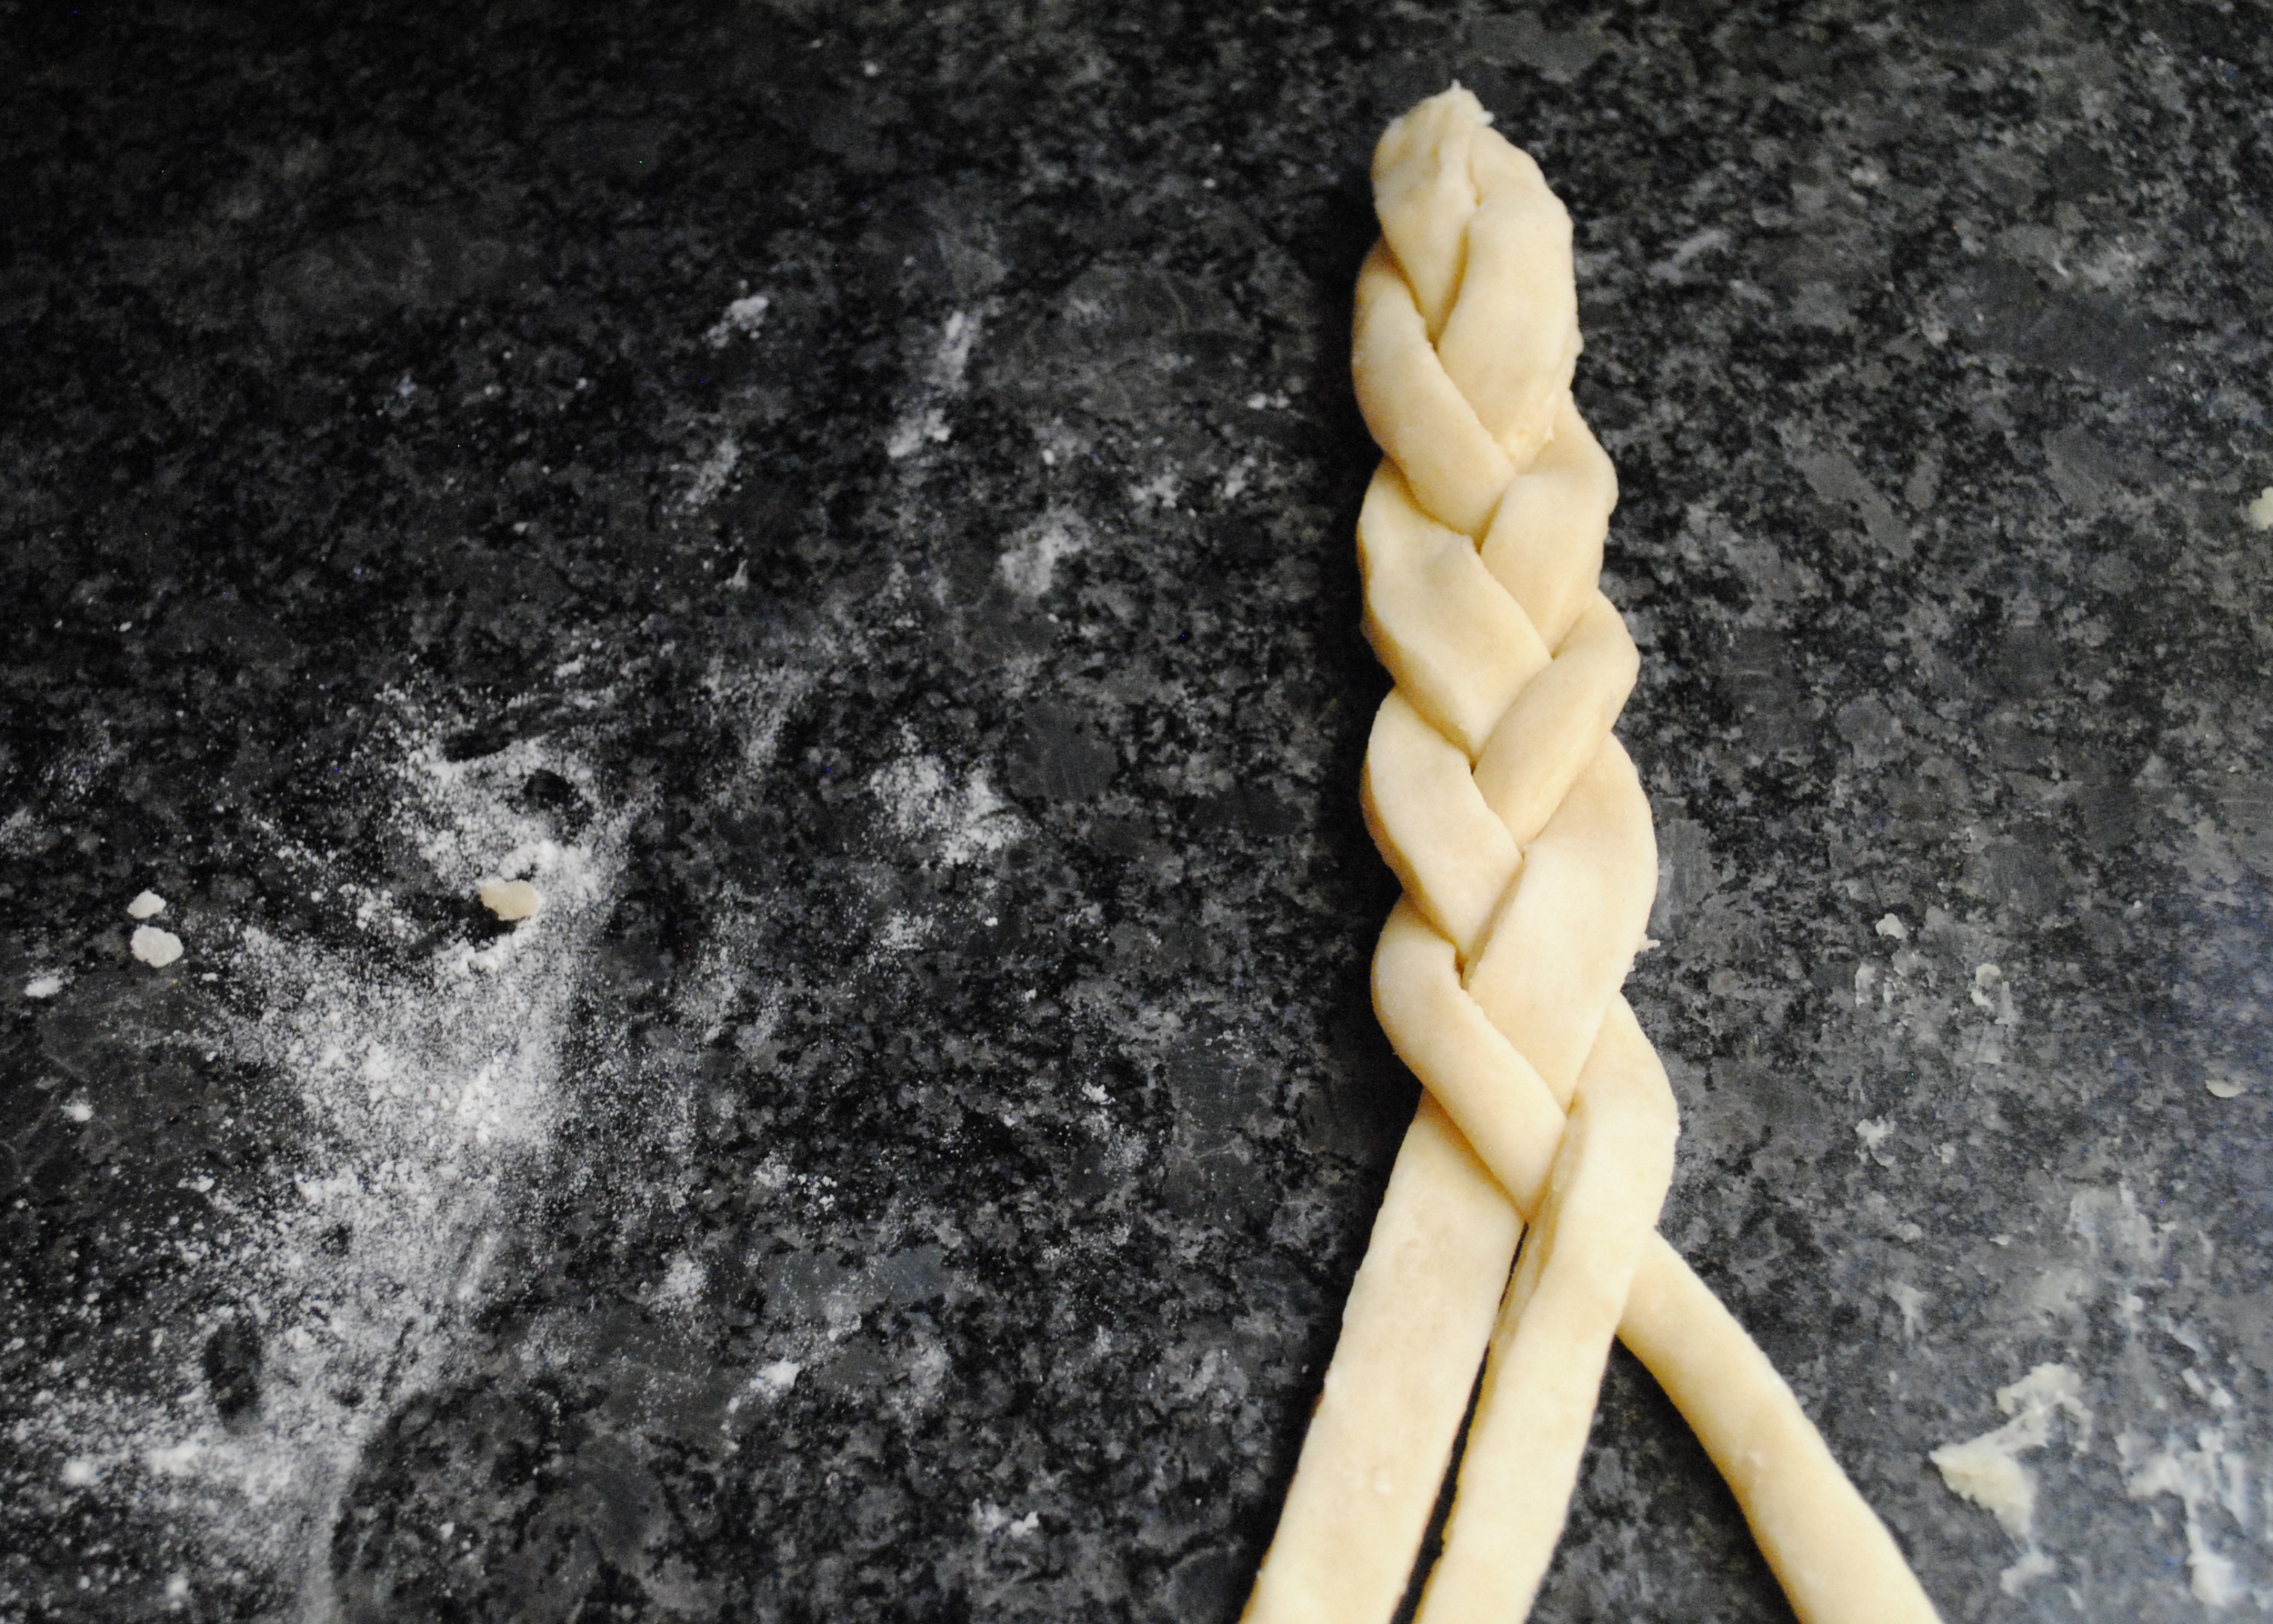
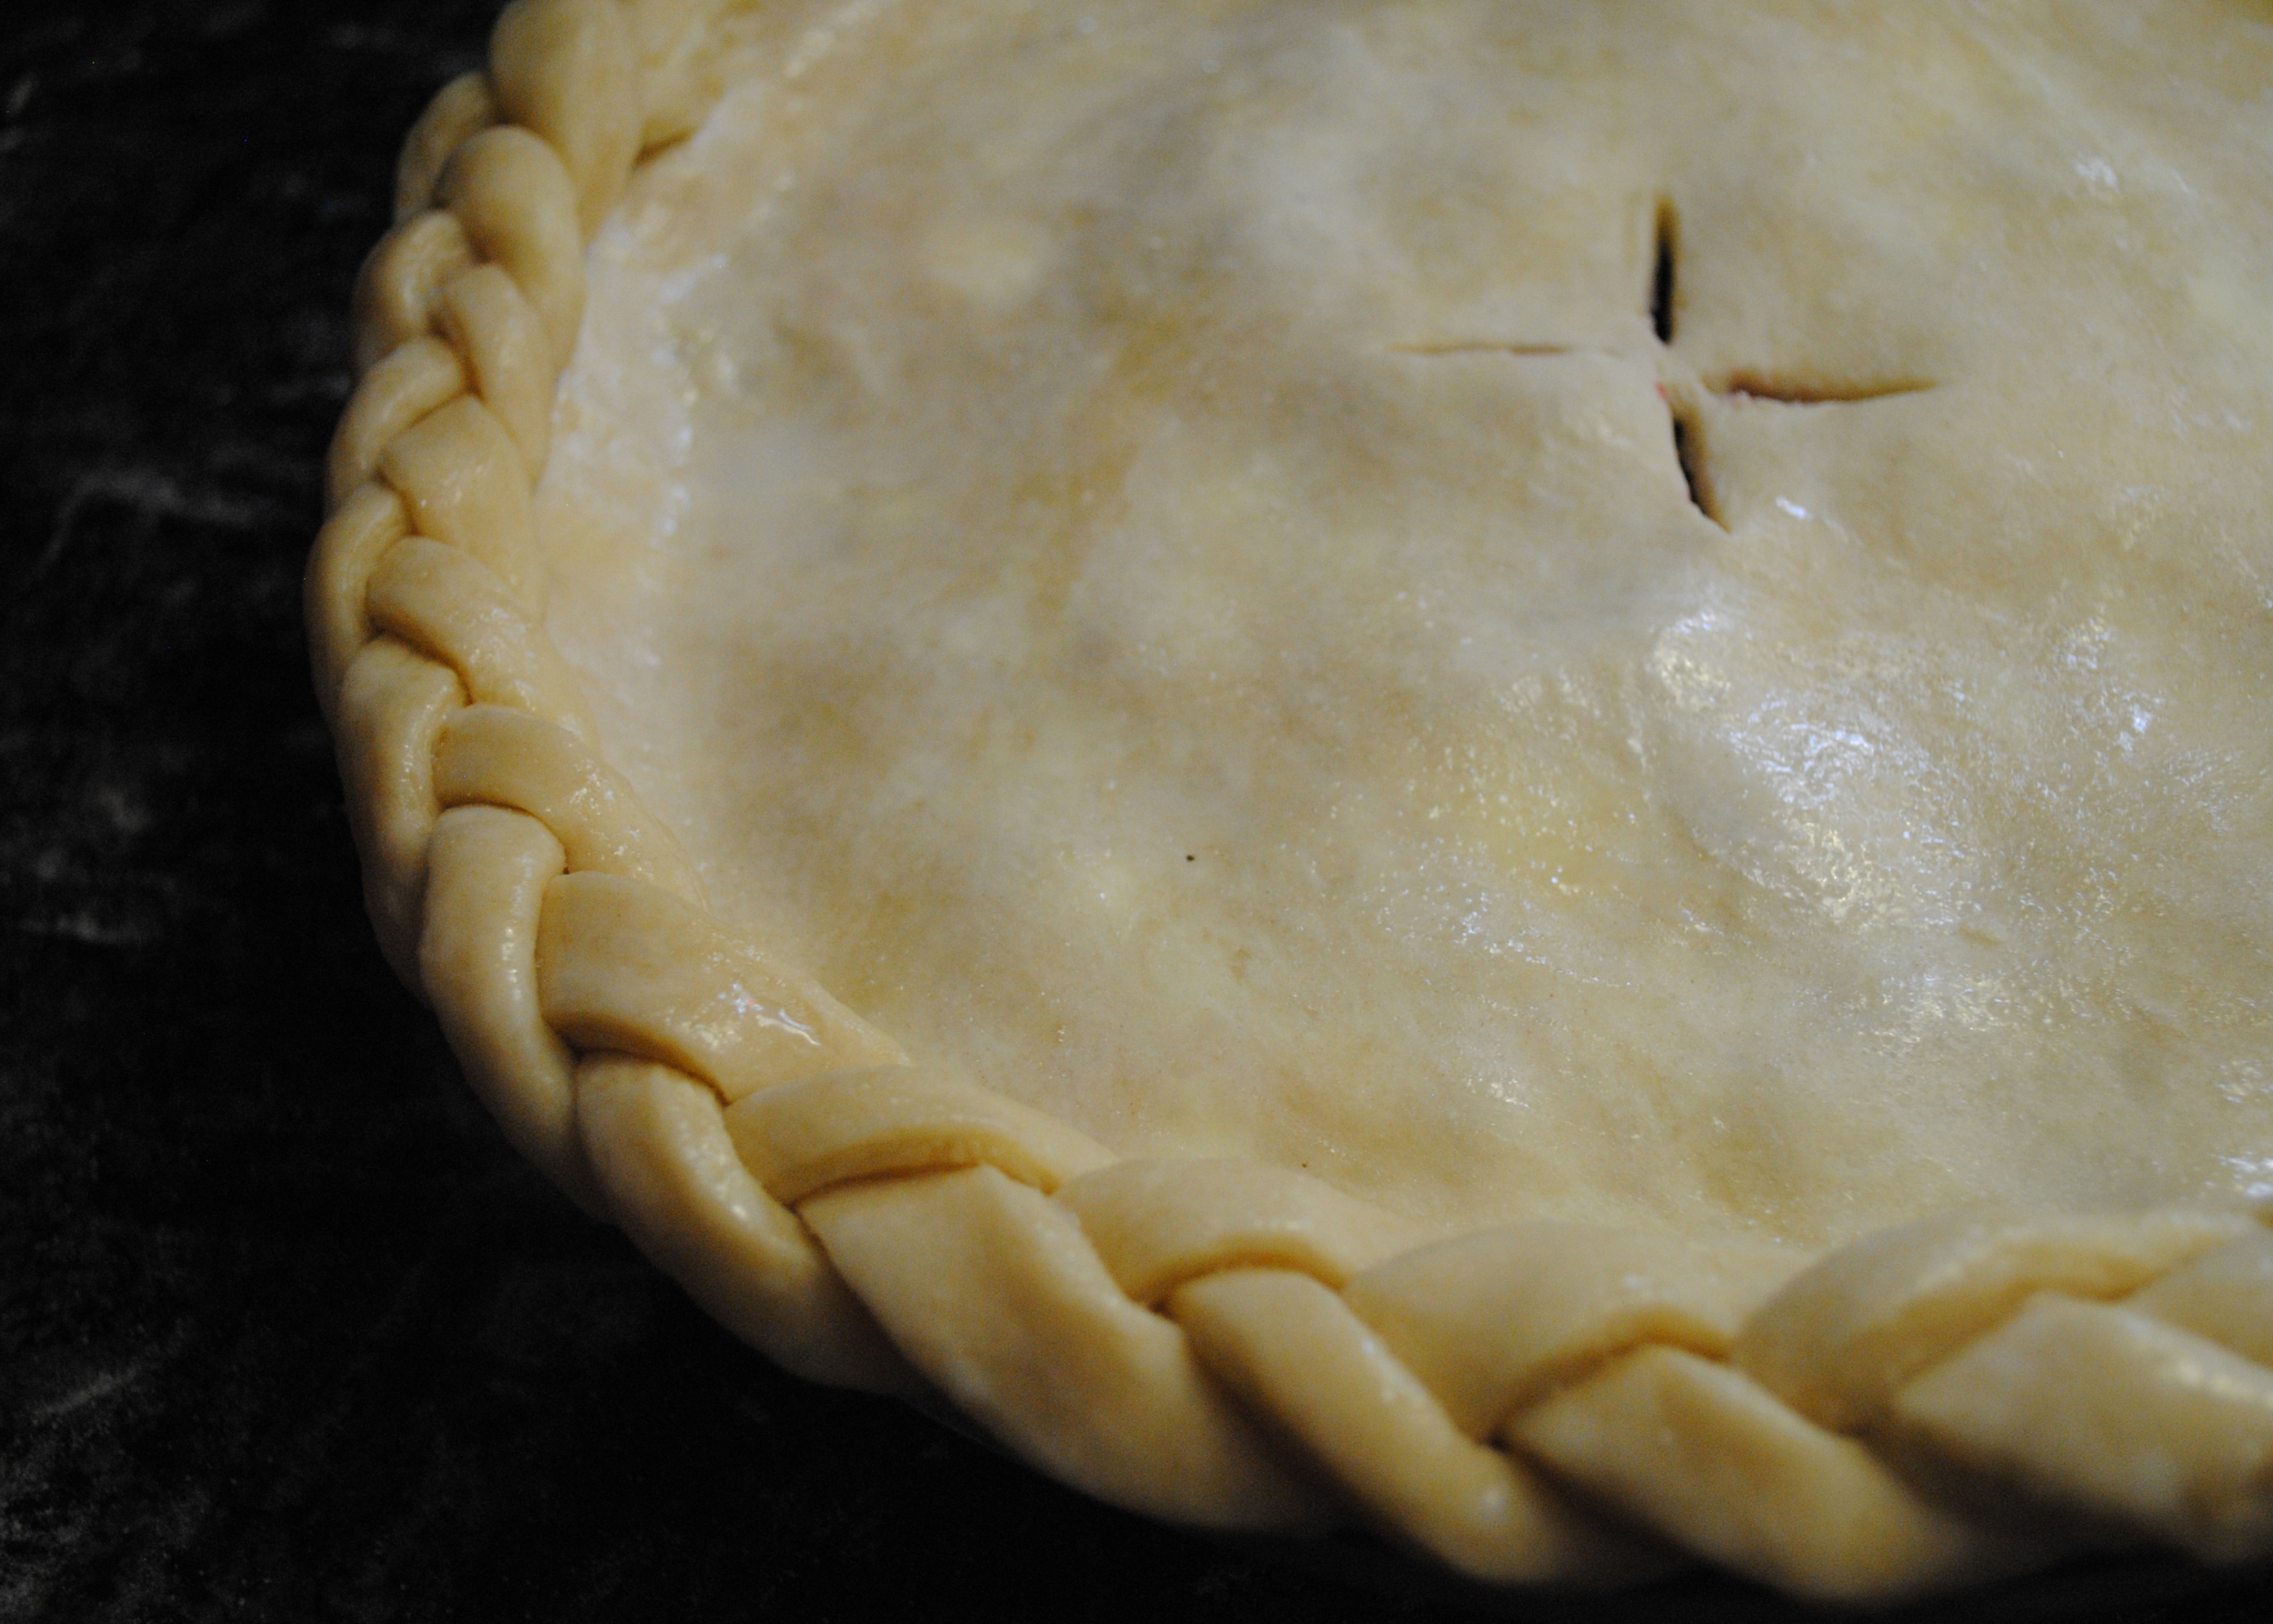
4. Put the bottom crust into the refrigerator (preferably for at least 30 minutes). Roll out the top crust in the same way, though a little smaller. Pour your filling into the bottom crust and top with the top crust. Cut steam vents in the middle. Crimp the rim with a fork or make a decorative edge.
5. Place the pie pan on a large baking sheet and place in the oven. Bake for 30 minutes.
6. Reduce the oven temperature to 350 degrees and bake 25-30 minutes or until bubbles juice through the vent.
7. Let cool completely on a rack (this step is important so that all the juices don't just flow out when you cut the first piece).
p.s. I can't even decide on a runner up in the sweet category. Maybe the blueberry pie?
Like what you just read? Share it with a friend! You can also follow ktmade on Twitter, Facebook, or Instagram so you'll never miss a post. And you'll earn my undying affection!