Project Pie: Apple Raspberry Pie (Vegan + Whole Wheat)
/
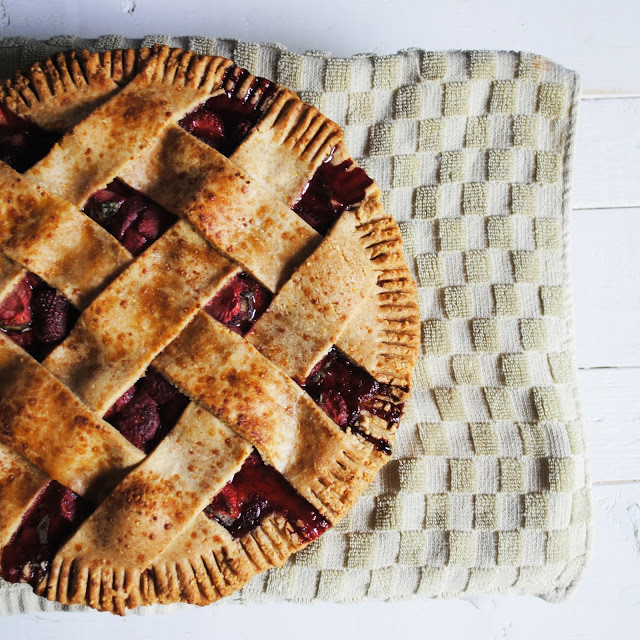
After the struggle I've been having with my pie crusts lately, I decided to go back to the basics. Nothing fancy for this pie - just some fruit in a regular whole wheat crust.
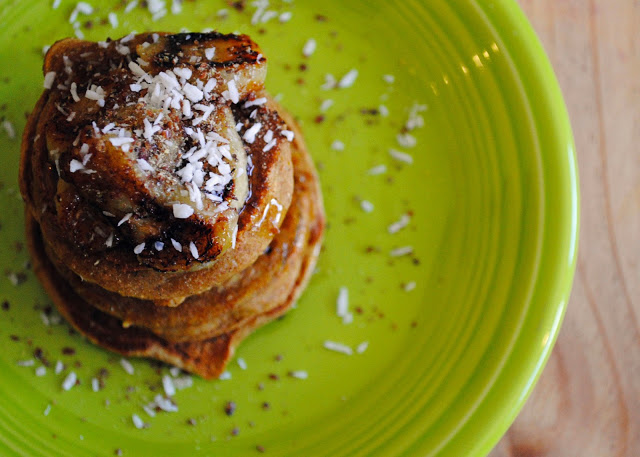
But it seems that this weekend my brain was turned off while I was cooking. I burned an entire pan of granola because I thought Hey, it would be great to bake it along with the pie! and then totally didn't think about the fact that I normally bake granola at 250 degrees and pie at 375 degrees. And man is it disappointing to waste all those granola ingredients.
I thought that was the only kitchen snafu until I sat down to write this post and hopped back over to the pie crust recipe I was using from my old potato and zucchini pie post. There I saw the ingredient list, including 8 tablespoons of Earth Balance from the freezer. And my mind flashed to the half stick of Earth Balance I cut into little squares before dropping into my flour. 4 tablespoons, not 8. I'd been contemplating only making half the recipe and not having a top crust and then changed my mind but forgot to change the Earth Balance amount.
That's the mystery of baking, and especially pie crusts.
Everyone can talk about how precise you need to be with the ingredients, and then you can put in half of one of the most critical ones and end up with a pretty delicious crust. I looked back at what I said about the pie crust in that old post and realized I'd talked about how it was sticky and hard to work with, which I had totally forgotten. This time, with my Earth Balance mess-up, I had a not-sticky crust that I could roll out and put into my pie plate and that tastes pretty darn good. Maybe a little dry to work with, so I might play around with the proportion of Earth Balance, but I won't go back up to 8 tablespoons again. Obviously that's just too much for a whole wheat crust.
And I never would have known if I hadn't totally goofed.
I look at some people in my life and think things would be so much better for me if I could just be more like them - more organized, in control, disciplined. They seem to have it all together. And then something like this happens, where my frazzled brain leads to a discovery in the midst of a messy kitchen and a burning pan of granola - my accidental 4 tablespoons works better than the recipe's 8 tablespoons.
I guess I'll take the discoveries where I can find them and continue trying to accept that "having it all together" isn't always the best option.
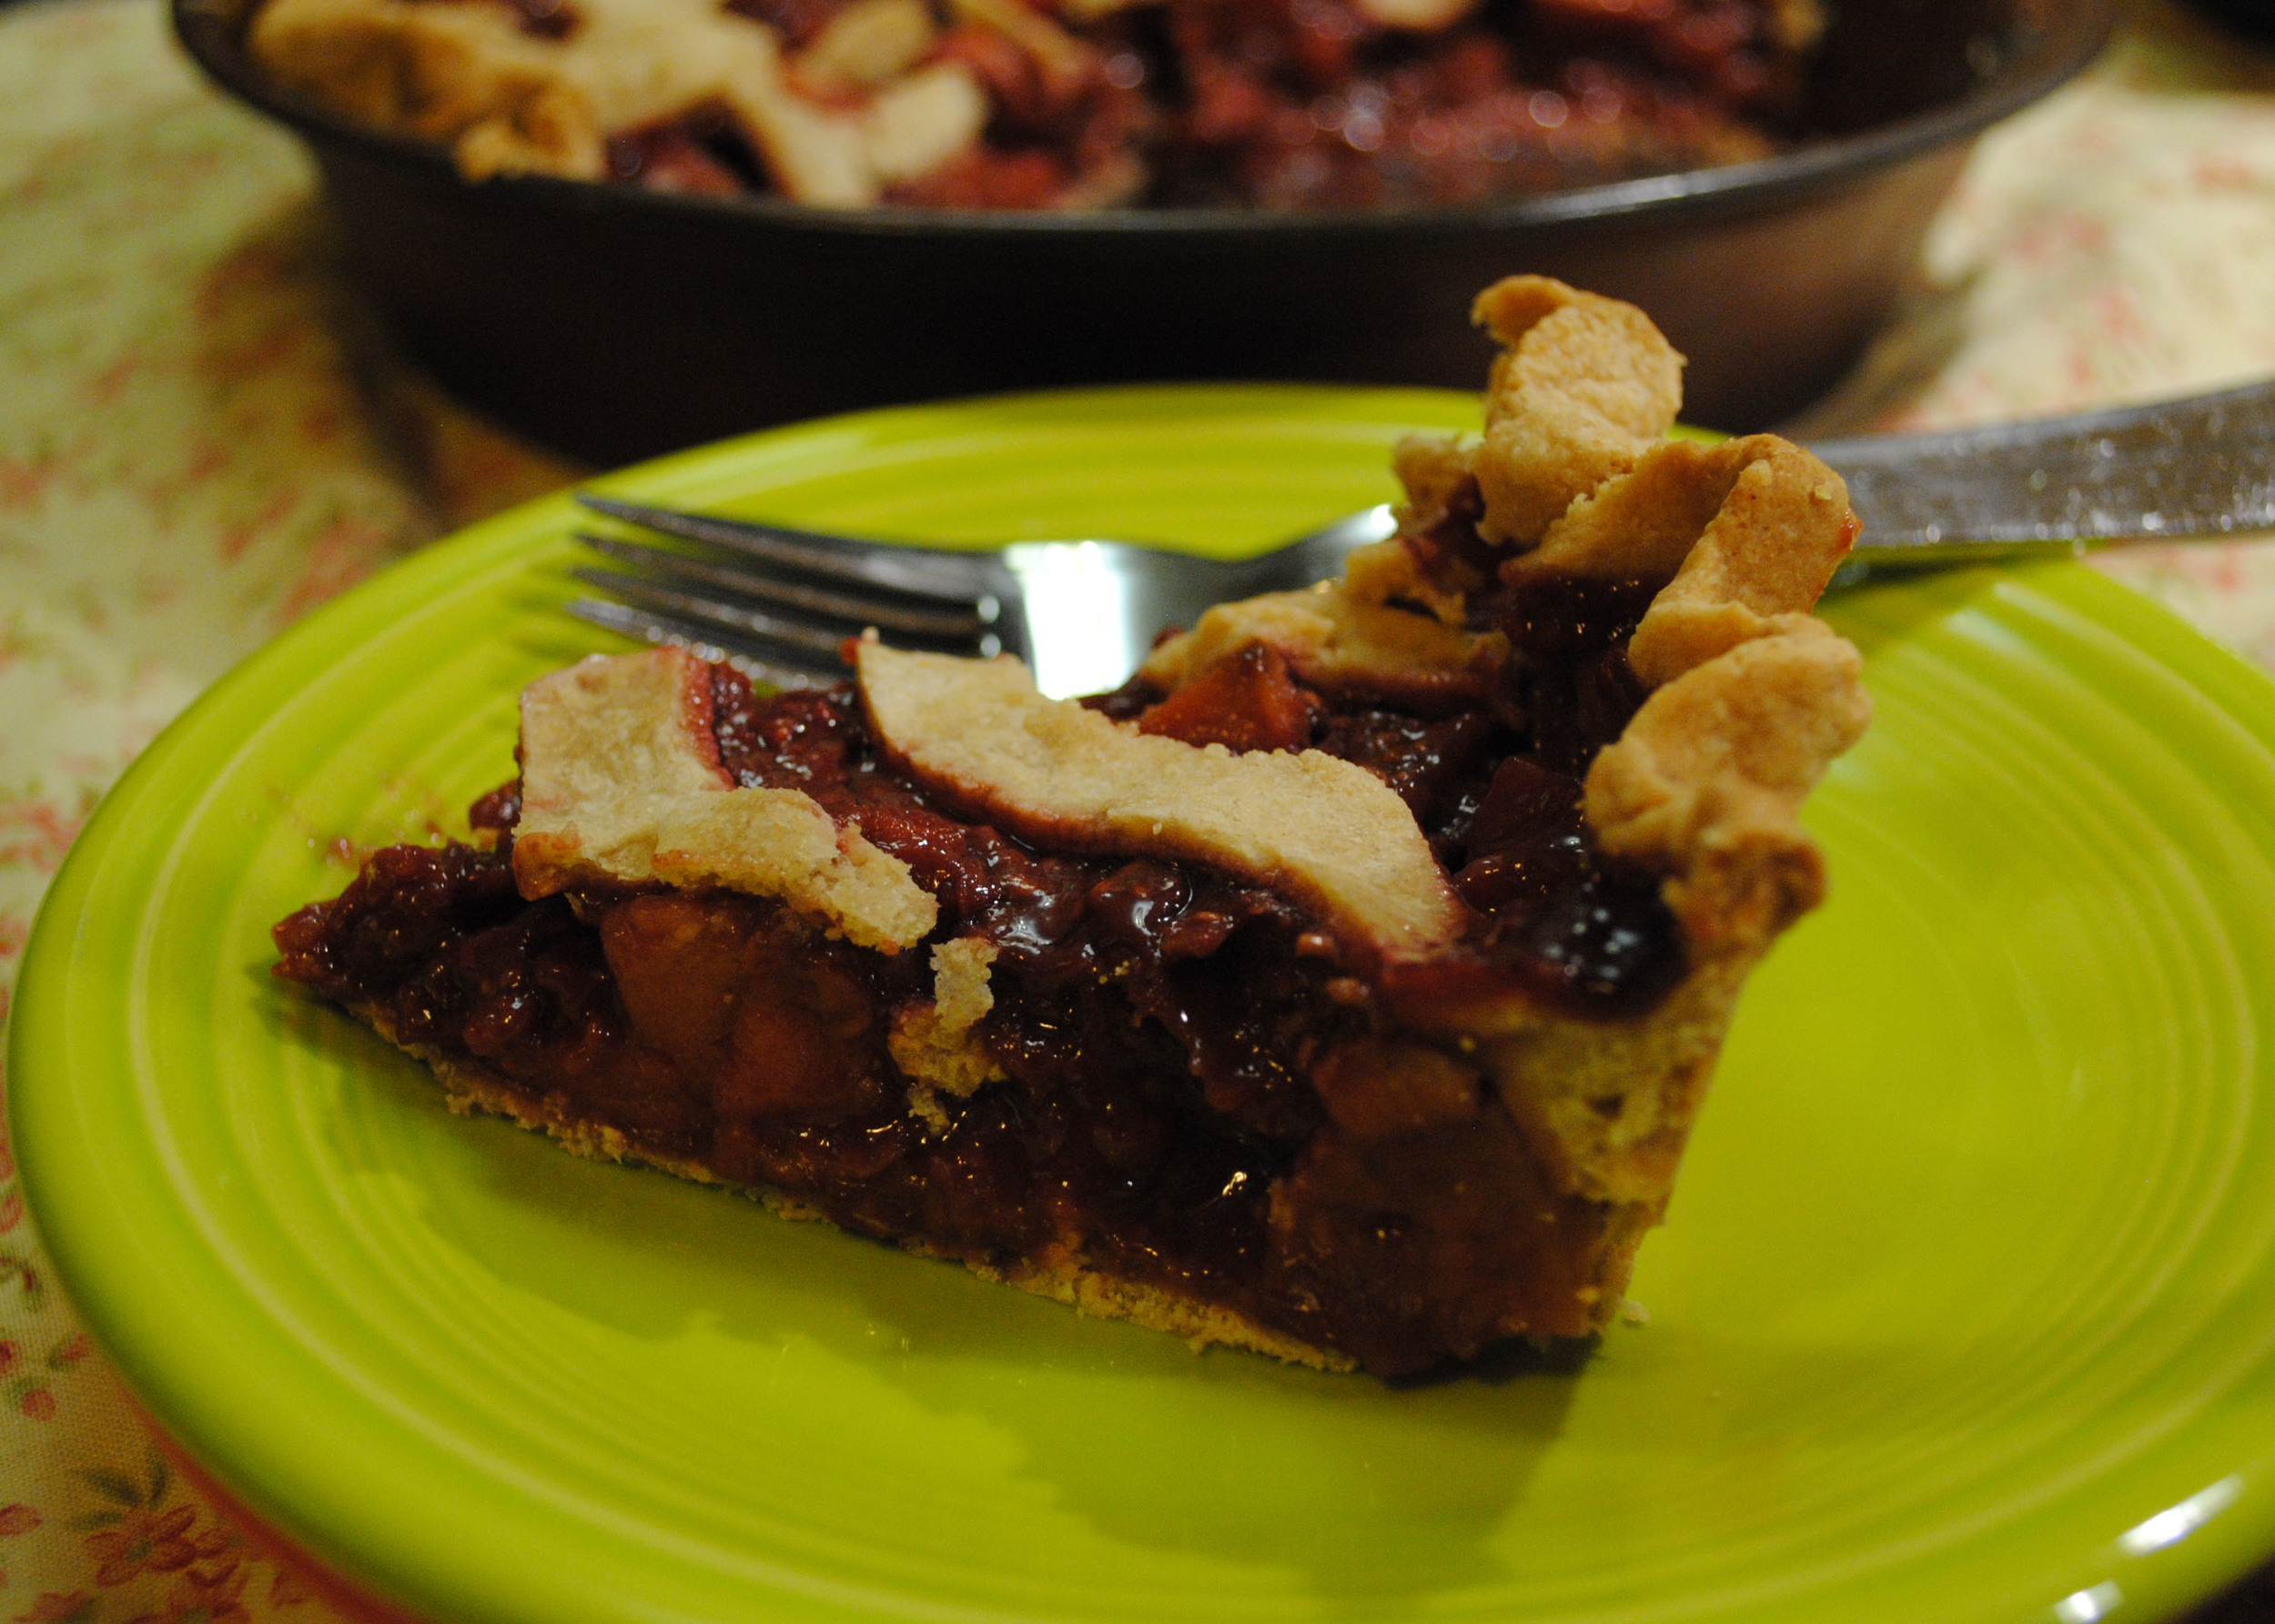
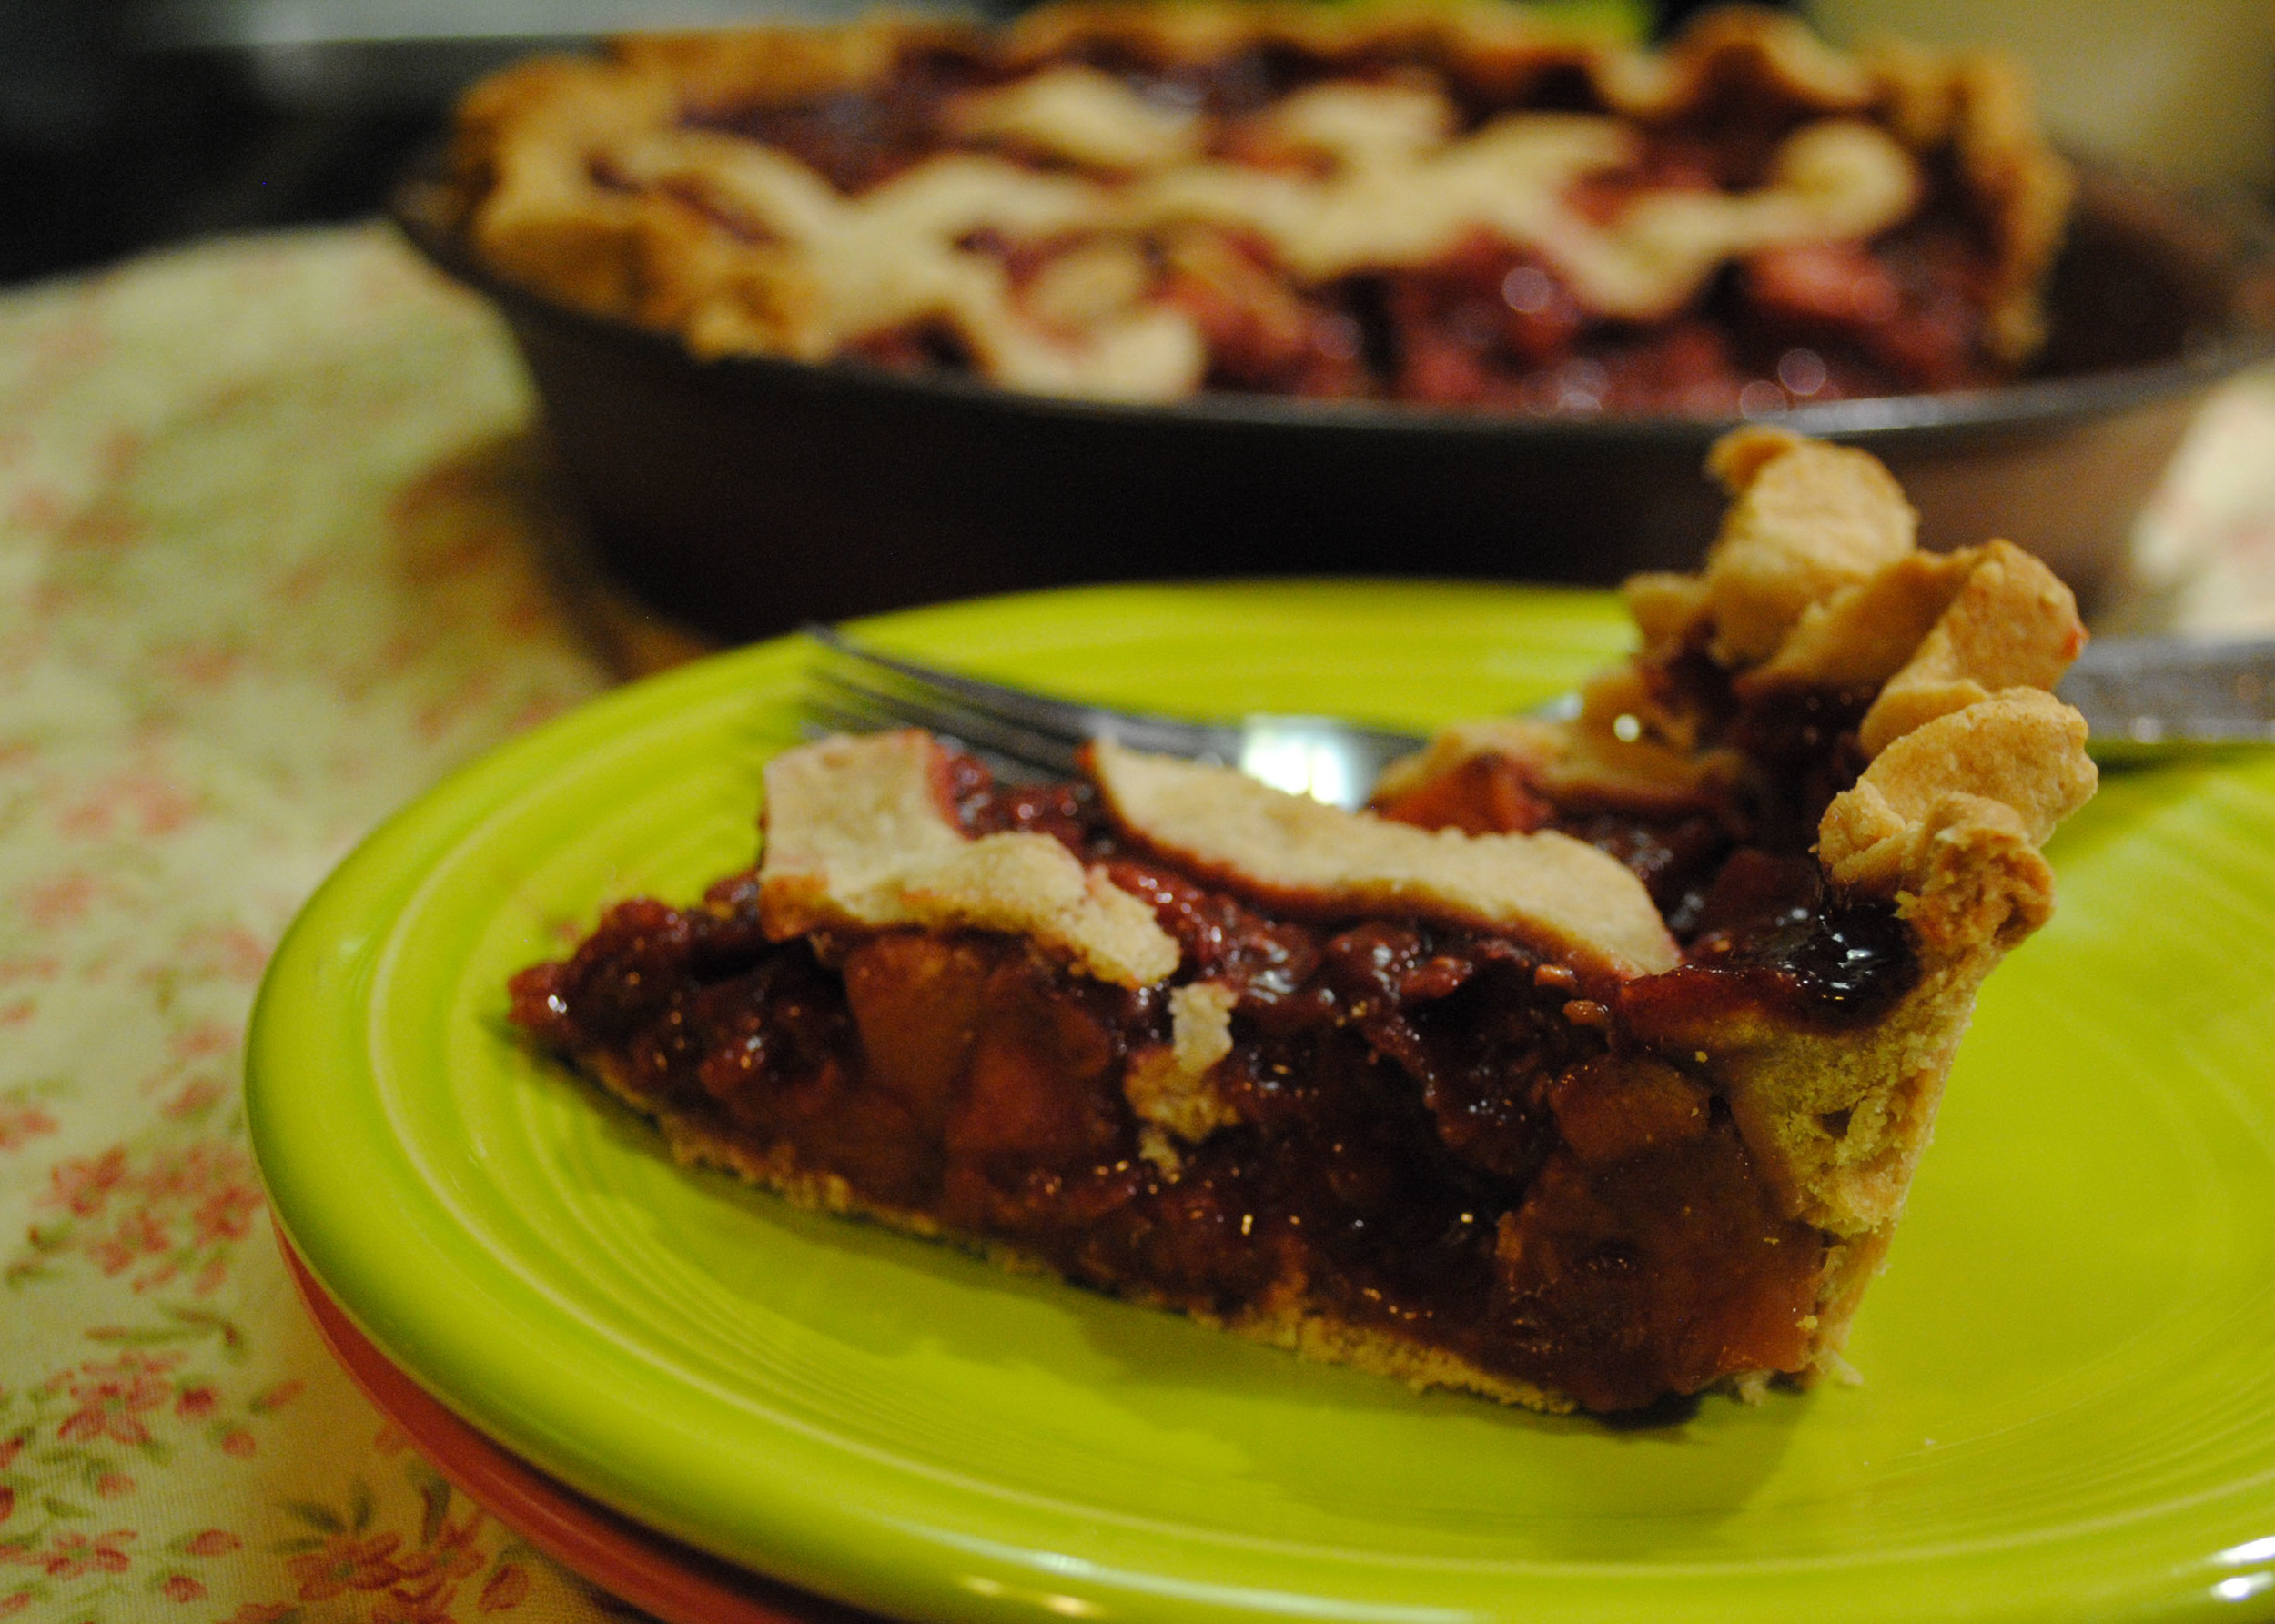
Vegan + Whole Wheat Apple Raspberry Pie
Crust:
2 1/2 cups whole wheat pastry flour
1 teaspoon salt
4 tablespoons cold Earth Balance (or other non-dairy butter)
1/2 cup shortening, room temperature
1/2 cup ice water
1. Quickly mix the flour, sugar, and salt together in a large bowl.
2. Break the shortening into large chunks and cut your butter (from the freezer) into small pieces. Add the butter and shortening to the flour mixture. Cut it into the dry ingredients by chopping vigorously with a pastry blender or cutting it with two knives. Work quickly so the butter does not melt. Make sure you are getting all the flour off the bottom of the bowl. Stop when the mixture has some pea-sized pieces and is mostly a consistency of dry, coarse crumbs, like cornmeal.
3. Drizzle the ice water over the top. Using the blade side of a rubber spatula, cut into the mixture until it is evenly moistened and small balls begin to form. If balls of dough stick together, you're done. If they don't, drizzle 1-2 more tablespoons of water over the top.
4. Press the dough together until it forms a ball. It should be rough, not smooth. Divide the dough in half and press each into a flat, round disk. Wrap tightly in plastic and refrigerate for at least 30 minutes. You can refrigerate for up to several days.
Apple Raspberry Filling:
5-6 apples (I used Macoun)
3 cups fresh or frozen raspberries (I used frozen)
2 tablespoons whole wheat flour (I used white whole wheat)
1/2 cup + 2 tablespoons coconut palm sugar
1/4 teaspoon sea salt
1 tablespoon lemon juice
1. Peel and cut up the apples - I used a simple corer/slicer and then cut each slice into four chunks.
2. Put the apples (plus the raspberries, if frozen) into a microwave-safe bowl and microwave for 5-6 minutes.
3. Drain the liquid from the apples and add in the rest of the ingredients and mix until incorporated.
Putting it together:
1. Pour the apple raspberry mixture into your chilled pie crust.
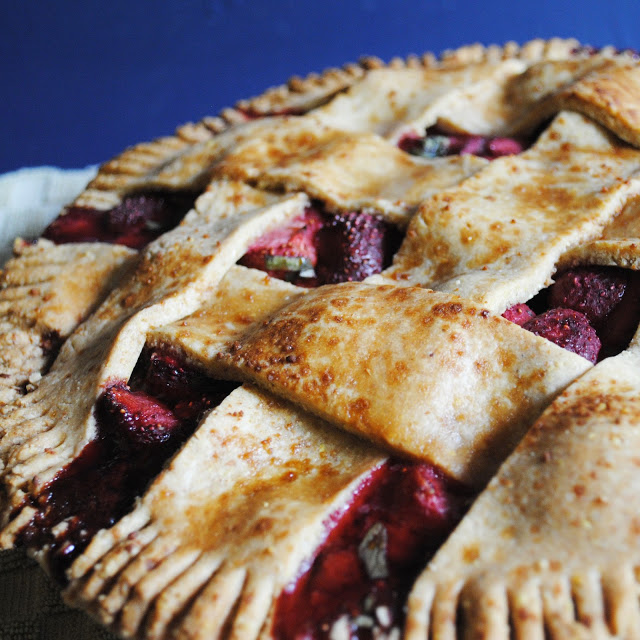
2. Roll out your second chunk of dough until it's about 1/8 inch thick and use a sharp un-serrated knife to cut the dough into a chevron shape.
3. Place the chevrons onto your pie crust and crimp the edges.
4. Bake the pie at 375 degrees for 1 hour. If the edges start to brown or burn, use tin foil to cover them and continue cooking.
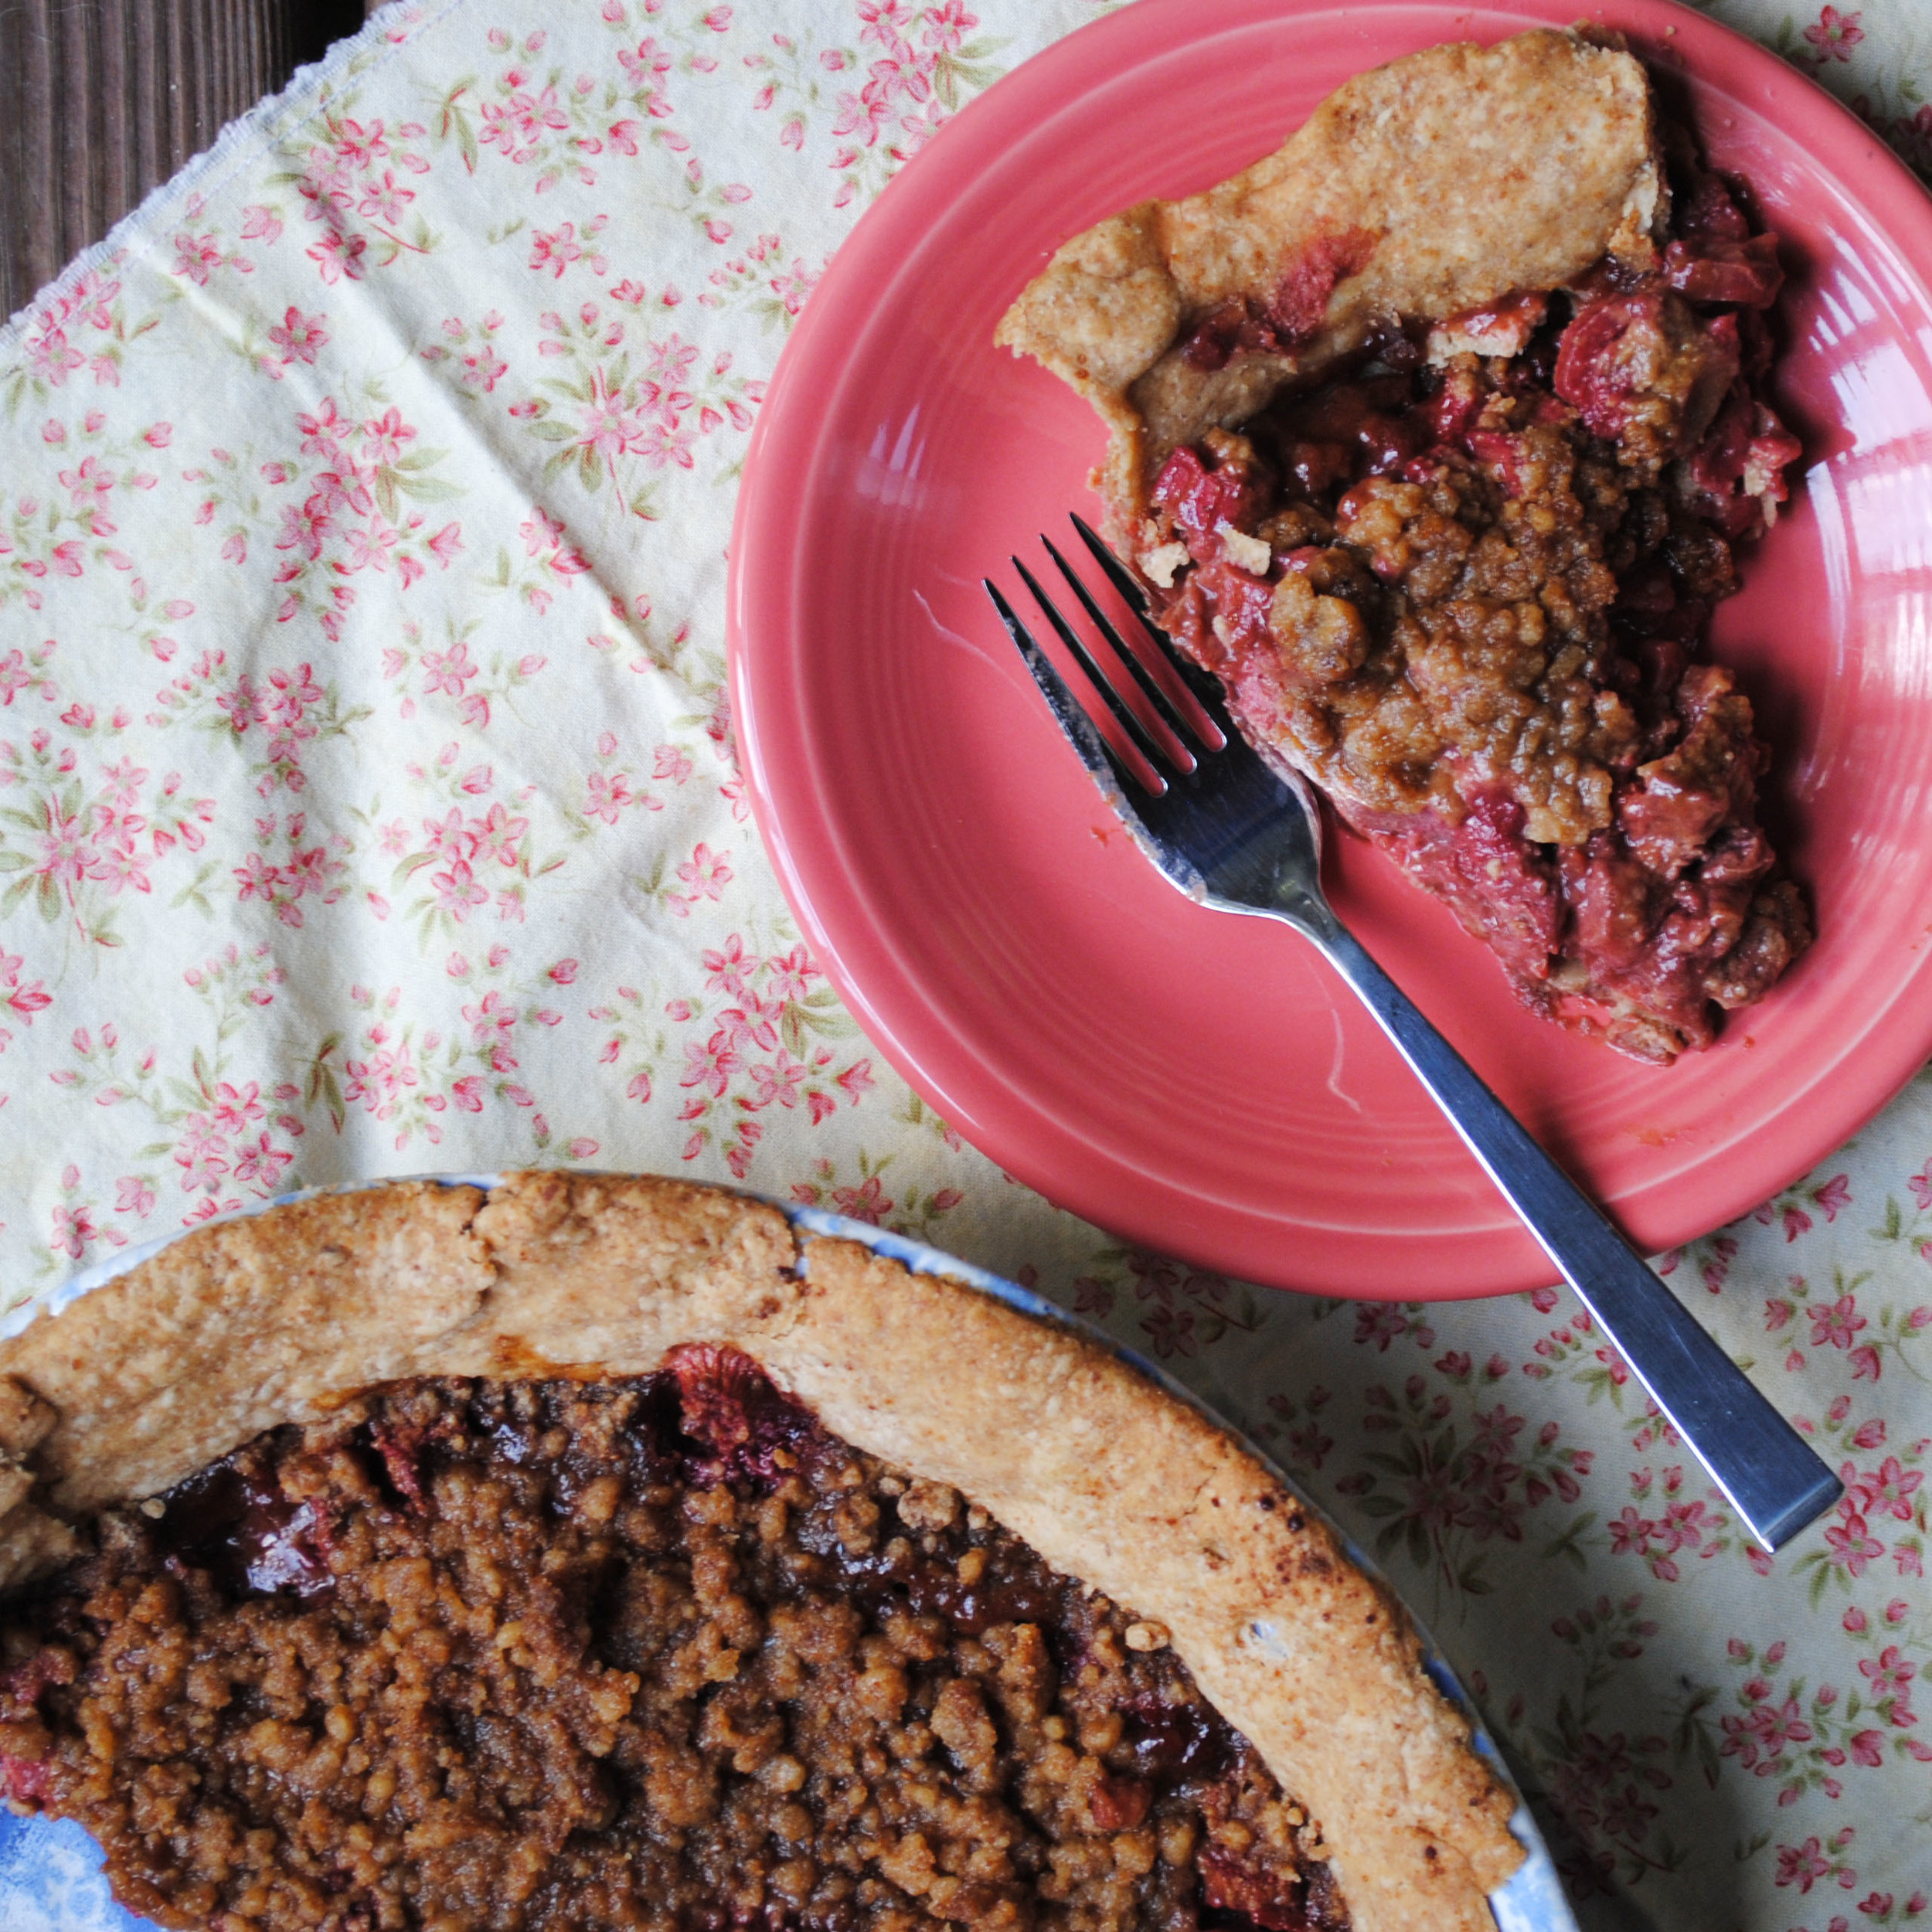
5. Serve warm.
p.s. Kind of like how messiness is connected to creativity, at least for me.
Like what you just read? Share it with a friend! You can also follow ktmade on Twitter, Facebook, or Instagram so you'll never miss a post. And you'll earn my undying affection!