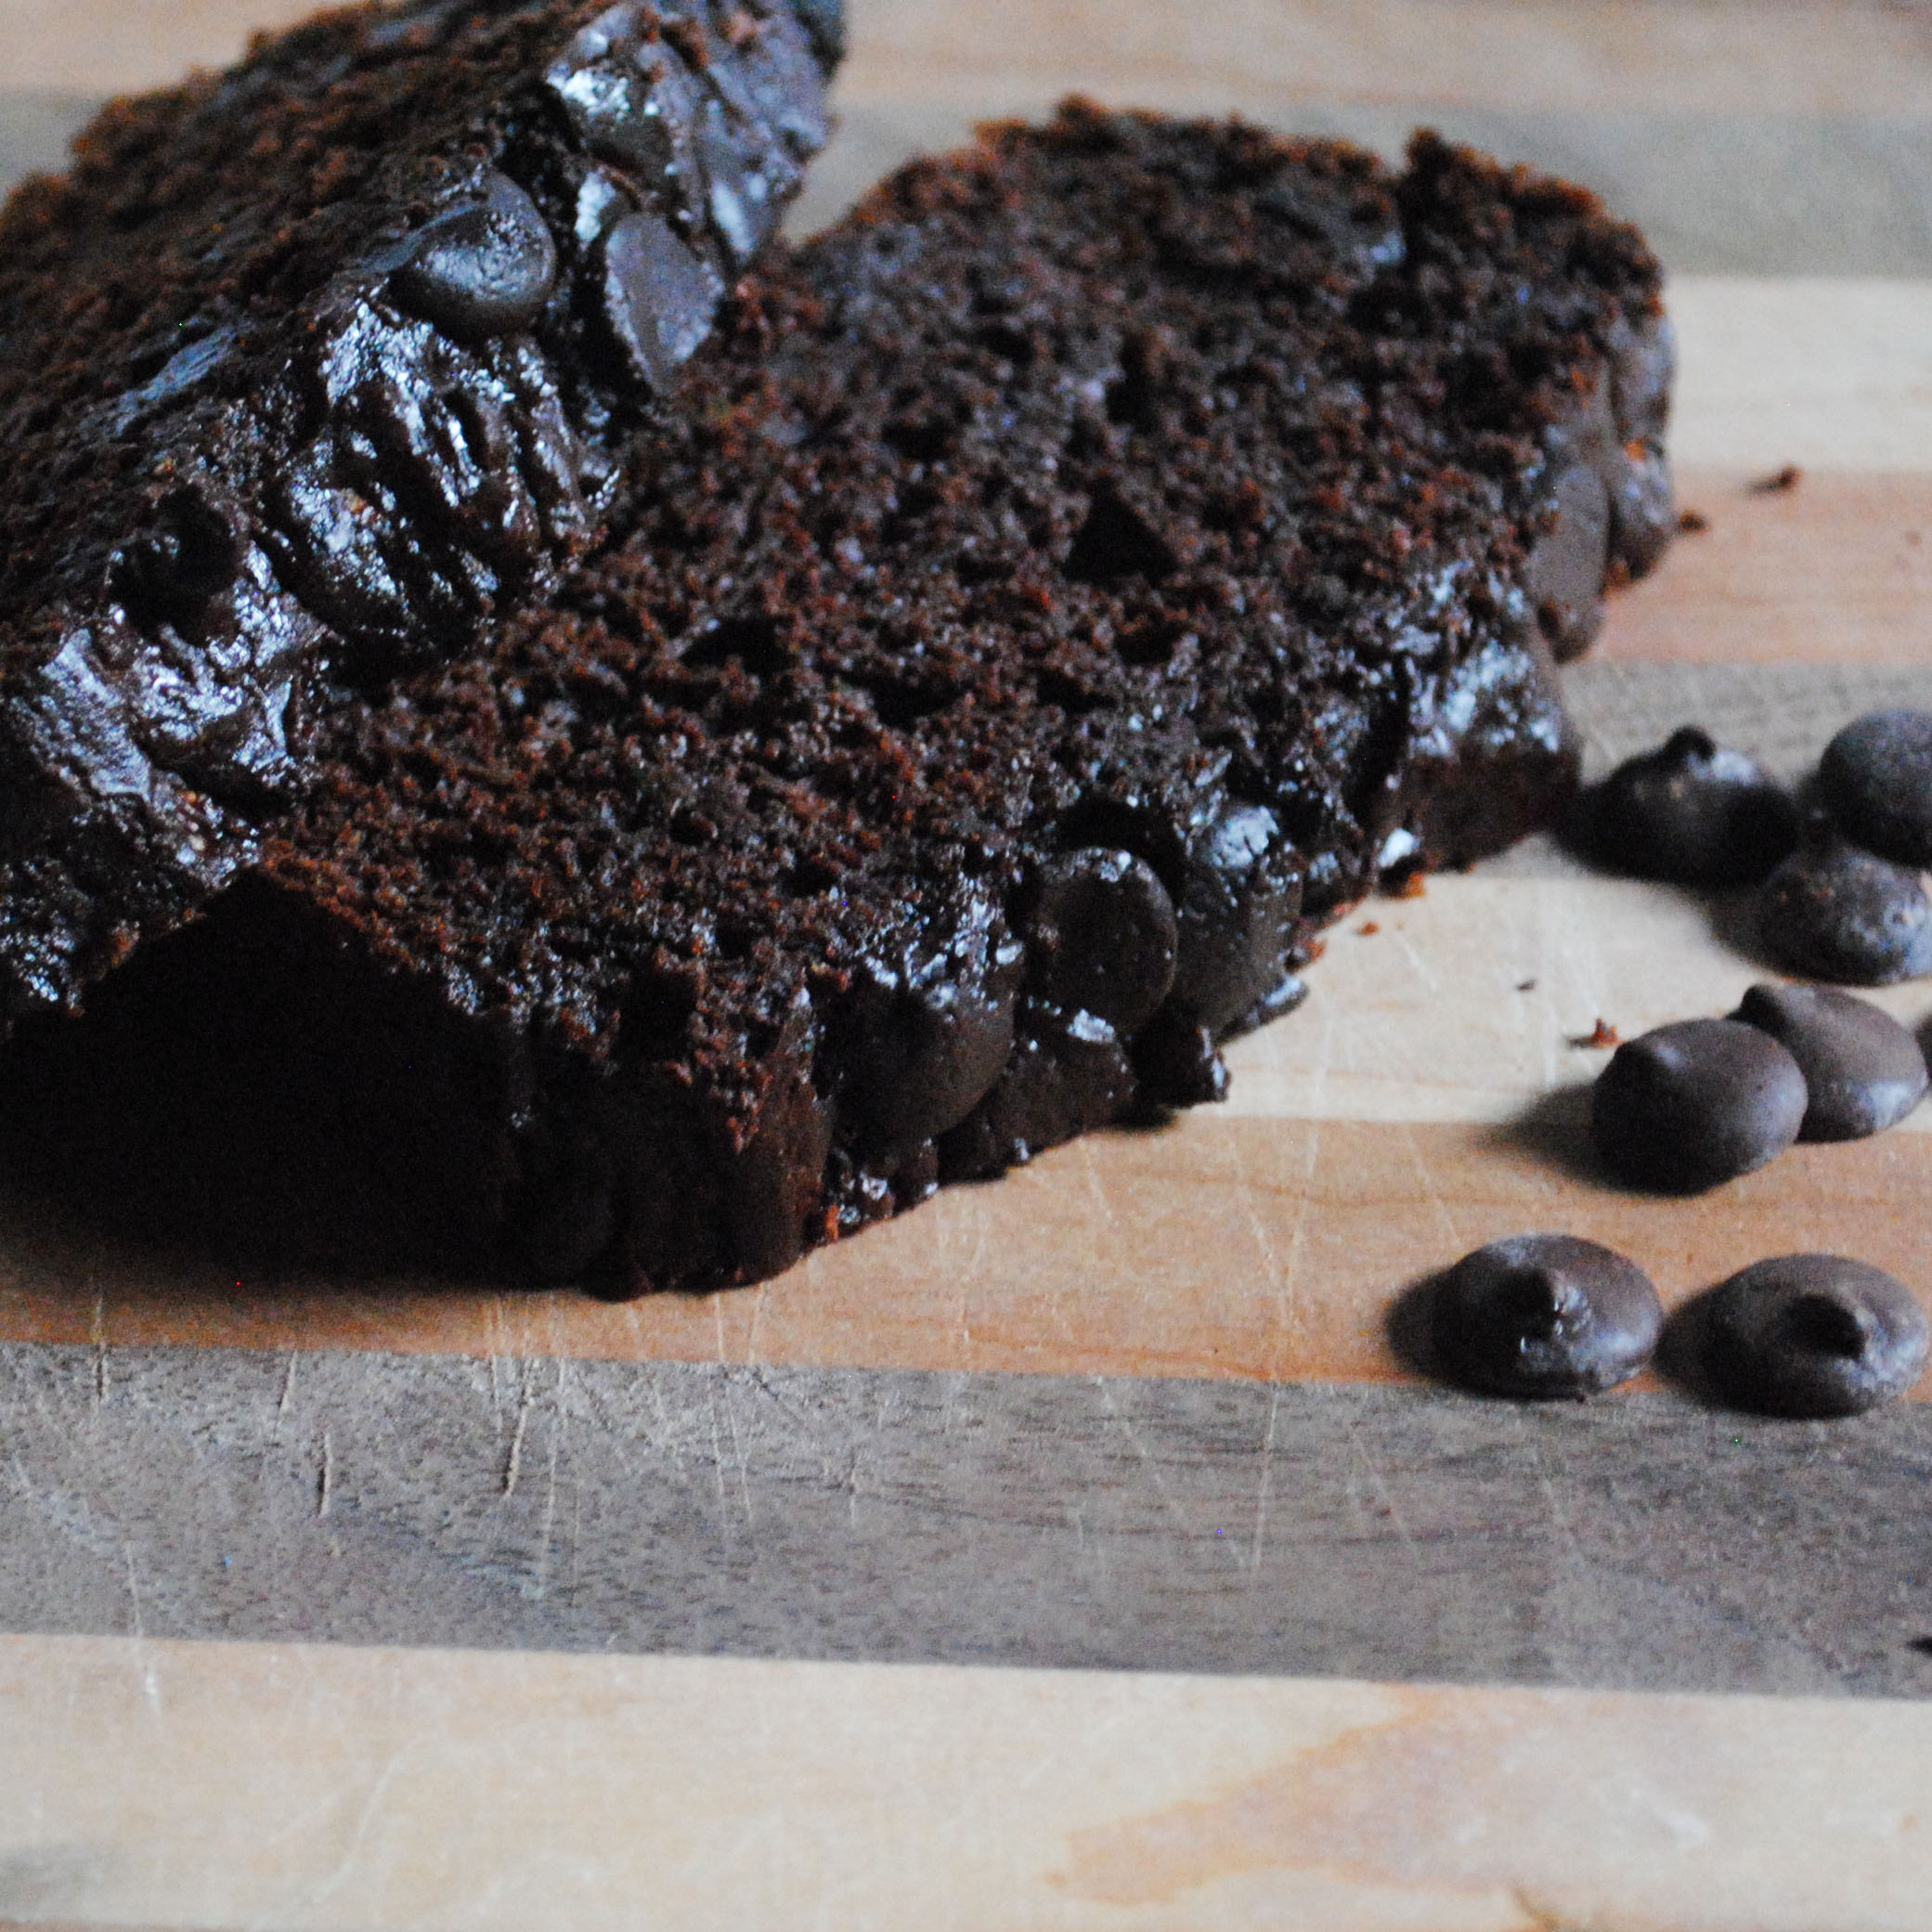
Double Chocolate Whole Wheat Zucchini Bread
/
So far I have been unable to grow zucchini. I long for that experience others bemoan - the zucchini overload, where everything they make has shreds of the green veggie, where they are bringing armloads to work colleagues or leaving a few each day in unsuspecting neighbors' mailboxes.
But no. Last year we successfully grew a single zucchini. This year, none. One started, got about the size of my thumb and then died on the vine. I'm at a loss. Squash in general does not appear to be our thing.
Thankfully we're getting zucchini from our farm share, and I pretended that the one I had left in the refrigerator was so overwhelming that I had no choice but to make a loaf of double chocolate zucchini bread. I mean, what else could I do with that guy??
With all the pies I've been making of late (one had zucchini!), cookies and cakes and other baked goods have been missing from our kitchen. As a pie lover, I wasn't really feeling the loss, but when my wife started making puppy dog eyes at me before a busy week of trial (for her), my mind went straight to that zucchini in the fridge and the container of cocoa powder in the cabinet.

Double Chocolate Whole Wheat Zucchini Bread
Adapted from Sally's Baking Addiction
1 cup whole wheat pastry flour
1/2 cup unsweetened cocoa powder
3/4 teaspoon baking soda
1/4 teaspoon baking powder
1/4 teaspoon salt
1/2 teaspoon instant coffee powder
3/4 cup dark chocolate chips (I use Sunspire Grain Sweetened)
2 eggs
1/4 cup canola oil
1/4 cup plain yogurt (I use lactose-free Green Valley Organics)
1/2 cup coconut palm sugar
1 teaspoon vanilla extract
1 1/2 cup shredded zucchini
1. Preheat the oven to 350 degrees and grease a loaf pan.
2. In a large bowl, whisk together the first seven ingredients and set aside.
3. In a separate bowl, whisk together the next five ingredients and then pour the wet ingredients into the dry and mix until just combined.
4. Fold in the shredded zucchini.
5. Pour the batter into the prepared loaf pan, sprinkle a few extra chocolate chips on top, and bake for 40-50 minutes, or until a toothpick inserted into the middle comes out clean.
6. Allow to cool before serving (though don't beat yourself up if you can't wait - the smell is divine).
p.s. Since this bread tastes basically like brownies, if you wanted to be a little crazy, you could bake it in a 9x9 pan (reduce the cooking time slightly) and then slather it with this 4-ingredient chocolate frosting.
Like what you just read? Share it with a friend! You can also follow ktmade on Twitter, Facebook, or Instagram so you'll never miss a post. And you'll earn my undying affection!