Galette-Style Plum Pie (Whole Wheat + Vegan)
/
Project Pie: I'll be baking 24 pies before Pi Day 2016 to get over my fear of baking pies. And to eat delicious things. You can join me by posting about your pies in the comments or tagging your twitter, instagram, or facebook posts with #projectpie. Make something scrumptious and gooey!
I’m supposed to be getting better at this, right? Pie #13 is supposed to roll out more easily, taste more amazing, smell more inviting than Pie #1?
Ah, the infernal “supposed to.”
How many times has it stopped me (you?) in my (your?) tracks?
This isn’t working the way it’s supposed to, I’ve said. I must be doing it wrong. I must not be the right person for this. This must not be the right time, the right place, the right reason, the right anything.
What would it look like if I could let go of “supposed to”?
If, when this crust was miserably difficult to roll out and stuck to the butcher-block countertop, I had thought, “How funny! Look at what’s happening this time!” and laughed and chalked it up to experience?
In yoga and meditation, teachers always talk about curiosity versus judgment. The idea is to notice what is happening in your body or your mind without placing any value judgments on it. For instance, I might say, I’m not that good at meditating. I always have such a hard time staying focused on what I’m doing. Or, instead, I could say I often have a lot of thoughts while meditating. I wonder why?
One sets me up for a feeling of failure. The other opens the door to more exploration, to trying again.
If I were not committed to making 24 pies, I would likely quit after the last few. I’m having a terrible time with the crusts. They stick. They fall apart. They’re not supposed to.
Or…
I’ve been using a lot of different crust recipes lately, trying things out. Some of them are challenging! When I used a totally new recipe while on vacation in an unfamiliar kitchen and with a wine bottle as a rolling pin, the crust was extra challenging. How interesting. I wonder how it would have been if I’d been making it at home. Or in the food processor?
Anne over at Modern Mrs. Darcy wrote recently about a spirit of experimentation as a way to work through perfectionism.
“When I try an experiment, success is getting an outcome. Any outcome. The goal is to get results, not a win.”
I loved that. I’ve been experimenting with it myself. I often fall back into the “supposed to” of perfectionism (how interesting!), so this conversation about letting go of how I think something should go and noticing how it is going has become a mainstay in my internal dialogue.
This pie was no exception.
The results of my experiment?
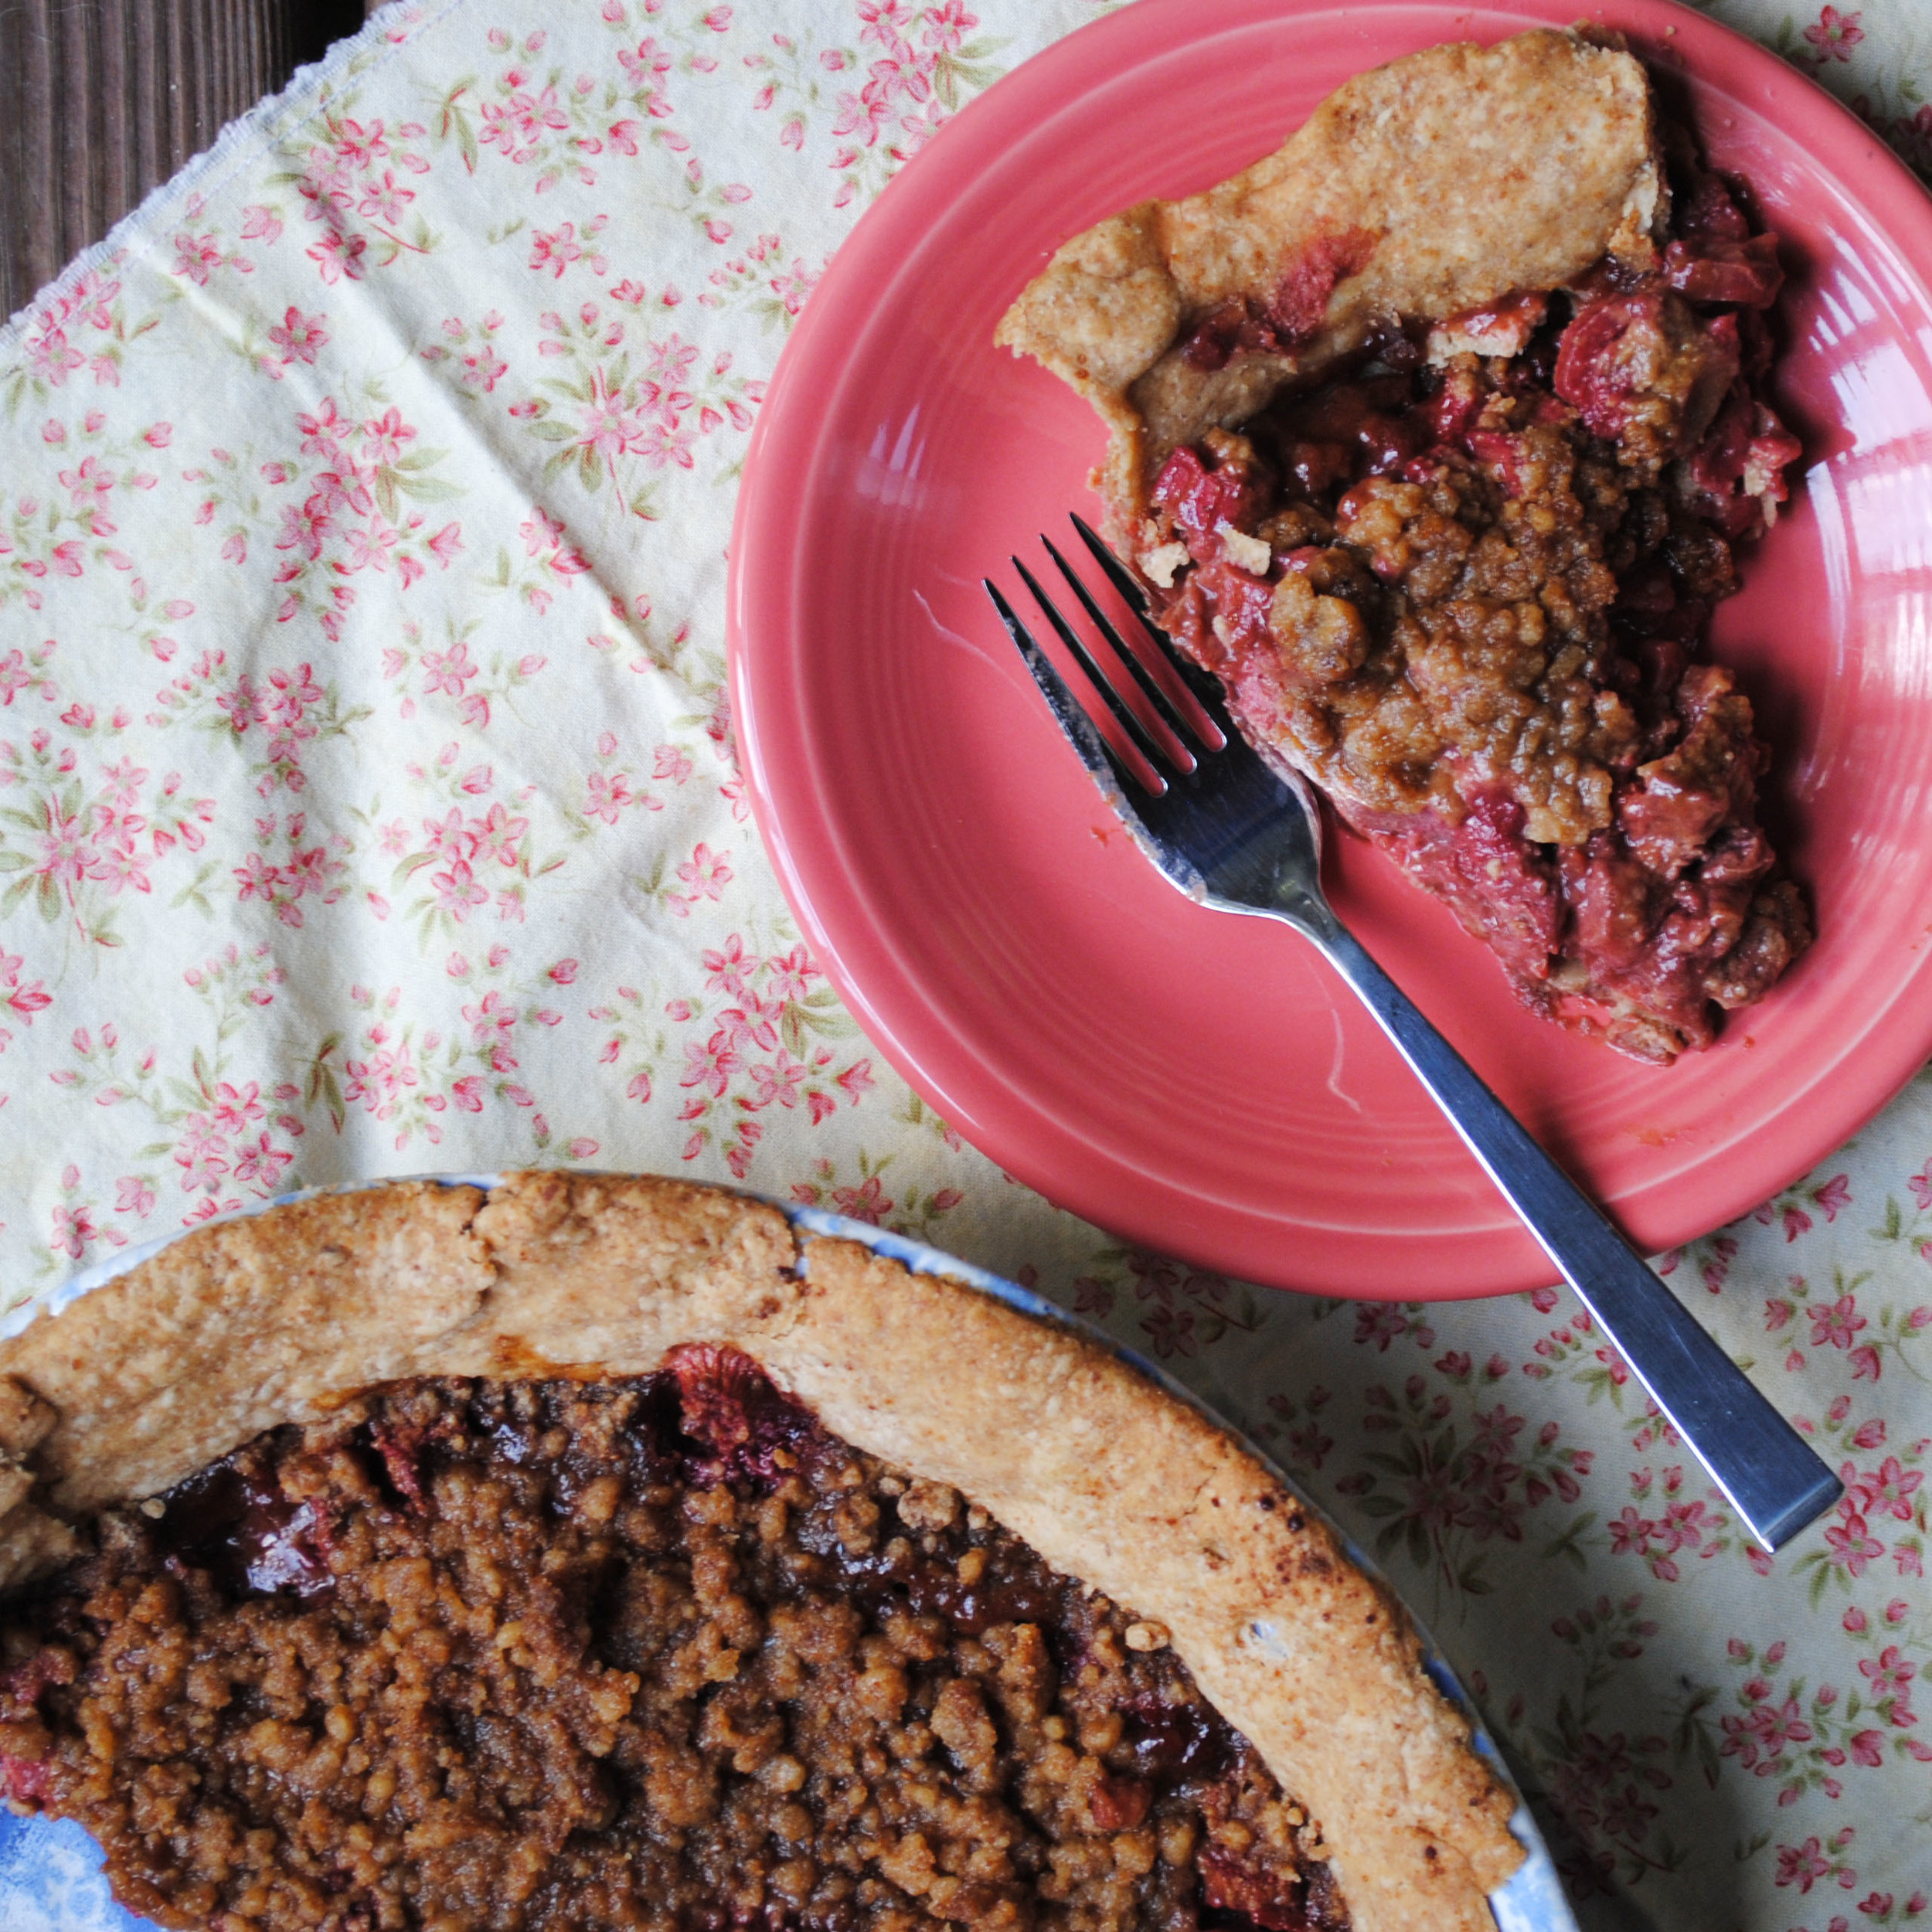
Crust: Challenging to roll out; delicious flavor; nice crumble
Filling: Challenging to peel plums; yummy combo of sweet and tart; pleasing texture
Katie: Frustrated with dough and plums; practiced deep breathing; ate whole piece of pie
Success!

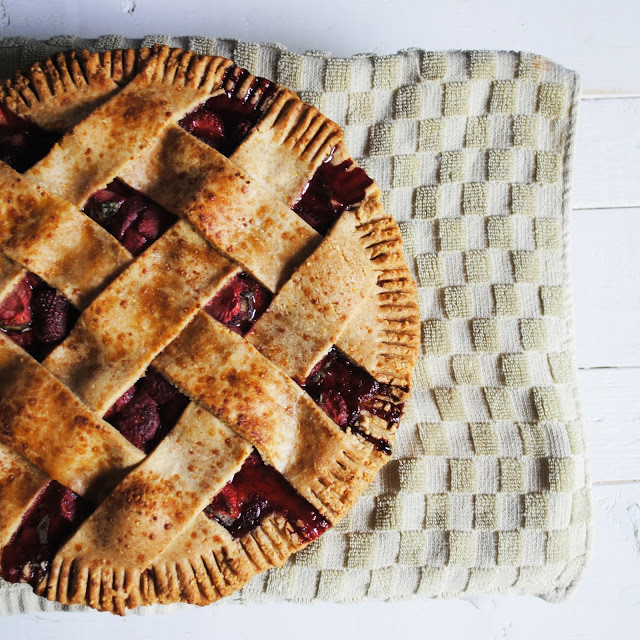
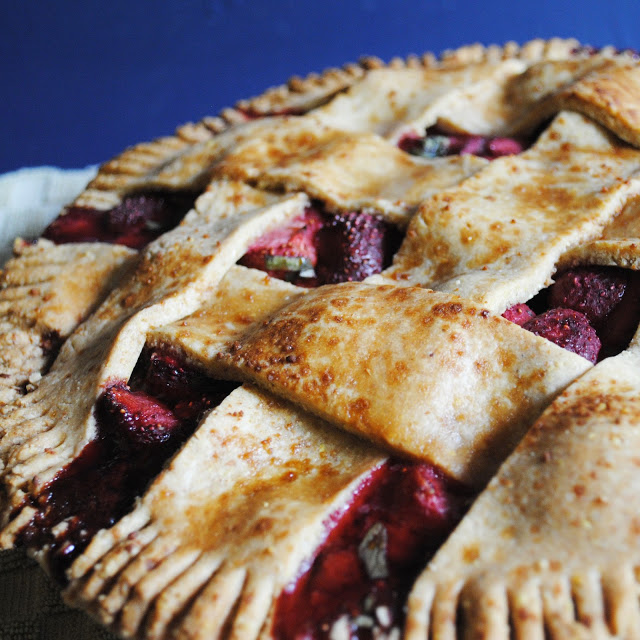
Galette-Style Plum Pie
Adapted from First Prize Pies
Crust
2 1/2 cups whole wheat pastry flour
1/2 teaspoon salt
1 cup Earth Balance, frozen and cut into ½ inch pieces
1/4-1/2 cup ice water
1. Mix the flour and salt together in a large bowl.
2. Add the frozen Earth Balance chunks to the flour mixture. Cut it into the dry ingredients by chopping vigorously with a pastry blender or cutting it with two knives. Work quickly so the butter does not melt. Make sure you are getting all the flour off the bottom of the bowl. Stop when the mixture has some pea-sized pieces and is mostly a consistency of dry, coarse crumbs, like cornmeal.
3. Drizzle the ice water over the top, starting with ¼ cup. Using the blade side of a rubber spatula, cut into the mixture until it is evenly moistened and small balls begin to form. If balls of dough stick together, you're done. If they don't, drizzle 1-2 more tablespoons of water at a time over the top, cutting with the rubber spatula each time and then testing to see if the dough sticks together.
4. Press the dough together until it forms a ball. It should be rough, not smooth. Press into a flat, round disk. Wrap tightly in plastic and refrigerate for at least 30 minutes. You can refrigerate for up to several days.
Filling
2-3 pounds ripe plums, pitted, peeled, and sliced
1/4 cup honey
1 teaspoon vanilla
1/2 cup coconut palm sugar
1/4 cup cornstarch
1/4 teaspoon salt
1. Bring a large pot of water to boil and prepare a bowl of ice water.
2. With a small knife, make a shallow X in the bottom of each plum.
3. Place the plums in the boiling water for 45-60 seconds or until the skin of the plums begins to pucker and pull away from the X.
4. Remove the plums from the boiling water and place them immediately into the bowl of ice water.
5. When the plums have cooled, peel the skin off with your fingers and slice the plums, removing the pits.
6. In a mixing bowl, mix together the sliced plums, honey, and vanilla.
7. In a separate small bowl, mix together the last three filling ingredients.
Putting it Together
1. Remove the crust dough from the freezer and roll out into a large round disc, about ¼ inch thick and 5-6 inches wider than your pie plate.
2. Place the crust into the pie plate.
3. Mix together the dry cornstarch mix and the plum mixture.
4. Pour the mixture into the crust, and loosely fold over the edges of the pie crust.
5. Place the pie plate on a baking sheet and bake for 20 minutes at 400 degrees, turning once.
6. After 20 minutes, reduce the heat to 350 degrees and bake for 35 minutes, or until the crust is golden and the plums are juicy.
7. Allow the pie to cool for at least one hour before serving.
Like what you just read? Share it with a friend! You can also follow ktmade on Twitter, Facebook, or Instagram so you'll never miss a post. And you'll earn my undying affection!